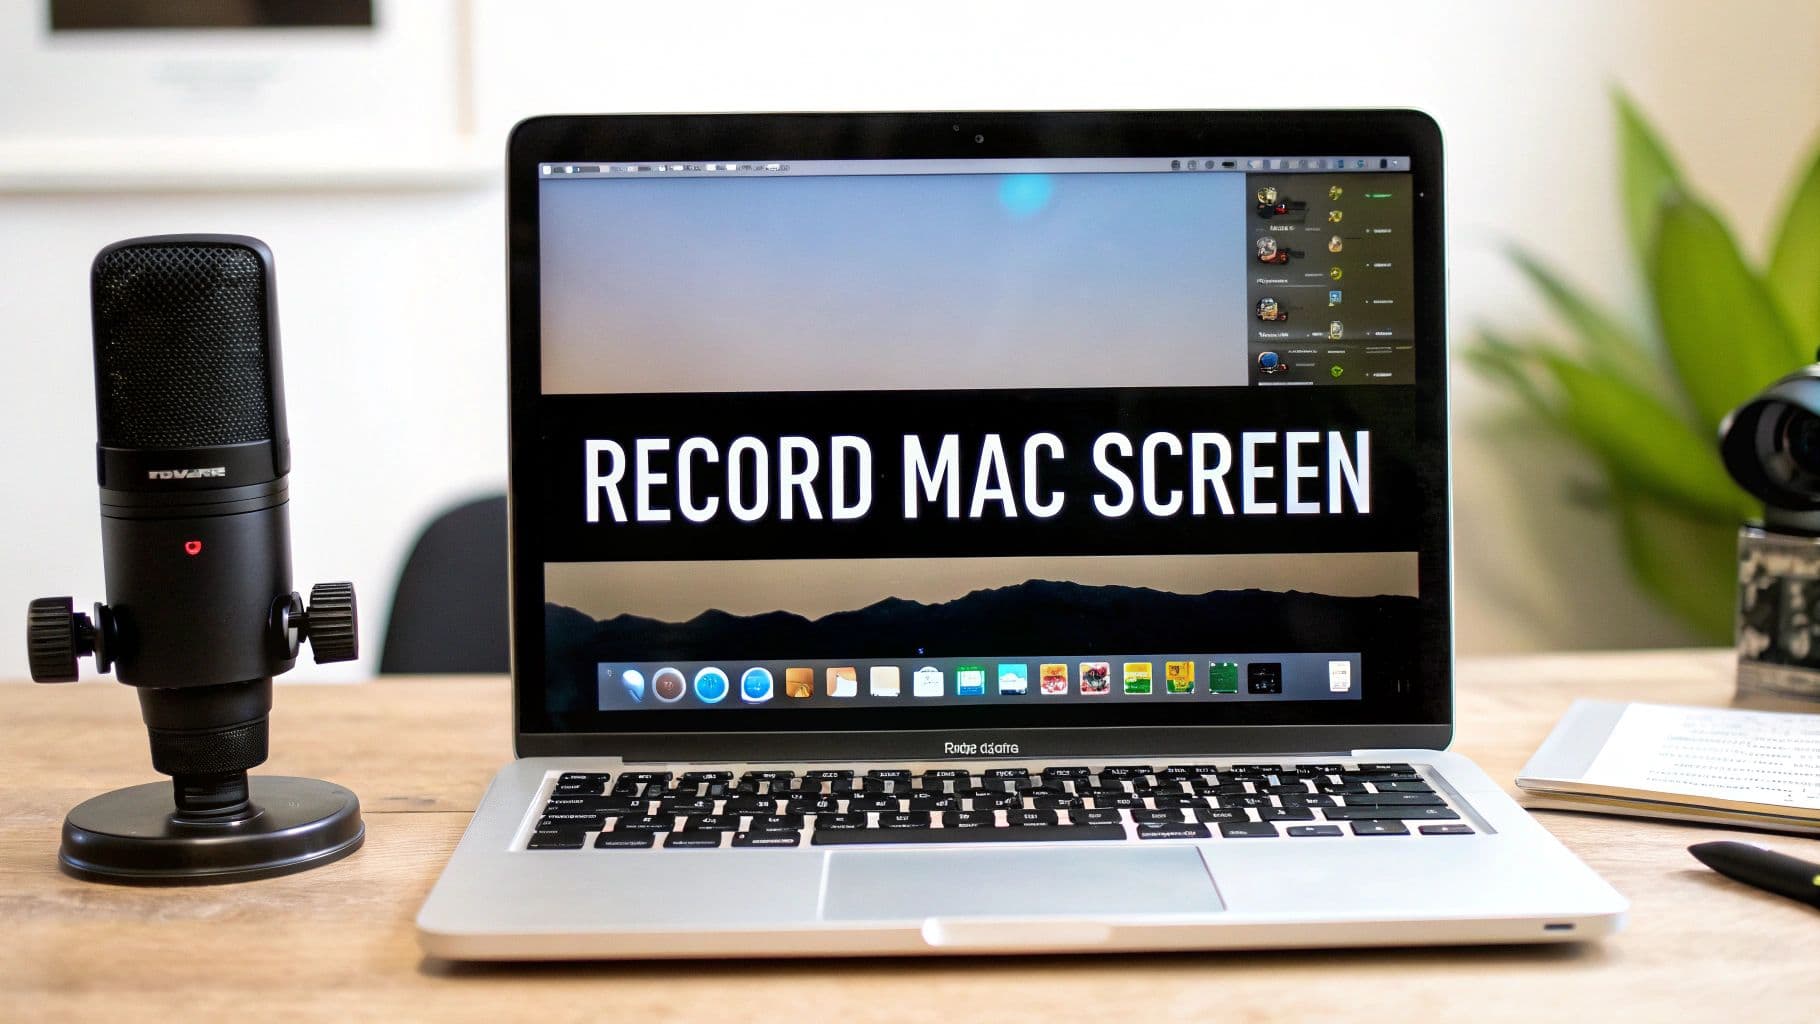
Record Screen macos: How to record screen macos like a pro
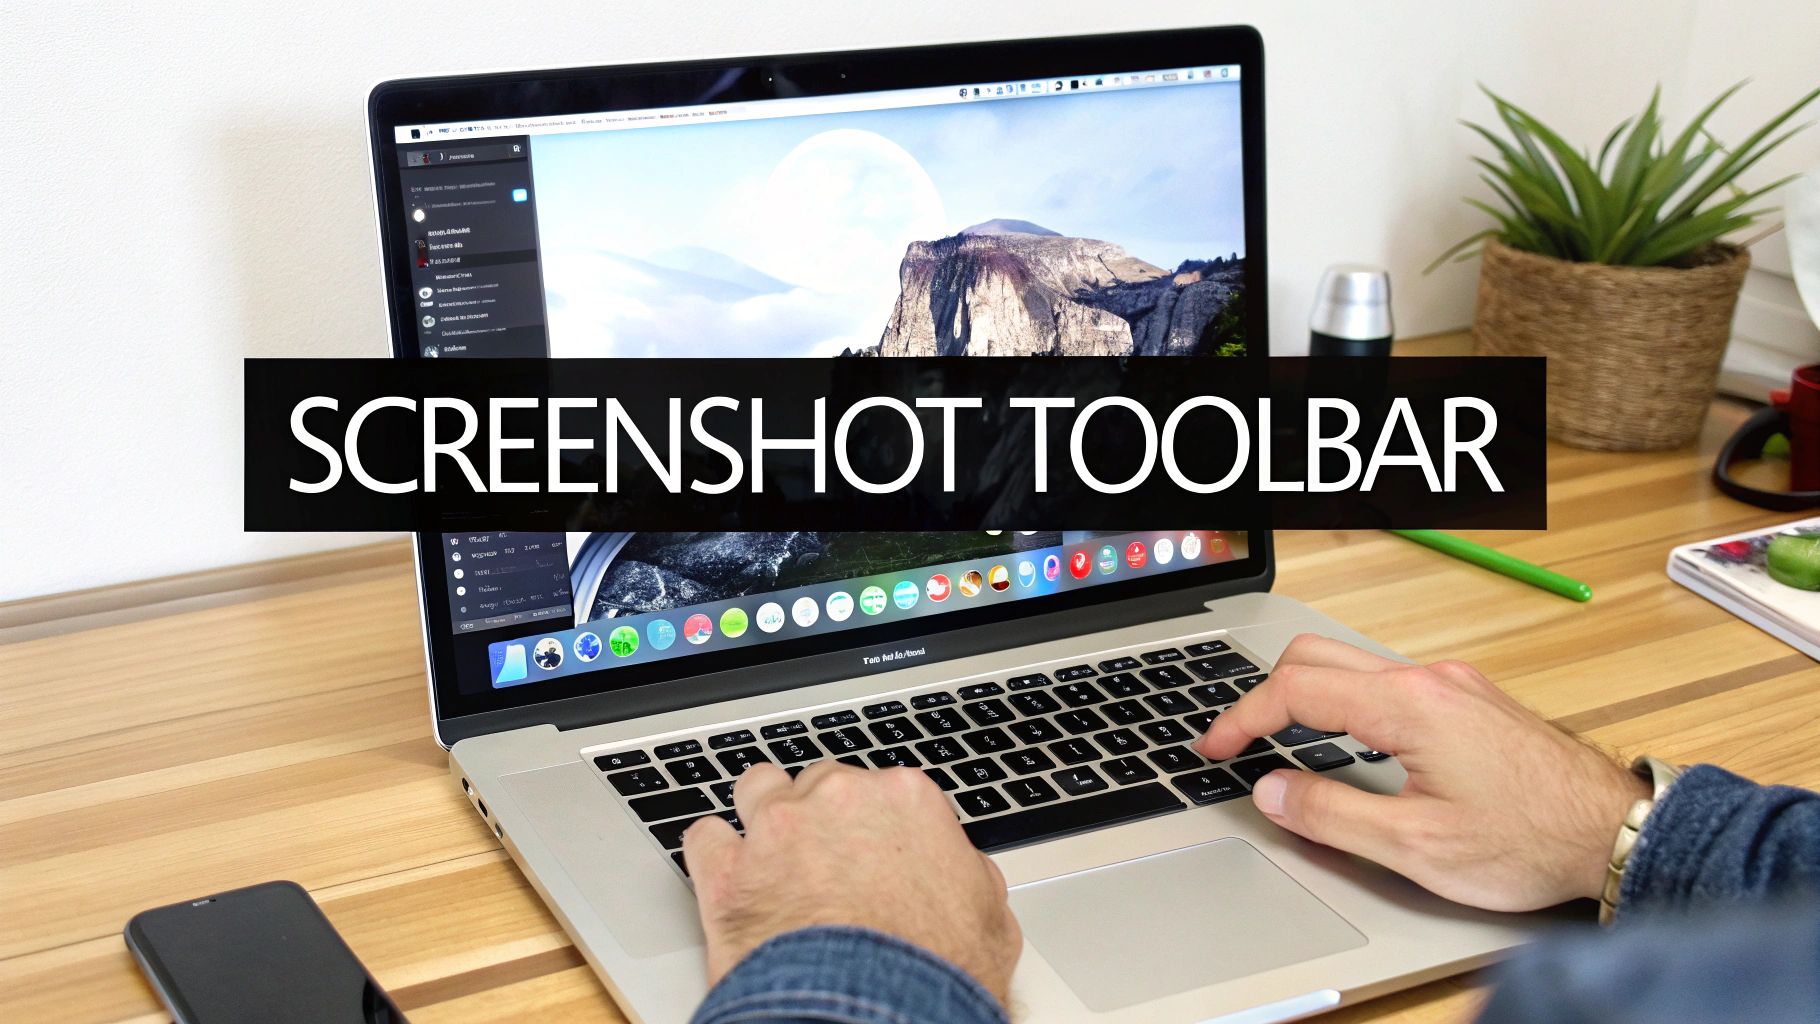
Believe it or not, you already have everything you need to start recording your Mac's screen right now. The magic shortcut is Shift + Command + 5. Hitting those three keys instantly brings up the built-in Screenshot toolbar, letting you capture video of your screen without installing a single thing.
Your Guide to Screen Recording on a Mac
Knowing your way around screen recording is a must-have skill, whether you're showing a teammate how to use a new app, reporting a bug to IT, or building a polished product demo for a client. The good news is, macOS comes with surprisingly capable tools right out of the box. They're perfect for those quick, no-fuss recordings where you just need to get something captured fast.
But what happens when "good enough" isn't quite good enough? As you start creating more professional content, you’ll quickly bump into the limits of the built-in apps. This guide will take you from the basics to the pro-level stuff, so you know exactly which tool to grab for the job.
We’ll cover:
- The Native macOS Tools: A deep dive into the two go-to options every Mac user has: the Screenshot toolbar and QuickTime Player.
- A Better Way to Record: Why dedicated apps like Screen Charm exist and how they fix the common headaches of the default tools.
- What Really Matters: We’ll compare key features like cursor effects, automatic zooming, and editing tools that turn a basic screen capture into a professional-looking tutorial.
My goal here is to help you create screen recordings that do more than just show what's on your screen. I want to show you how to actively guide your viewer's attention, making your demos and tutorials clearer, more engaging, and far more effective.
How Mac Screen Recording Has Changed
For a long time, QuickTime Player was the only game in town for Mac screen recording. It got the job done, but it was always a bit clunky. Anyone who's tried to edit a QuickTime recording knows the pain of dealing with variable framerates that cause choppy, out-of-sync playback.
Everything changed back in 2018 when Apple rolled out macOS Mojave (10.14) and introduced the Screenshot toolbar. That simple Shift + Command + 5 shortcut was a game-changer. Suddenly, anyone could easily record their entire screen, a specific window, or a custom area, and even include audio. This update made basic screen capture a breeze for millions of Mac users. You can see how this feature was first introduced and understand the impact it had on built-in Mac functionality.
I’m not just here to show you how to press record. My goal is to help you create recordings that guide your audience’s focus. When you can do that, your demos and tutorials become exponentially more powerful.
By the end of this guide, you’ll have mastered the built-in tools and, more importantly, you’ll know exactly when it’s time to level up. You'll be making polished, compelling videos that get your message across loud and clear.
macOS Screen Recording Methods at a Glance
So, when should you stick with the built-in tools, and when is it time for something more powerful? This table breaks down the key differences to help you decide. It’s all about matching the tool to the task at hand.
| Feature | Screenshot Toolbar (Native) | QuickTime Player (Native) | Screen Charm (Specialized) |
|---|---|---|---|
| Ease of Use | Excellent (Shortcut-based) | Good (Requires opening app) | Excellent (Designed for workflow) |
| Basic Recording | Yes (Full, window, selection) | Yes (Full, selection) | Yes (Full, window, selection) |
| Cursor Highlighting | No | No | Yes (Customizable halo effect) |
| Auto Zoom & Focus | No | No | Yes (Automatically follows cursor) |
| Webcam Overlay | No | No | Yes (Movable & resizable) |
| Post-Recording Editing | Basic trimming only | Basic trimming only | Full Suite (Trim, cut, zoom, blur) |
| Export Quality | Good | Good (Often variable framerate) | Excellent (Stable framerate) |
| Best For | Quick captures, bug reports | Simple, no-frills recordings | Polished product demos, tutorials |
As you can see, the native tools are fantastic for simple captures. But for creating content that needs to look professional and be easy for your audience to follow, a specialized tool like Screen Charm offers a massive advantage with features designed specifically for clarity and engagement.
Getting the Most from macOS Built-in Tools
Before you even think about downloading third-party software, it’s worth getting to know the surprisingly powerful recording tools already on your Mac. For many quick jobs, these native options are more than enough—once you know where to find them and how they work.
Let's dive into the two main ways to record screen macOS gives you right out of the box. The most straightforward method is the Screenshot toolbar, which you can pull up instantly with a simple keyboard shortcut: Shift + Command + 5.
This command brings up a handy overlay with everything you need for a quick capture. You can choose to record your entire screen, a specific application window, or even just drag a box around a custom area. That flexibility is its real superpower for spur-of-the-moment recordings.
The Screenshot Toolbar in Action
Let’s say you’re a support agent and need to show a developer a software bug. Instead of typing out a long, confusing email, a quick video is way more effective.
Here’s how that would look:
- First, hit
Shift + Command + 5to bring up the toolbar. - Next, you’d probably choose the "Record Selected Portion" icon and draw a box right around the app that's acting up.
- Pop open the "Options" menu to select your microphone if you need to explain what's happening.
- In that same menu, you can decide where to save the final video file—the Desktop is usually the easiest.
- Finally, hit "Record," show the bug in action, and click the little stop icon in your menu bar when you're done.
The whole process is incredibly fast. You can have a video ready to attach to a support ticket or Slack message in under a minute.
The real beauty of the Screenshot toolbar is how little friction there is. It turns what could be a complicated task into just a few keystrokes and clicks. For quick bug reports or showing a colleague a specific setting, it’s often the perfect tool.
When QuickTime Player Makes More Sense
The Screenshot toolbar is built for speed, but QuickTime Player gives you a bit more finesse. To get started, you just open the QuickTime app and go to File > New Screen Recording. You'll see a similar-looking control bar, but with a few extra tricks up its sleeve.
One of QuickTime’s best features is the option to visually highlight your mouse clicks. In the "Options" menu, just check "Show Mouse Clicks," and a black circle will appear around your cursor every time you click. It’s a small thing, but it makes a huge difference for viewers trying to follow along with a tutorial.
For many people, working within the familiar QuickTime application feels more comfortable than using the floating toolbar.
However, both tools eventually hit a wall. Neither offers advanced features like a highlighted cursor, automatic zooming on the action, or any real editing capabilities beyond a simple trim. They are fantastic for basic recording, but their limitations become obvious the moment you need to create a truly polished product demo or a professional-quality tutorial.
Dealing With Performance and Quality Headaches
While the built-in Mac tools are handy for a quick grab, you’ll likely hit a wall when you need truly professional quality. It's a common story: you record a detailed tutorial on your beautiful high-resolution monitor, but the final video comes out looking a bit soft, blurry, or pixelated.
This is where a simple screen capture turns into a frustrating technical roadblock. These little issues are what separate a quick, disposable clip from a polished, professional demo that actually looks good.
The root of the problem often lies with your display itself. Modern Macs, especially those hooked up to 4K or 5K monitors, use scaling to keep text and interface elements from looking microscopic. This creates a disconnect between the screen's actual massive resolution and the scaled resolution you work with day-to-day. This mismatch can easily trip up screen recording software, leading to some pretty disappointing results.
Why Your Recordings Look Blurry (It's Not Your Eyes)
This isn't just a minor cosmetic flaw; it directly impacts how clear and professional your content feels. A classic example I've seen countless times involves someone with a powerful M1 MacBook Pro and a 5K monitor. They'll use even a high-end recording app, only to find the final video is capped at a resolution nearly 20% lower than what the screen can actually do. When you're trying to demo intricate software, that loss of detail makes everything look soft and amateurish.
This happens because of the way macOS reports screen data. The system tells the recording app about the scaled, user-friendly resolution, not the full pixel-dense native resolution. As a result, the software often doesn't even know the extra detail is there to be captured.
When your entire goal is to show off a beautifully designed app, a downscaled, blurry recording completely undermines the presentation. Your viewers need to see every menu and button with perfect clarity, and the native tools can really struggle with this on modern hardware.
The Problem With Jittery Playback
Another huge pain point is QuickTime's reliance on a variable framerate (VFR). Instead of locking in a smooth, consistent 30 or 60 frames per second (FPS), QuickTime adjusts the capture rate on the fly depending on what's happening on screen. It’s a clever way to save a bit of disk space, but it's an absolute nightmare for anyone who needs to edit their footage.
Drop a VFR clip into a serious video editor like Final Cut Pro or Adobe Premiere Pro, and you’ll run into all sorts of trouble:
- Jittery playback that makes smooth on-screen animations look jerky and uneven.
- Audio drift, which is that infuriating thing where your voiceover slowly falls out of sync with the video.
- Inconsistent motion, making it a real challenge to time your cuts and edits precisely.
Any professional video workflow is built on a constant framerate (CFR). It’s the only way to guarantee smooth, predictable playback and editing. For anyone creating polished tutorials or demos, this is non-negotiable.
The Hidden Cost: Massive Files and Storage Bloat
Finally, let's talk about storage. Recording your screen, especially at high resolutions, can eat up a shocking amount of disk space. It’s not an exaggeration to see a 30-minute recording session create a file well over 10 gigabytes.
But the problem goes deeper. macOS can be really bad about cleaning up after itself, leaving behind stubborn cache files that linger even after you delete the video and empty the Trash. I’ve seen people's "System Data" storage swell by dozens of gigabytes after just a few recordings, silently choking their SSD. This kind of storage bloat doesn't just take up space; it can slow down your entire Mac, which is a major headache if you record content frequently.
If you're also struggling with audio, our guide on how to record system audio on Mac can help you sort that out.
From Clunky to Clean: Crafting Demos with Screen Charm
If you’ve ever wrestled with macOS’s built-in screen recorders, you know the drill. You end up with recordings that are either blurry, jittery, or so massive they clog up your hard drive. This is exactly where specialized tools come in, and why we built Screen Charm. The idea isn't to just give you more settings to fight with, but to handle the common frustrations for you.
Creating a great product demo is more than just capturing your screen. It’s about guiding your viewer, making sure they see what you see, and keeping them engaged. Let's walk through a real-world workflow to create a demo that looks like it was made by a pro, without needing a video editor.
The image below really captures the frustrating cycle you can get stuck in with the default tools—one problem just leads to another.
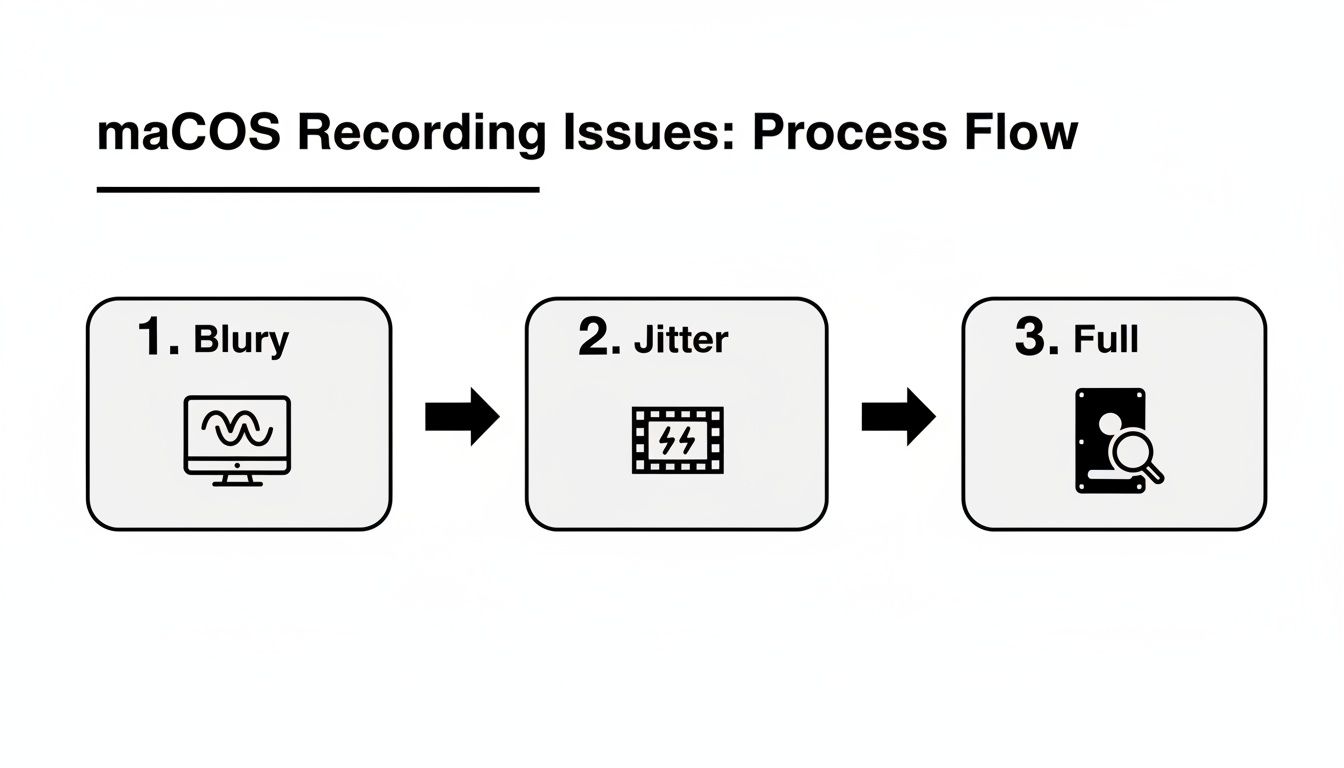
This cascade of issues is precisely what a dedicated tool is designed to prevent, saving you from a post-production headache.
Guide Their Eyes with Dynamic Zoom and a Clear Cursor
Want to know the best way to keep someone focused on what you're doing? Movement. Screen Charm's signature auto-zoom feature handles this for you. Just turn it on, and the camera will intelligently follow your cursor, smoothly zooming in on buttons, menus, and text fields as you click and type. This dynamic movement naturally draws the viewer's eye, ensuring they never miss the important stuff.
You can also make your cursor impossible to miss. Instead of that tiny default pointer, add a colored halo or bump up its size. It’s a small change, but it makes a massive difference in how easy your demo is to follow, especially for people watching on a phone. The best part? It's all done live, so you don't have to spend hours adding manual zoom effects later.
The goal is to make your demo feel effortless for the viewer. When the screen follows your every move and the cursor is obvious, you eliminate all guesswork.
Add a Human Touch with Your Webcam and Branding
A sterile screen capture is just… well, sterile. To build a real connection, you need to show your face. Screen Charm lets you record your webcam as a simple, movable overlay. You can pop your camera feed in a corner, resize it on the fly, and add that human element that makes tutorials and demos so much more engaging.
Branding is just as crucial for a professional look. Ditch the distracting desktop wallpaper and upload a custom background instead—think your company logo or a clean brand graphic. This one simple step gives your recording a polished, cohesive feel. These features work together to create a video that’s not just informative, but looks like it came straight from your marketing team. For more on this, check out our guide on making effective product demo videos.
Here’s a quick rundown of how these features come together to create a polished product demo from start to finish.
Screen Charm Workflow for a Perfect Product Demo
| Step | Action in Screen Charm | Benefit for Your Demo |
|---|---|---|
| 1. Setup | Select your webcam, microphone, and a custom background image. | Creates a professional, branded look from the very first frame. |
| 2. Recording | Enable Auto-Zoom and customize the cursor with a halo or bigger size. | The recording automatically guides the viewer’s eye to key actions, no editing needed. |
| 3. Interaction | Move your webcam overlay around the screen as needed to avoid covering up UI elements. | Adds a personal touch while keeping the interface fully visible and clear. |
| 4. Finishing | Click "Stop" and instantly get a high-quality video file, already polished and ready. | Skips the entire post-production process, saving you hours of editing time. |
This workflow turns what used to be a multi-step, multi-tool process into a single, seamless recording session.
And once you’ve created these fantastic demos, think about how you can repurpose them. For example, you can transform 10-minute tutorials into 10-second teasers for maximum engagement to promote your content on other platforms.
Pro Tips for Polished Screen Recordings
Knowing how to hit the record button is one thing, but creating a truly polished recording requires a bit more finesse. Think of it like setting the stage before a performance. A little prep work in your digital and physical space can make the difference between an amateur screencast and a professional-looking tutorial every time you record screen macos sessions.
First things first: clean up your digital workspace. Close every browser tab and application that isn't essential for your demonstration. Silence all your notifications. Nothing kills the vibe of a great tutorial faster than a random Slack message popping up mid-sentence. A clean desktop is your digital stage—make sure it's ready for the show.
Mastering Your Audio and Narrative
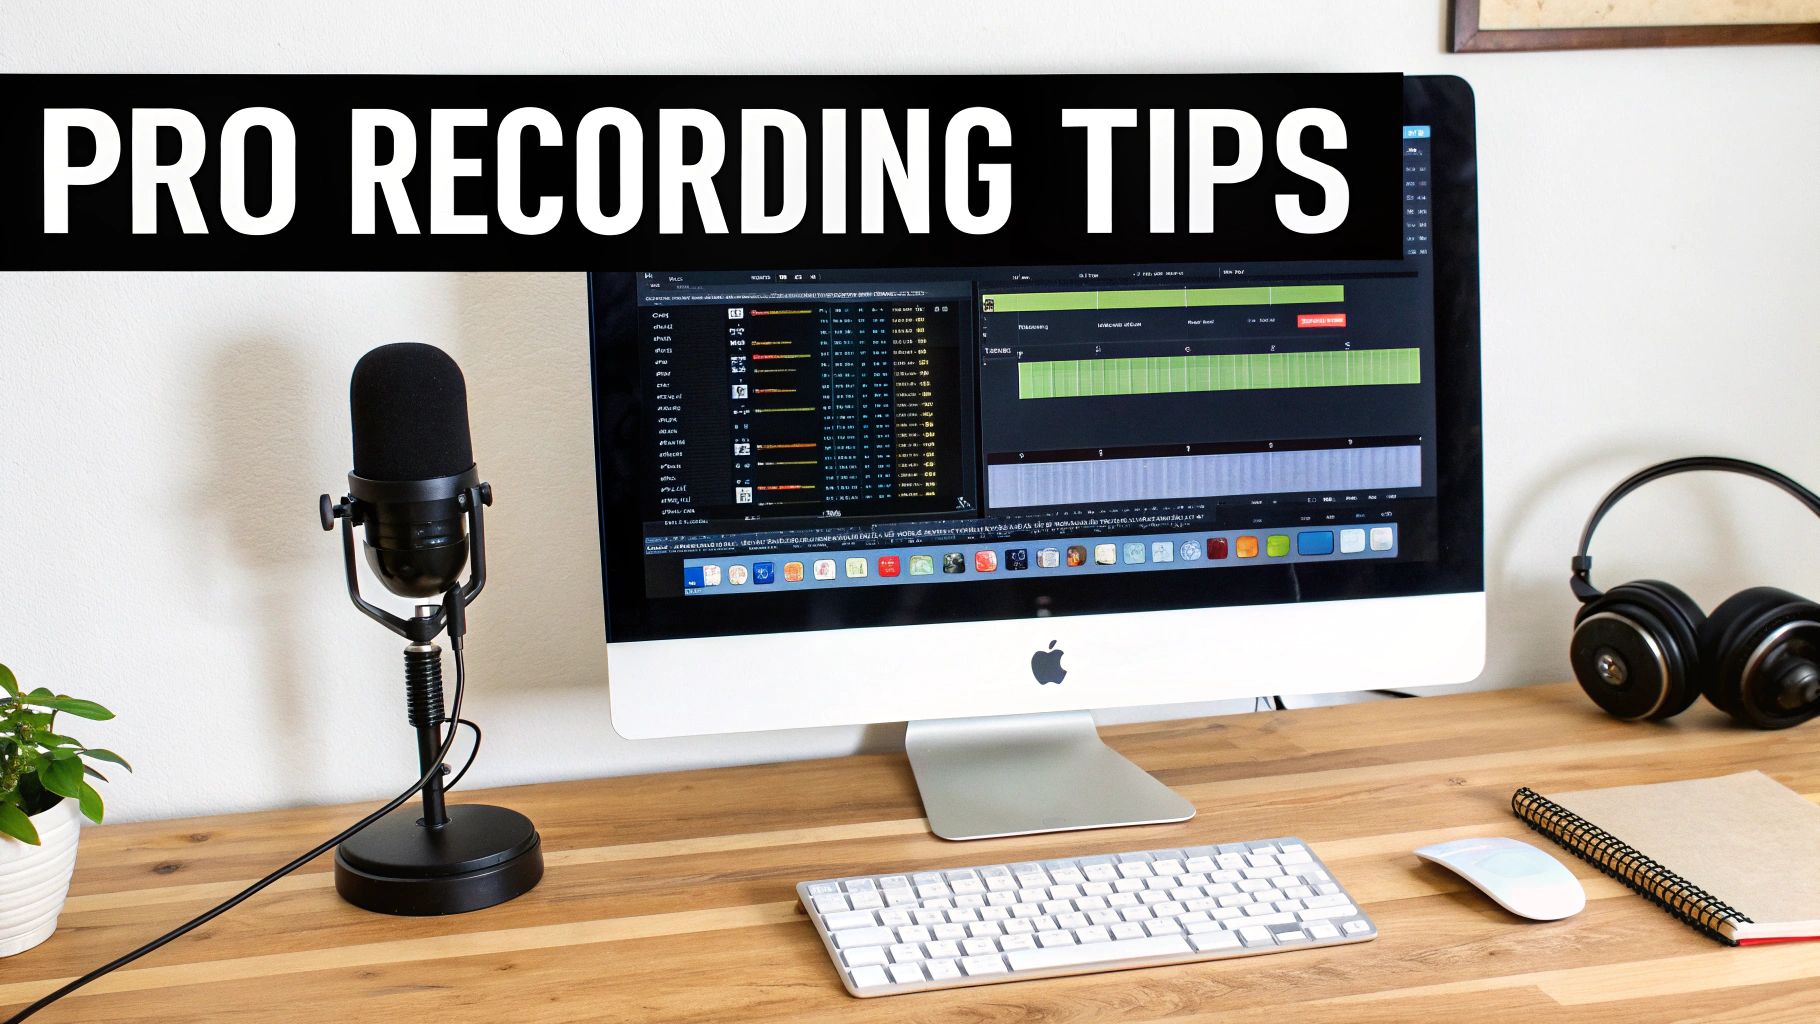
Your audio quality is just as crucial as the visuals, if not more so. While the Mac's built-in mic works in a pinch, investing in an external USB microphone is a game-changer. It dramatically cuts down on echo and background noise, giving your voice that crisp, professional sound.
A quick tip from experience: position the mic a few inches from your mouth and slightly off to the side. This simple trick helps you avoid those harsh popping sounds (we call them "plosives") when you say words with 'P' or 'B' sounds.
You also need a plan. You don’t have to write a word-for-word script, but outlining your main talking points will keep you from rambling. A few bullet points are often all you need to stay focused and guide your audience clearly. To help keep things tight, a screen recording timer can be surprisingly useful.
Your cursor is the main character of your recording. Every movement should be deliberate and purposeful. Avoid frantic, jerky motions; instead, guide the viewer’s eye with smooth, confident sweeps from one element to the next.
Finally, consider where this video will live. If you're creating content for YouTube, for example, stick to a 16:9 aspect ratio. This ensures your video fills the screen perfectly without those distracting black bars on the sides.
A Quick Pre-Flight Checklist
Before you hit that red button, do a quick mental run-through:
- Desktop: Is it completely clean? No personal files or distracting clutter in sight?
- Notifications: Are they silenced everywhere? System, apps, everything.
- Microphone: Is the right mic selected, and have you done a quick level check?
- Narrative: Do you have your key points ready to go?
- Cursor: Ready to move with purpose?
Taking a moment for this prep work elevates a simple screen capture into a clear, engaging story that your viewers will actually appreciate and learn from.
A Few Common Questions About Mac Screen Recording
Once you start screen recording on a Mac, you'll probably run into a few common hurdles. Let's walk through some of the most frequent questions I hear, so you can sidestep the frustration and get back to creating.
How Can I Record My Mac’s System Audio?
This is the classic stumbling block. For privacy reasons, macOS intentionally prevents you from directly capturing the audio playing from your computer—think game sounds or the audio from a YouTube video. The built-in Screenshot toolbar and QuickTime Player will only grab audio from a microphone.
So, how do you get around it? You’ll need a third-party tool. Some apps, like Screen Charm, handle this for you right out of the box. Others require a little workaround, usually by installing a free audio driver like BlackHole, which creates a virtual audio "cable" to pipe the system sound into your recording.
Why Is My Recording File So Huge?
If you've ever been shocked by the size of a screen recording, you're not alone. High-resolution recordings, especially longer ones, create absolutely massive files. It's not unusual for a 30-minute 4K recording to balloon to over 10 GB.
This is because the raw, uncompressed video data is enormous, and the native macOS tools don't give you much control over compression. I've seen this cause real storage headaches. For instance, after deleting large recordings, a user's "System Data" on their Mac might inexplicably jump from 13GB to over 97GB because stubborn cache files get left behind, eating up precious SSD space. You can dig deeper into how recording files affect Mac storage if you're curious.
The best way to manage file size without sacrificing quality is to use a tool that offers efficient compression codecs like H.264 or HEVC when you export. This can shrink a file down to a manageable size while keeping the picture sharp and clear.
Can I Add a Webcam Overlay With the Built-In Tools?
Unfortunately, no. This is a big limitation of the native options. Neither the Screenshot toolbar (Shift + Command + 5) nor QuickTime Player can record your screen and your webcam feed at the same time. If you want to put your face in the corner to create a more personal tutorial or product demo, you're out of luck.
To pull this off, you need a dedicated app built to handle multiple video inputs. It's a standard feature in software designed for content creators, letting you add that essential personal touch that makes your videos more engaging.
Ready to stop fighting with clunky tools and start creating polished, professional demos in minutes? Screen Charm gives you auto-zoom, a customizable cursor, webcam overlays, and a simple editor all in one place. Get Screen Charm today and see how easy it can be.