Record with Webcam Mac: Quick Guide to Capturing Pro-Quality Video
Recording your screen on a Mac is one thing, but adding your face into the mix? That’s where the magic happens. Whether you're using built-in macOS tools like QuickTime or grabbing a more specialized app, layering a webcam feed over your screen recording transforms a simple demo or tutorial into a genuine connection.
Why Webcam Overlays Are a Game-Changer on Mac
Let’s be honest, just recording your screen can feel a little sterile. To really grab your audience—whether they're teammates, customers, or students—you need to show them the person behind the presentation. Adding a webcam overlay to your Mac screen recordings is how you build that trust, explain complex topics more clearly, and keep people watching.
It’s the difference between a flat, impersonal software demo and a dynamic, human-led walkthrough.
This isn't just a hunch; the numbers back it up. The global webcam market ballooned from USD 7.26 billion in 2021 to an estimated USD 8.5 billion in 2023, with North America driving a huge part of that growth. This surge is all about the demand for better video quality in our remote work and learning lives, making tools that blend screen and webcam feeds more crucial than ever. You can dive deeper into the webcam market growth for the full picture.
The Power of a Personal Touch
So, what exactly do you gain by putting your face in the frame? For Mac users who pride themselves on creating polished, professional content, the benefits are huge.
- Build Real Trust and Connection: When people can see you, they feel like they’re connecting with an actual human, not just listening to a disembodied voice. This is absolutely critical for educators, marketers, and anyone in a support role.
- Explain Things More Clearly: A simple nod, a gesture, or a facial expression can add layers of context that voice-only narration misses. It helps you emphasize key points and avoid confusion.
- Keep People Engaged: A human face is naturally more captivating. Viewers are far more likely to stick around for the entire video when they can see the presenter.
The real goal here is to make your content feel less like a broadcast and more like a one-on-one conversation. A webcam overlay closes that gap, making your message stick.
At the end of the day, it doesn't matter if you're a developer showing off a new feature or a teacher breaking down a tough concept. Knowing how to record with a webcam on your Mac is a foundational skill that turns a basic screencast into a professional video that actually makes an impact.
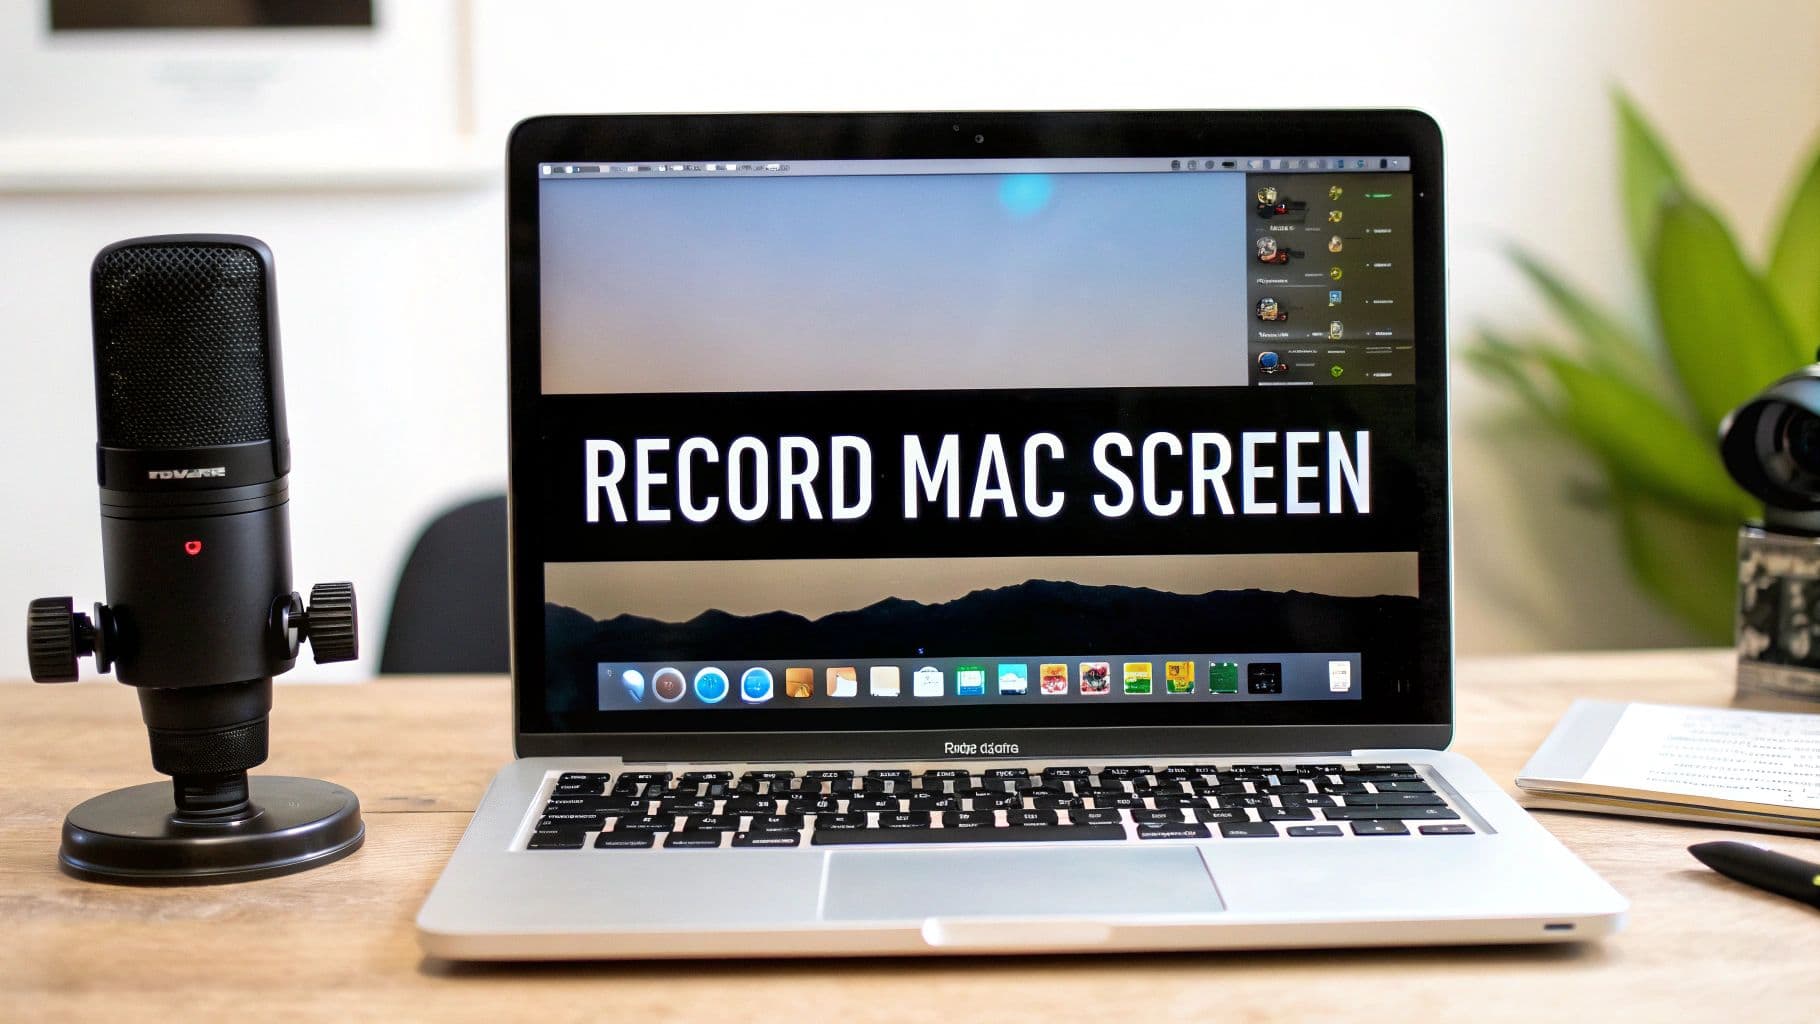
Recording for Free With Your Mac's Built-in Tools
Believe it or not, your Mac already has some pretty decent recording software built right in. These tools are perfect for those times you need to whip up a quick video without the fuss of installing new apps.
Think of them as your go-to for simple tasks, like firing off a quick how-to video to a coworker or recording a weird bug to send to IT support. Learning how to record with a webcam on your Mac using these free, native options is a fantastic first step.
QuickTime Player: The Hidden Gem for Webcam Overlays
Most people think of QuickTime Player as just a simple video player, but it’s hiding a surprisingly capable recording studio under the hood.
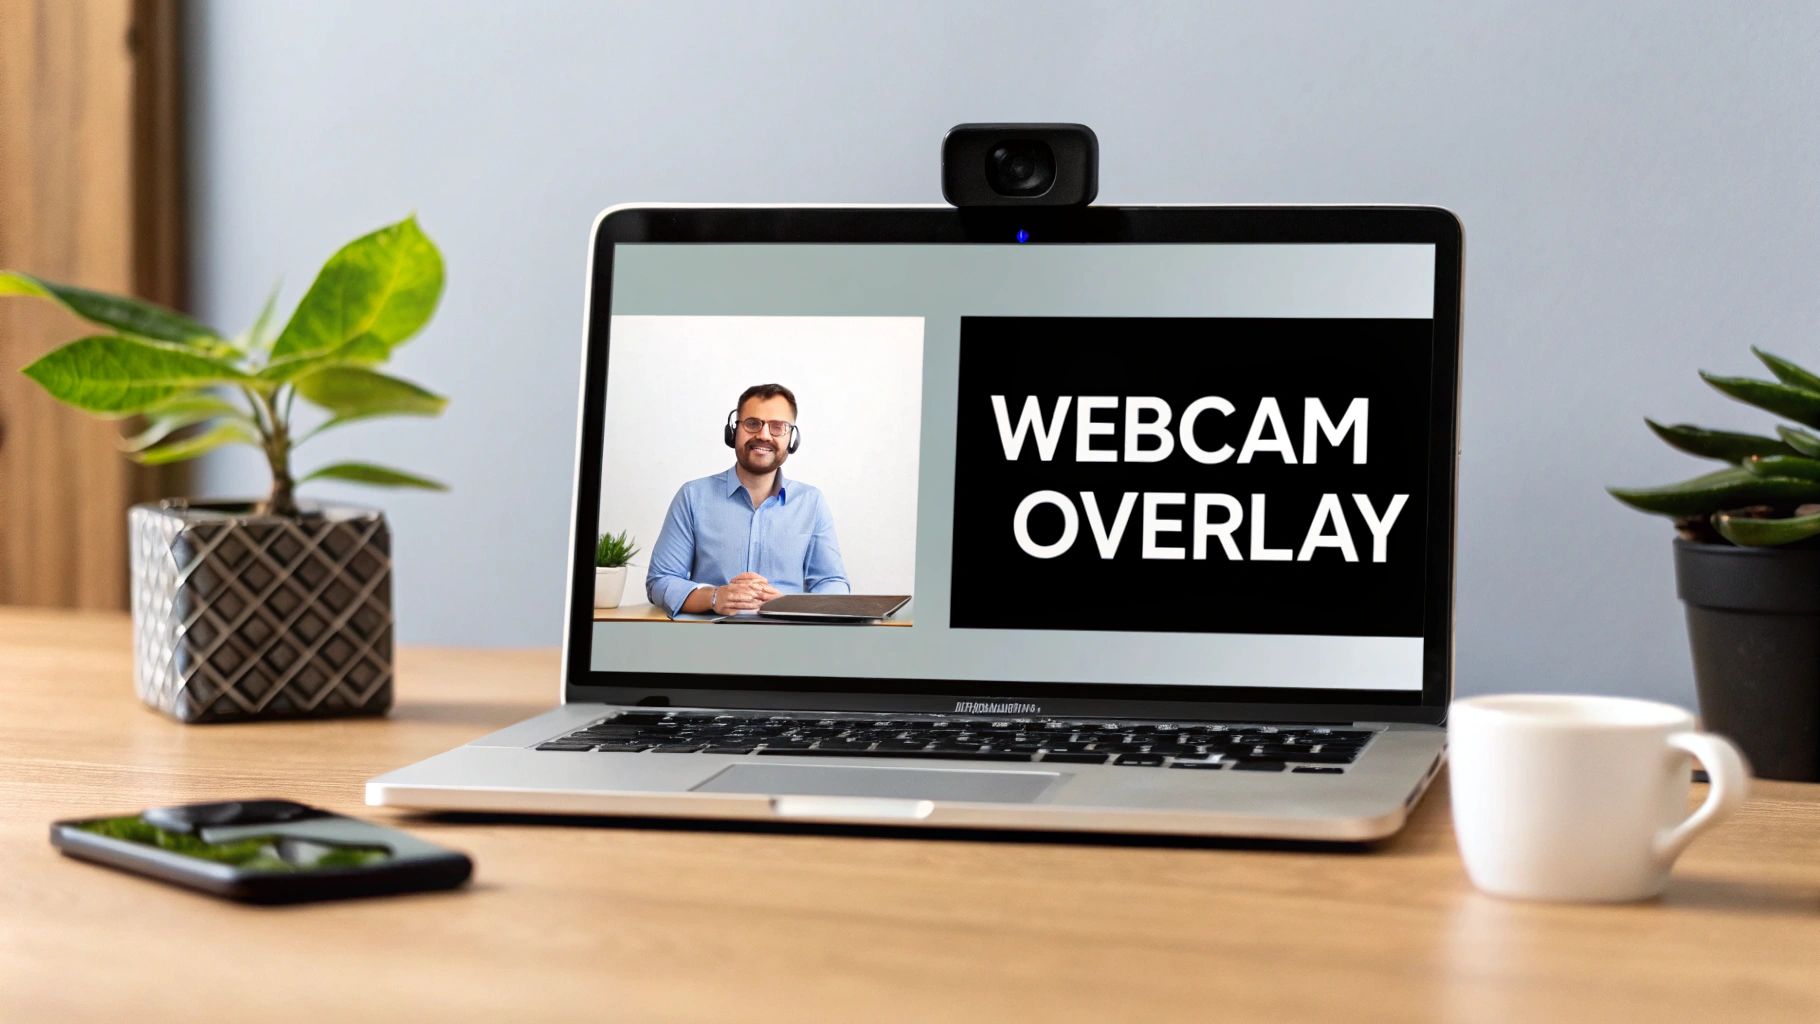
To get started, just open QuickTime and head to File > New Screen Recording. Before you smash that big red record button, look for the small arrow next to it. Clicking it opens a little menu where you can select your microphone and—here's the key—check the box to show your webcam as a picture-in-picture overlay.
You can drag this little webcam window anywhere on the screen, which is great for adding a personal touch to your recording. While it's not packed with advanced features, it gets the job done for most basic screencasts. For a deeper dive into the basics, you can always check out our complete guide on how to screen record on a Mac.
QuickTime's built-in webcam overlay is a lifesaver for quick, informal recordings. It’s the fastest way to go from idea to video on macOS without spending a dime.
The Screenshot Toolbar for Quick Captures
Another powerhouse hiding in plain sight is the Screenshot toolbar. You can summon it with the keyboard shortcut Shift + Command + 5.
This little utility is fantastic for screen captures, but it hits a wall when it comes to simultaneous webcam recording. You can record your screen or you can record your webcam, but you can’t do both at the same time in one clean video file. This makes it a great choice for screen-only recordings, but not so much for tutorials where your presence adds a lot of value.
Comparing Built-in Mac Recording Tools
So, when should you use QuickTime versus the Screenshot Toolbar? Here’s a quick breakdown to help you decide which free tool is right for the job.
| Feature | QuickTime Player | Screenshot Toolbar (Shift-Cmd-5) |
|---|---|---|
| Simultaneous Webcam Overlay | Yes, as a floating window | No |
| Record Entire Screen | Yes | Yes |
| Record Selected Portion | Yes | Yes |
| Basic Trimming | Yes (File > Trim) | Yes |
| Ease of Access | Have to open the app | Instantly via keyboard shortcut |
| Best For... | Quick tutorials with a personal touch | Fast, screen-only clips and bug reports |
While both are incredibly handy, QuickTime is the clear winner if you need your face in the recording. For anything else, the Screenshot toolbar's instant access is hard to beat.
Of course, if your needs are more specific, like capturing detailed team meetings, you might find these built-in options a bit limiting. In that case, exploring the best app for recording meetings could point you toward a more robust solution. It’s always good to know where the native tools shine and when it's time to call in a specialist.
Creating Professional Demos With Screen Charm
While your Mac's built-in tools are great for quick jobs, there comes a time when you need more power and polish. This is where a dedicated macOS application like Screen Charm steps in, turning a standard screen recording into a professional, engaging demonstration. It’s really built for people who need to do more than just capture pixels; they need to tell a story.
Imagine you're creating an onboarding video for a new software feature. Instead of a generic screen capture, Screen Charm lets you set a custom branded background, reinforcing your company’s identity right from the start. It’s a small touch, but it instantly makes your content feel more authoritative and polished.
This simple workflow is what makes dedicated tools so powerful. You just launch, configure your settings, and record.
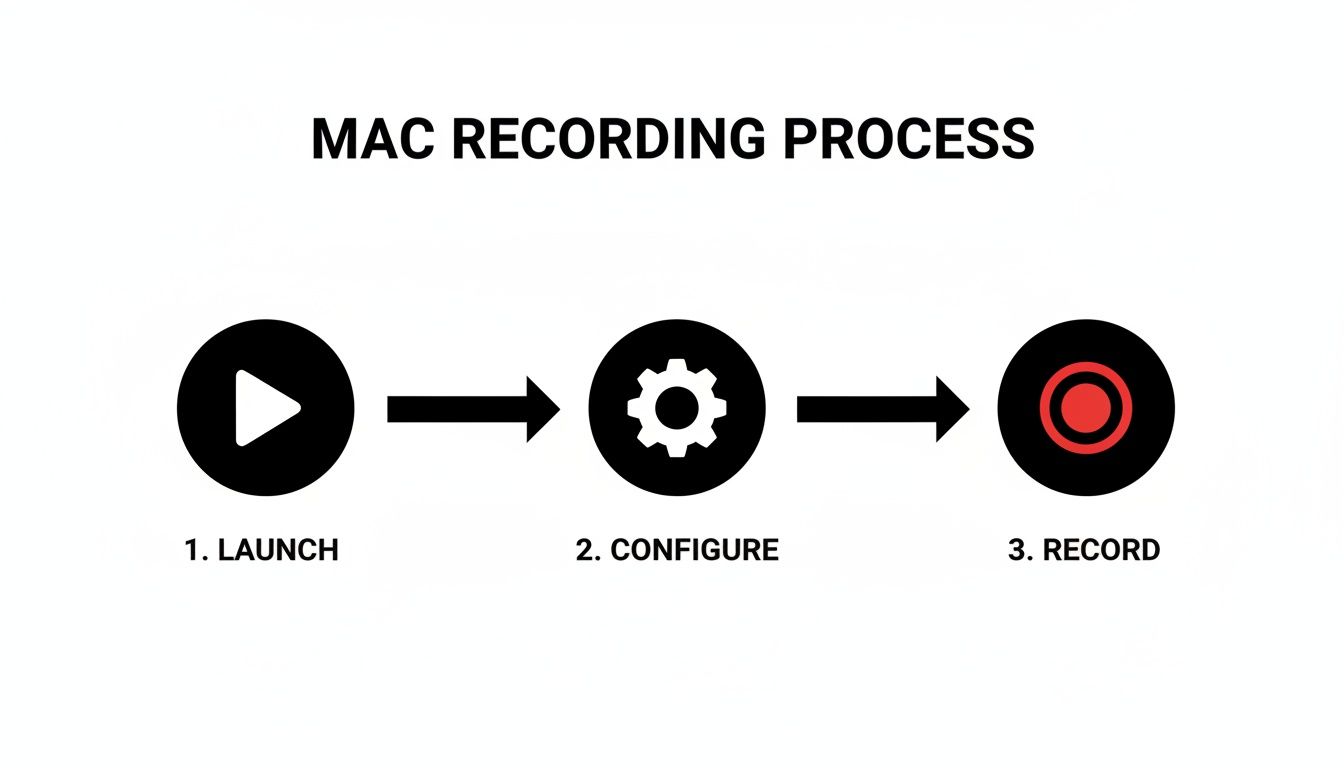
It really is that straightforward. The real magic, though, is in the features that happen while you're recording.
Guiding Viewer Attention With Auto-Zoom
One of the standout features I've found incredibly useful is the signature auto-zoom that intelligently follows your cursor. Think about demoing a complex piece of software with a crowded user interface. Normally, you’d have to manually zoom and pan in a separate video editor—a process that can be painfully time-consuming.
With Screen Charm, this happens automatically. As you move your cursor to click a button or highlight a menu, the view smoothly zooms in, focusing your audience's attention exactly where it needs to be. This dynamic movement keeps viewers from getting lost and ensures they don't miss a single critical detail.
This comes in handy in a few key situations:
- Detailed Bug Reports: When you're trying to show a dev team exactly what went wrong, clarity is everything. Auto-zoom can pinpoint the sequence of clicks that triggered the issue, leaving no room for guesswork.
- Complex Software Tutorials: For educators teaching intricate workflows, the auto-zoom acts as a visual guide, preventing students from getting overwhelmed by a sea of options.
- Polished Onboarding Videos: Guide new users through your app with a video that feels like a personal, one-on-one walkthrough, highlighting each step of the setup.
Crafting a Narrative Without Extra Tools
The real advantage here is producing a studio-quality video without ever leaving the application. You can combine a crisp webcam feed with your screen capture, trim out any mistakes, and export a final video that looks like it was made by a professional production team.
In the world of product demos, good webcam integration is a game-changer. It’s no surprise that popular Mac recording tools are seeing massive adoption, with some onboarding over 140,000 new users a month. This just shows the huge demand from developers, educators, and marketers who need to create engaging walkthroughs.
In fact, it’s predicted that by 2026, over 70% of instructional videos will be created right in the browser, making things easier for remote teams. Screen Charm nails this by pairing its auto-zoom with high-quality webcam footage and custom backgrounds.
The goal is to move beyond simple recording and into video creation. By combining automated features with high-quality output, you can produce content that not only informs but also impresses your audience.
Ultimately, using a specialized tool to record with a webcam on your Mac is about efficiency and impact. You save hours in post-production and deliver a final product that captures attention and communicates your message with perfect clarity. It’s the logical next step for anyone serious about creating better video content.
Mastering Your Audio and Video Setup
Having the right software is a great first step, but let's be honest—the quality of your webcam and microphone can make or break your final video. It’s the small, deliberate adjustments to your environment and gear that really separate an amateur recording from a professional one. You don't need a decked-out studio, just a bit of intentionality.
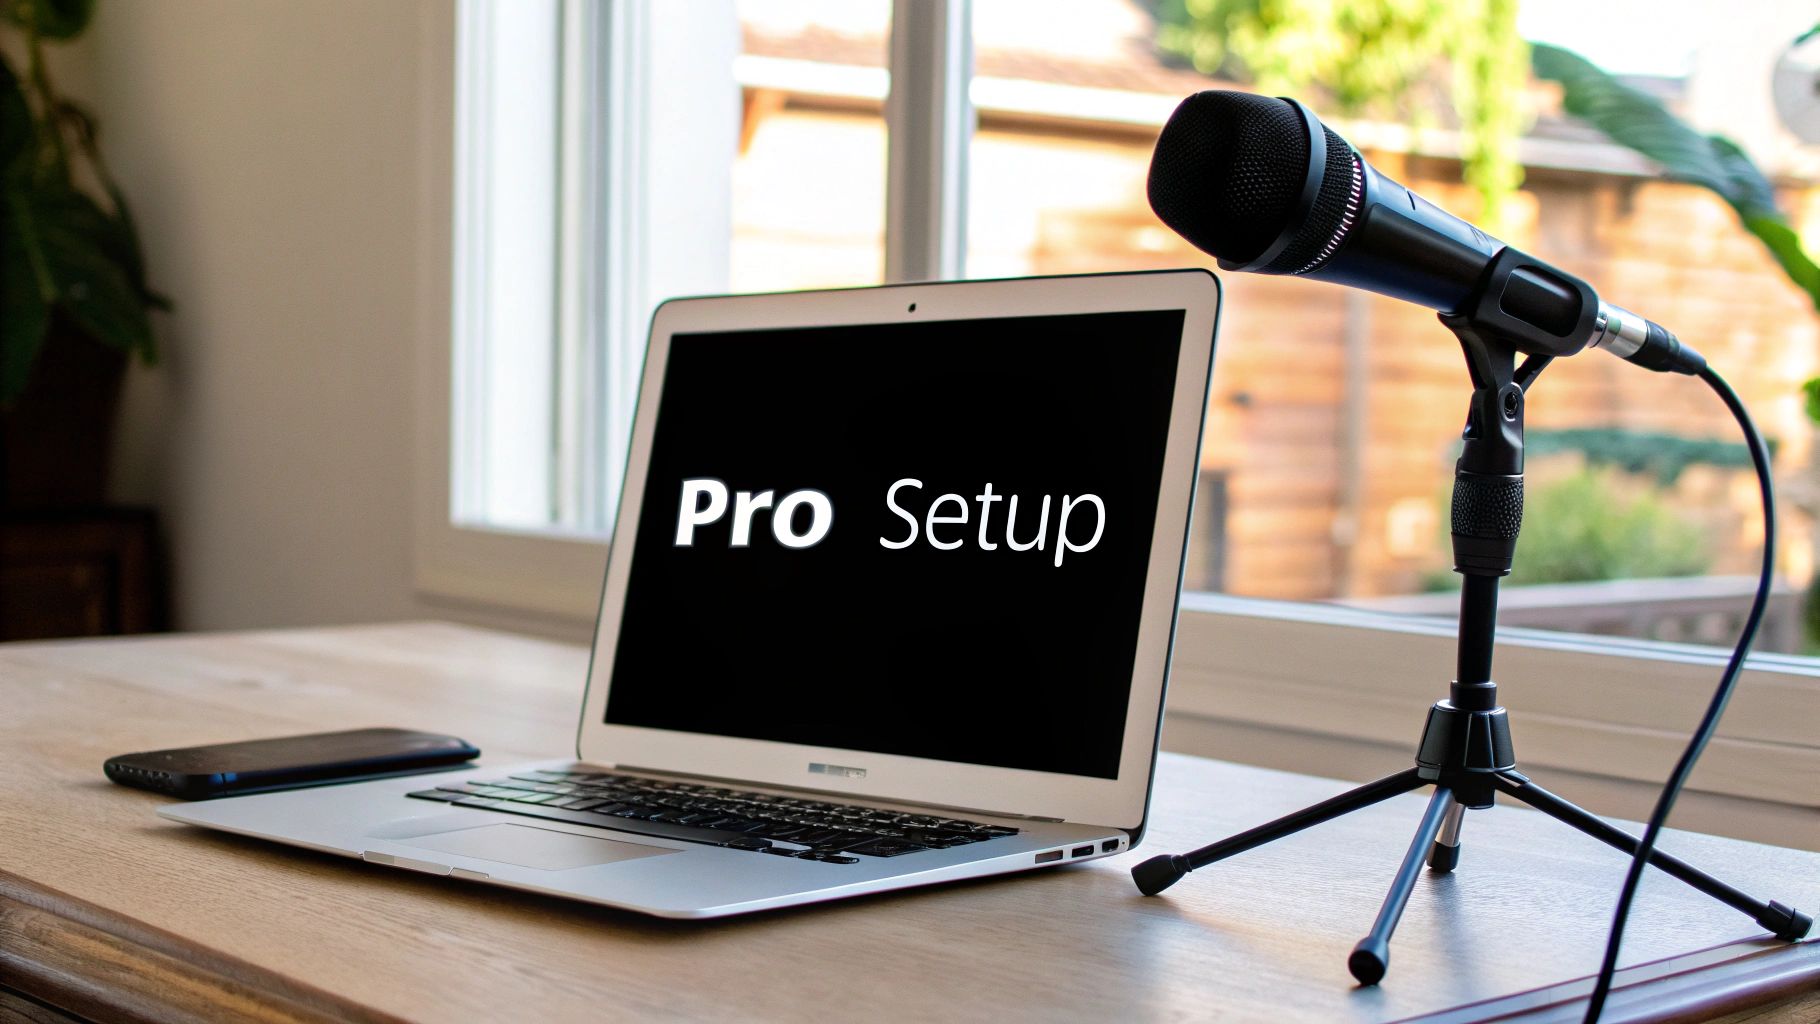
This whole process is really about controlling what your audience sees and hears. Luckily, getting that polished look and sound when you record with a webcam on your Mac is much easier than you might think.
Frame Yourself Like a Pro
The way you position yourself in the frame has a huge psychological impact. A lot of people make the mistake of centering themselves perfectly, but that can look static and a little boring. A much better approach is to borrow a classic principle from photography: the rule of thirds.
Picture a 3x3 grid overlaid on your screen. Try to position your eyes along the top horizontal line, with your body aligned on one of the vertical lines. This creates a much more balanced and dynamic composition that just feels more professional.
- Keep the Camera at Eye Level: This is a big one. Always try to get your webcam at eye level. Looking down at the camera is rarely flattering, and looking up at it can make you seem distant or disconnected.
- Watch Your Headroom: Leave a little bit of space above your head, but not too much. A vast empty space can make you look small and diminished in the frame.
- Declutter Your Background: Before you hit record, take a quick look at what’s behind you. A tidy bookshelf or a simple wall is always a better choice than a cluttered room full of distractions.
Get Your Lighting Right
I can't stress this enough: good lighting is the single most effective thing you can do to boost your video quality. You don't need a complex three-point lighting rig—in fact, the best light source is often completely free.
If you can, set up your desk so you’re facing a window. Natural, diffused light is incredibly soft and flattering, and it gets rid of the harsh shadows that scream "low-budget video." If you can't use a window, even a simple desk lamp placed behind your webcam can work wonders. Just avoid sitting with a bright window or light behind you, or you’ll turn into a silhouette.
The goal here is simple: illuminate your face evenly. Poor lighting makes even the most expensive webcams look grainy and unprofessional. Getting this right is non-negotiable for a quality recording.
Prioritize Crystal-Clear Audio
Here’s a hard truth: viewers will forgive slightly fuzzy video, but they will absolutely click away from a video with bad audio. The built-in microphone on your Mac is okay for a quick call with a colleague, but for a polished recording, it’s going to pick up every echo and bit of background noise in your room.
Investing in an external USB microphone is the single best upgrade you can make for your setup. For the best results, position it just a few inches from your mouth and slightly out of the camera's frame. This proximity makes your voice sound rich and clear while cutting down on that hollow room echo.
If you run into any trouble, check out our guide on how to get sound on a screen recording for more advanced troubleshooting tips.
Polishing and Sharing Your Final Video
Hitting "stop" on your recording is just the beginning. The real work—and where the magic happens—is in the edit. This is your chance to turn raw footage into a sharp, professional video, trimming out the ums, ahs, and awkward pauses to make sure your message hits home.
You don't need to be a Hollywood editor to get great results. Thankfully, an app like Screen Charm has the essential tools built right in. You can start tidying up your recording the moment you finish, without the hassle of exporting and importing files into a separate program.
Refining Your Recording
First things first: trimming. Just about every take has a few seconds of dead air at the start while you get ready and a clunky moment at the end as you reach for the stop button. Snipping these off instantly makes your video feel tighter and more professional.
Beyond just trimming the ends, you can tweak the dynamic elements you recorded. For example, you can adjust the auto-zoom to make sure it perfectly highlights the most important parts of your screen demo. This gives you precise control over where your audience looks, making even a complex tutorial feel simple and clear. Once your footage is captured, editing is the next crucial step. For those just starting out, these essential video editing tips for beginners offer a great foundation for turning raw clips into something engaging.
The point of editing isn’t to add fancy effects; it's to remove distractions. A great edit feels invisible, letting the viewer focus completely on your content, not the production itself.
Once you’re happy with the edits, it's time to export. You'll want to save it in the highest quality possible. Screen Charm lets you export in a stunning 4K UHD, ensuring your video looks crisp and professional on any device, from a small phone to a massive monitor.
Getting Your Video Out There
With your polished video ready to go, the last step is sharing it with the world. Where you post it really depends on what you want to achieve.
- Product Landing Pages: Embedding a demo on your website is a powerful way to show your product in action and can seriously lift conversion rates.
- YouTube Tutorial Series: If you're creating educational content, YouTube is the undisputed king for reaching a huge audience and building a following.
- Internal Knowledge Base: A well-made walkthrough is invaluable for training new hires or documenting company processes.
- Social Media: Short, snappy clips are perfect for sharing on platforms like X or LinkedIn to announce a new feature or share a quick tip with your network.
Thinking about where your video will live from the very beginning helps ensure all the effort you put into recording and editing pays off. It's the final piece of the puzzle that connects your great content with the right audience.
Troubleshooting Common Mac Webcam Issues
Even with the best-laid plans, a recording session can hit a technical snag. When you're trying to record with a webcam on your Mac, a few common problems can pop up. The good news? Most have simple fixes that will get you back on track without much fuss.
As remote work has become the norm, webcam recordings are more critical than ever. In fact, some reports show over 60% of employee monitoring tools now include screenshot capabilities, underscoring the need for reliable Mac apps that handle screen and webcam recording securely. You can learn more about preventing remote work privacy failures to understand the importance of secure tools.
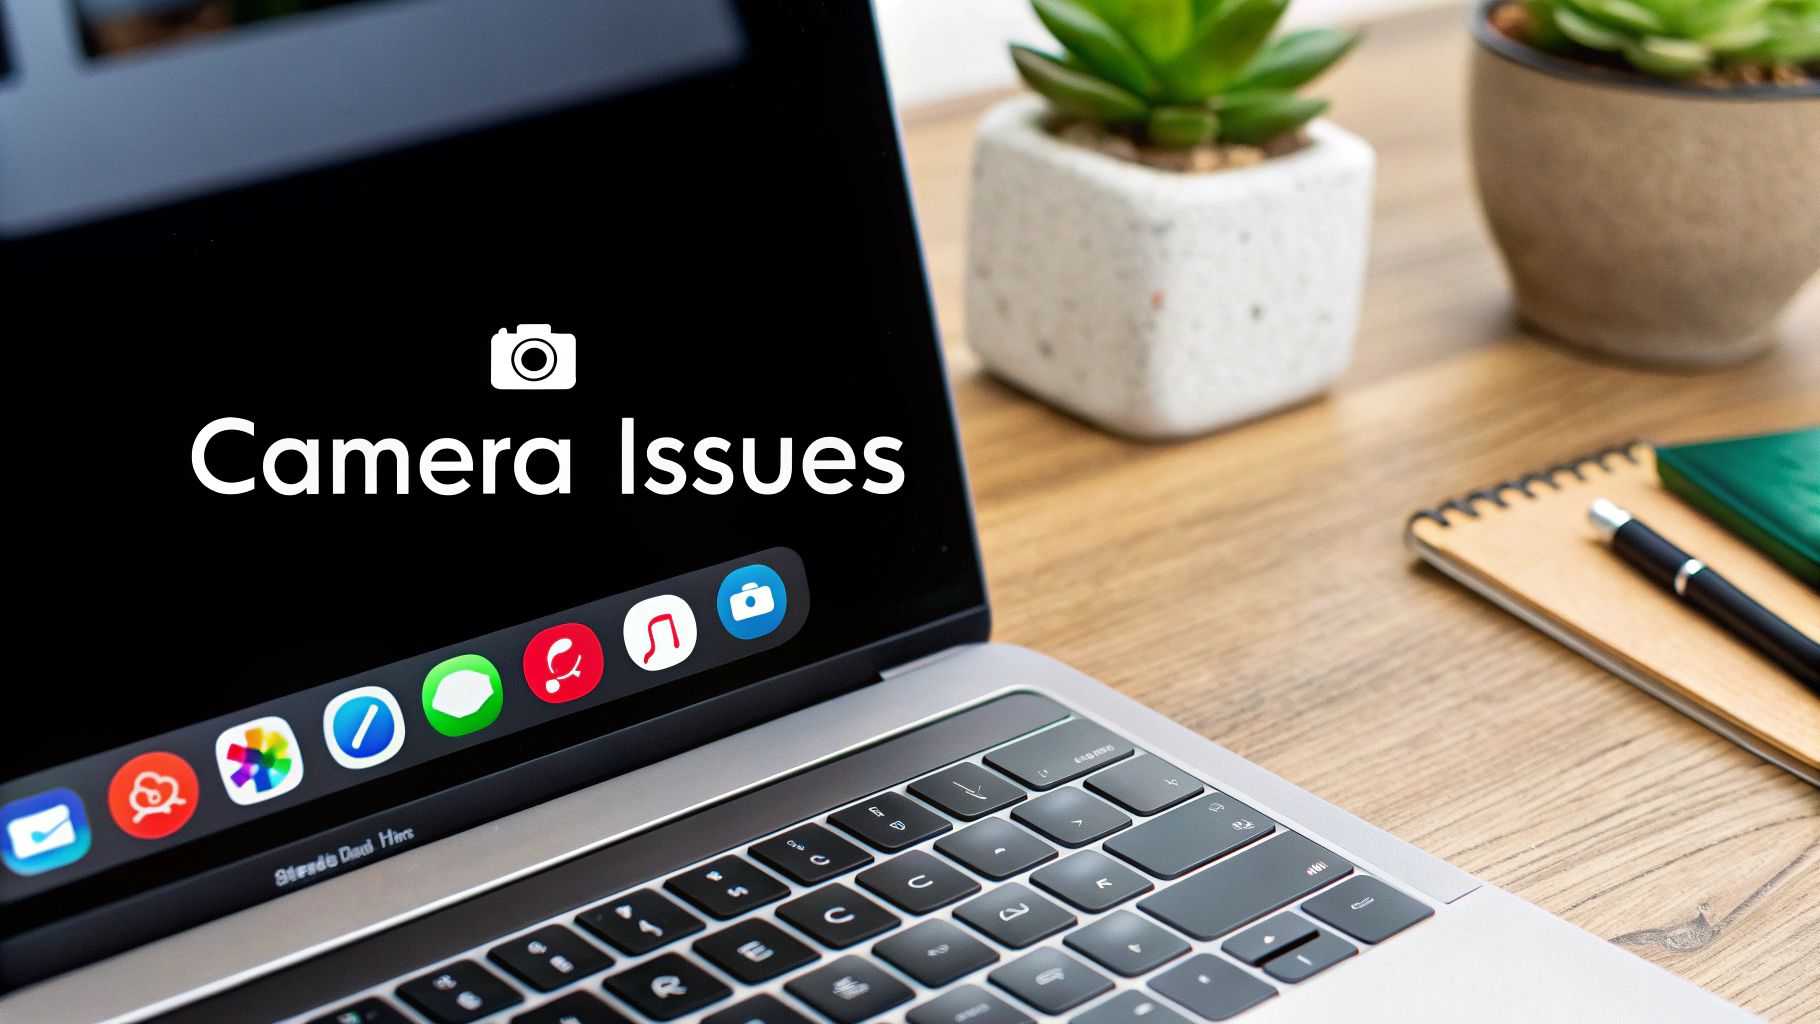
Fixing Detection and Permission Problems
One of the most common headaches I see is the Mac simply not recognizing the webcam. More often than not, another app like FaceTime or Zoom is silently holding the camera hostage in the background. The quickest first step is always to quit every other application that might use the camera.
If that doesn't solve it, your next stop is System Settings:
- Head over to Privacy & Security.
- Find and click on Camera in the sidebar.
- Check the list and make sure the toggle next to your recording app (like Screen Charm) is switched on. This gives it the green light to use your webcam.
Sometimes, you might need to restart the app after flipping that switch for the changes to kick in.
macOS is built for security, which is great, but it means you have to give permission for almost everything. It’s an easy step to forget when you’re eager to start recording.
Solving Choppy Video and Audio Sync
Is your final video stuttering, or does your voice not quite match your lip movements? This is usually a classic sign of an overworked Mac. High-quality video recording takes a lot of processing power.
Before you hit record, close down any extra browser tabs and applications you don't need. This frees up valuable system resources, giving your recording a much better chance of running smoothly.
Also, if you're using an external webcam, try plugging it directly into your Mac instead of through a USB hub. Hubs can sometimes create data bottlenecks that lead to those frustrating sync issues.
Got More Questions? We’ve Got Answers.
Jumping into screen recording with your webcam can bring up a few specific questions. Let's tackle some of the most common ones I hear from people just getting started.
Will My Older Mac Bog Down During High-Quality Recording?
Most Macs from the last several years are more than capable of recording your screen and webcam at the same time. You shouldn't have any major problems.
That said, if you start to hear your Mac's fan kick into overdrive or notice the final video is choppy, it's a sign your computer is struggling to keep up. The easiest fix? Just close out any apps and extra browser tabs you don't absolutely need for the recording. This frees up memory and processing power, usually leading to a much smoother capture.
What’s the Best Way to Export My Video for YouTube?
For sharing on sites like YouTube or Vimeo, you can't go wrong with 1080p (1920x1080). It’s the sweet spot for crisp, clear video quality.
When you get to the export settings, look for the H.264 codec. It's the industry standard for a reason, giving you a fantastic balance between a high-quality image and a manageable file size. Your videos will look sharp and won't take an eternity to upload.
A quick pro-tip: Don't get hung up on 4K. Unless you’re recording incredibly detailed design work or high-resolution gameplay, 1080p is more than enough. The goal is a clear video with a reasonable file size.
How Can I Stop That Annoying Webcam Flicker When I Record a Monitor?
Ever tried to record an older monitor or a TV screen, only to see a weird, distracting flicker or a dark bar rolling down the image? That’s usually caused by the screen's refresh rate not syncing up with your camera's shutter speed.
Some more advanced recording apps and external webcams have a specific anti-flicker setting. This feature lets you manually tweak the shutter speed to match the display you're recording, which gets rid of that visual artifact completely.
Ready to skip the technical headaches and create polished, professional demos? Screen Charm packs everything you need—from automatic zoom to custom backgrounds—into one intuitive tool. Start making better videos today.