A Practical Guide to Record Screen Mac OS Like a Pro
Before you spend a dime on fancy software, it's worth getting to know the powerful screen recorders already built right into your Mac. macOS gives you two fantastic, zero-cost options that are perfect for everything from quick bug reports to full-on feature demos.
Knowing which one to use, and when, is the first step to creating clean, professional-looking videos right out of the box. This is a fundamental skill for effective training video creation, letting you produce clear and engaging content without any hassle.
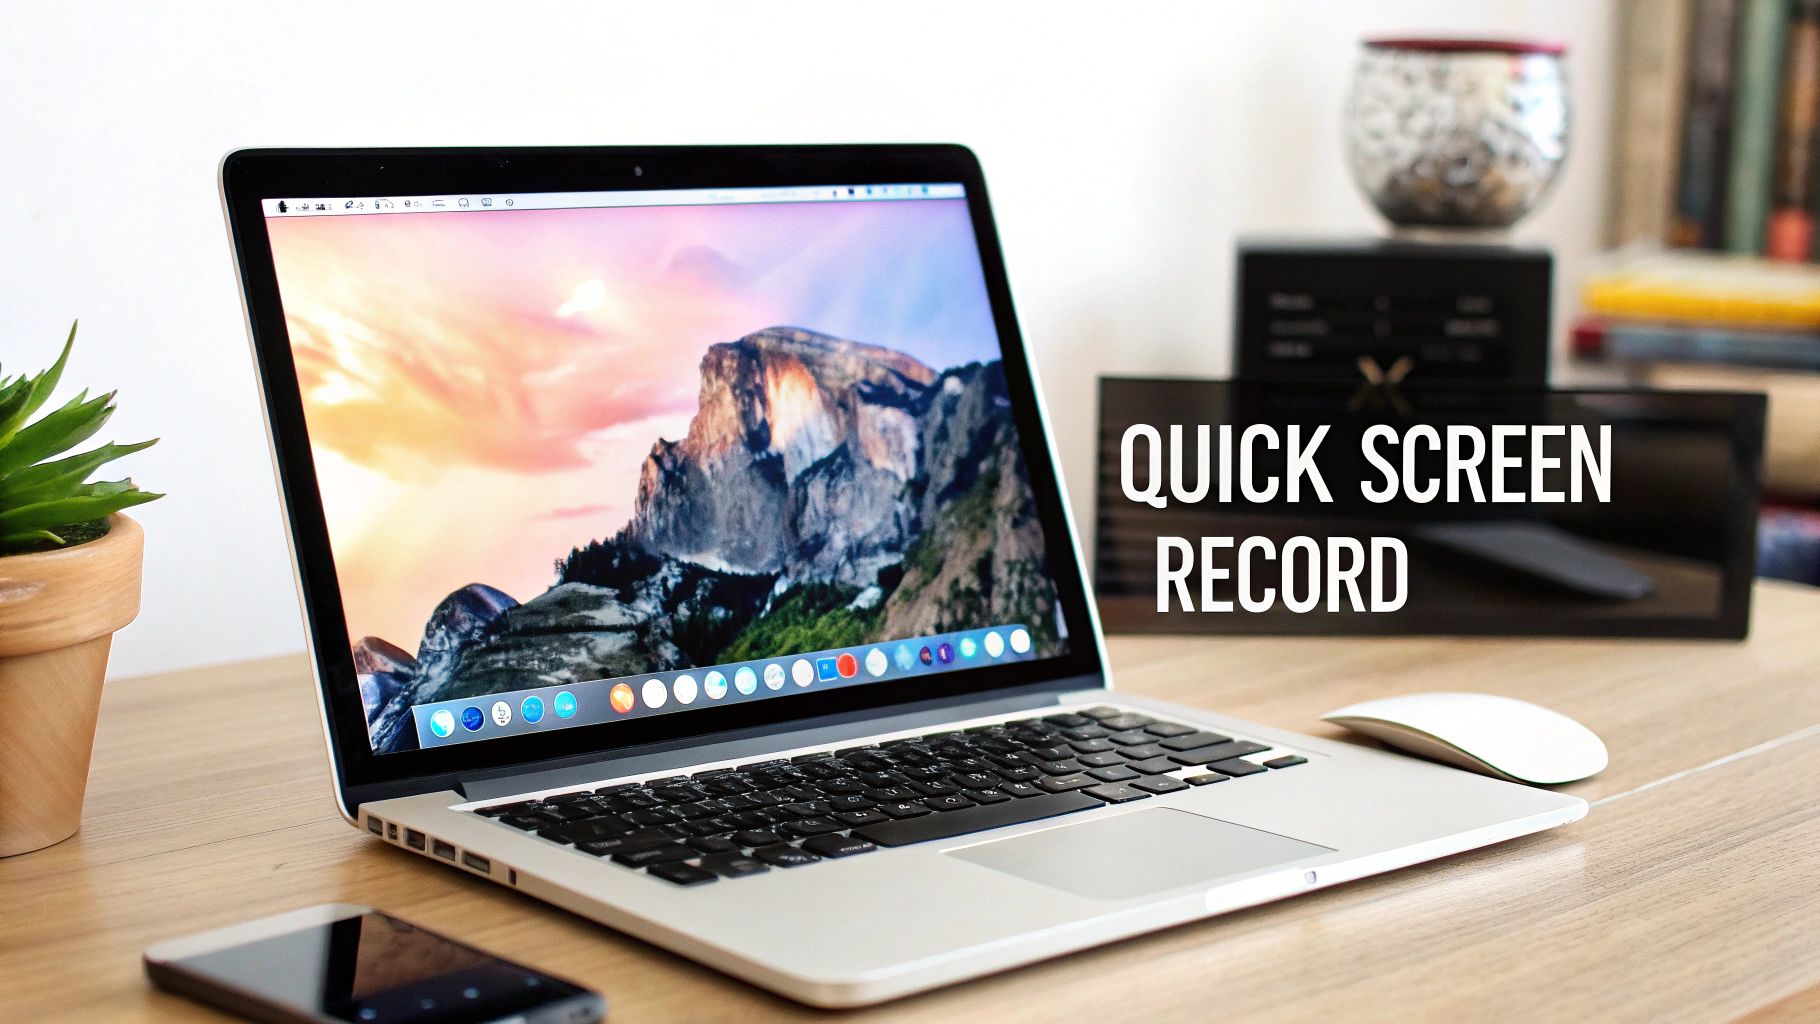
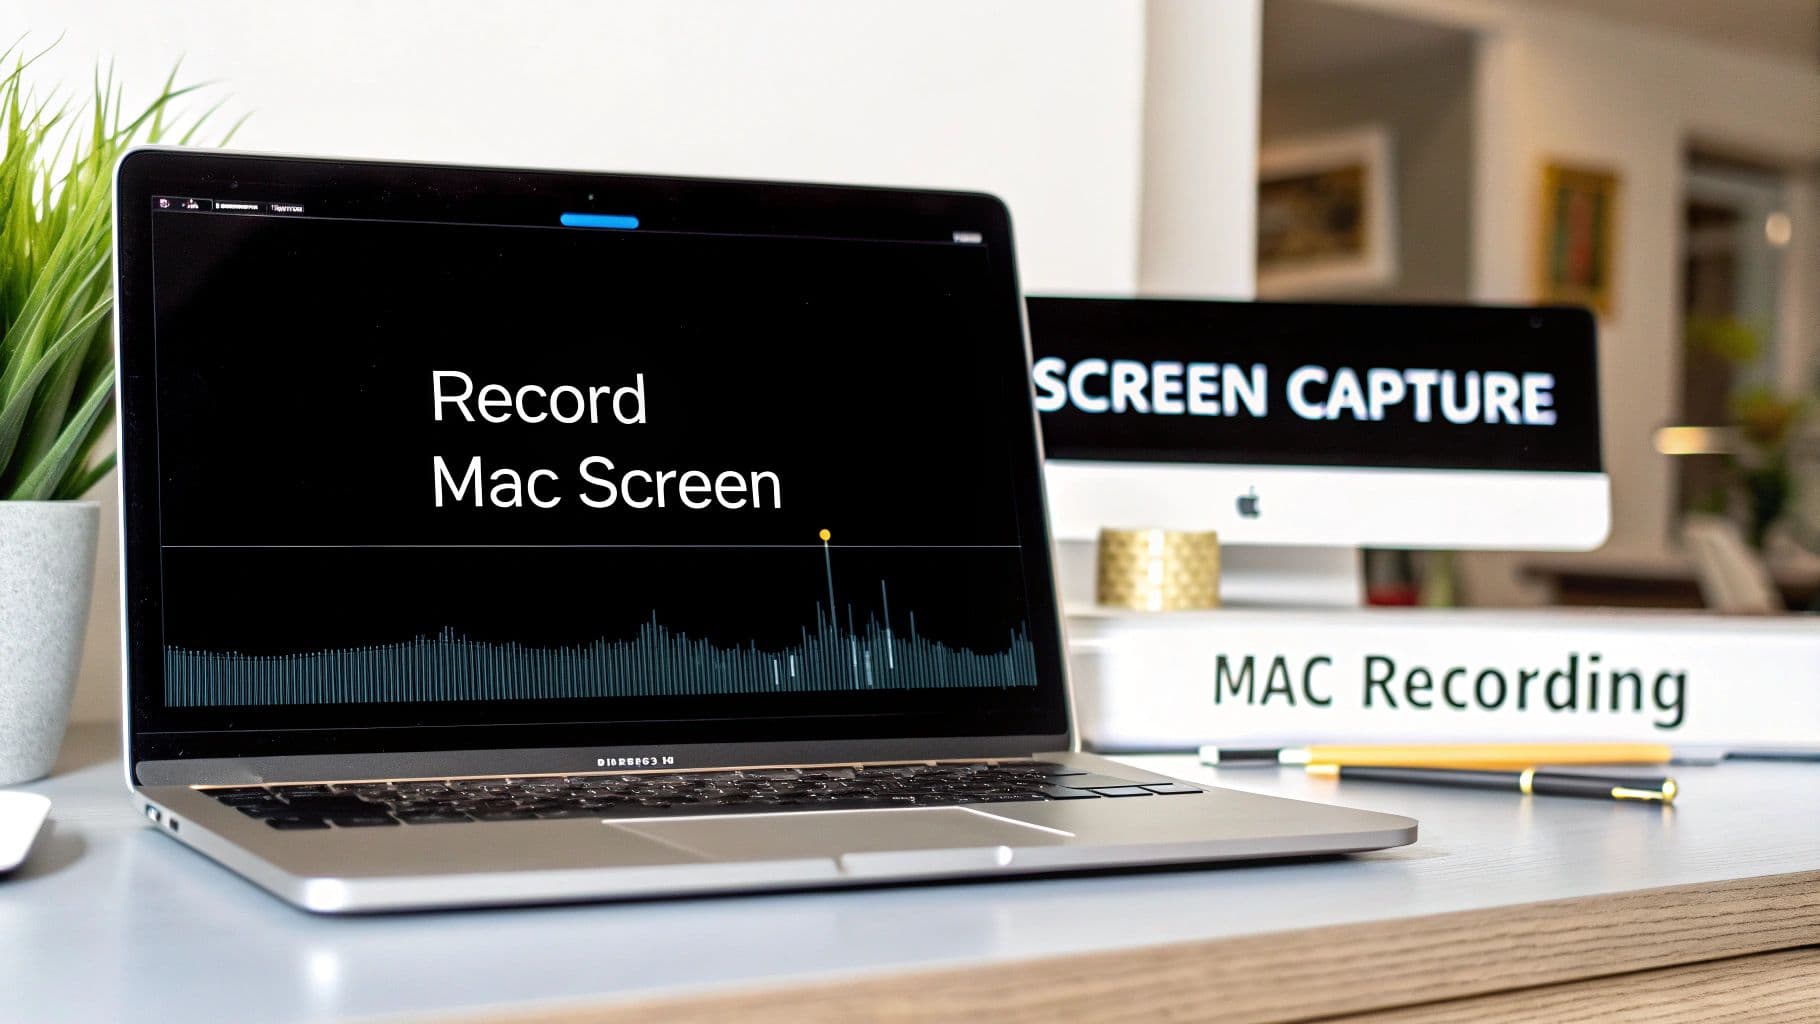
The Screenshot Toolbar: Your Go-To for Quick Captures
When you need to record your Mac's screen in a hurry, the Screenshot Toolbar is your best friend. Just hit Command + Shift + 5, and a simple control bar pops up over whatever you're doing. No need to open an application—it's built for speed right into macOS.
This little toolbar gives you two ways to record:
- Record Entire Screen: Use this when you need to show something happening across your whole desktop or between different apps.
- Record Selected Portion: This is my personal favorite. It lets you draw a box around just one window or a specific part of the user interface, which keeps your viewers focused and cuts out all the distracting background clutter.
Don't forget to check the "Options" menu. You can set it to show a visual highlight every time you click the mouse—a small yellow circle appears—which is incredibly helpful for tutorials. You can also select a microphone to record a quick voiceover on the fly.
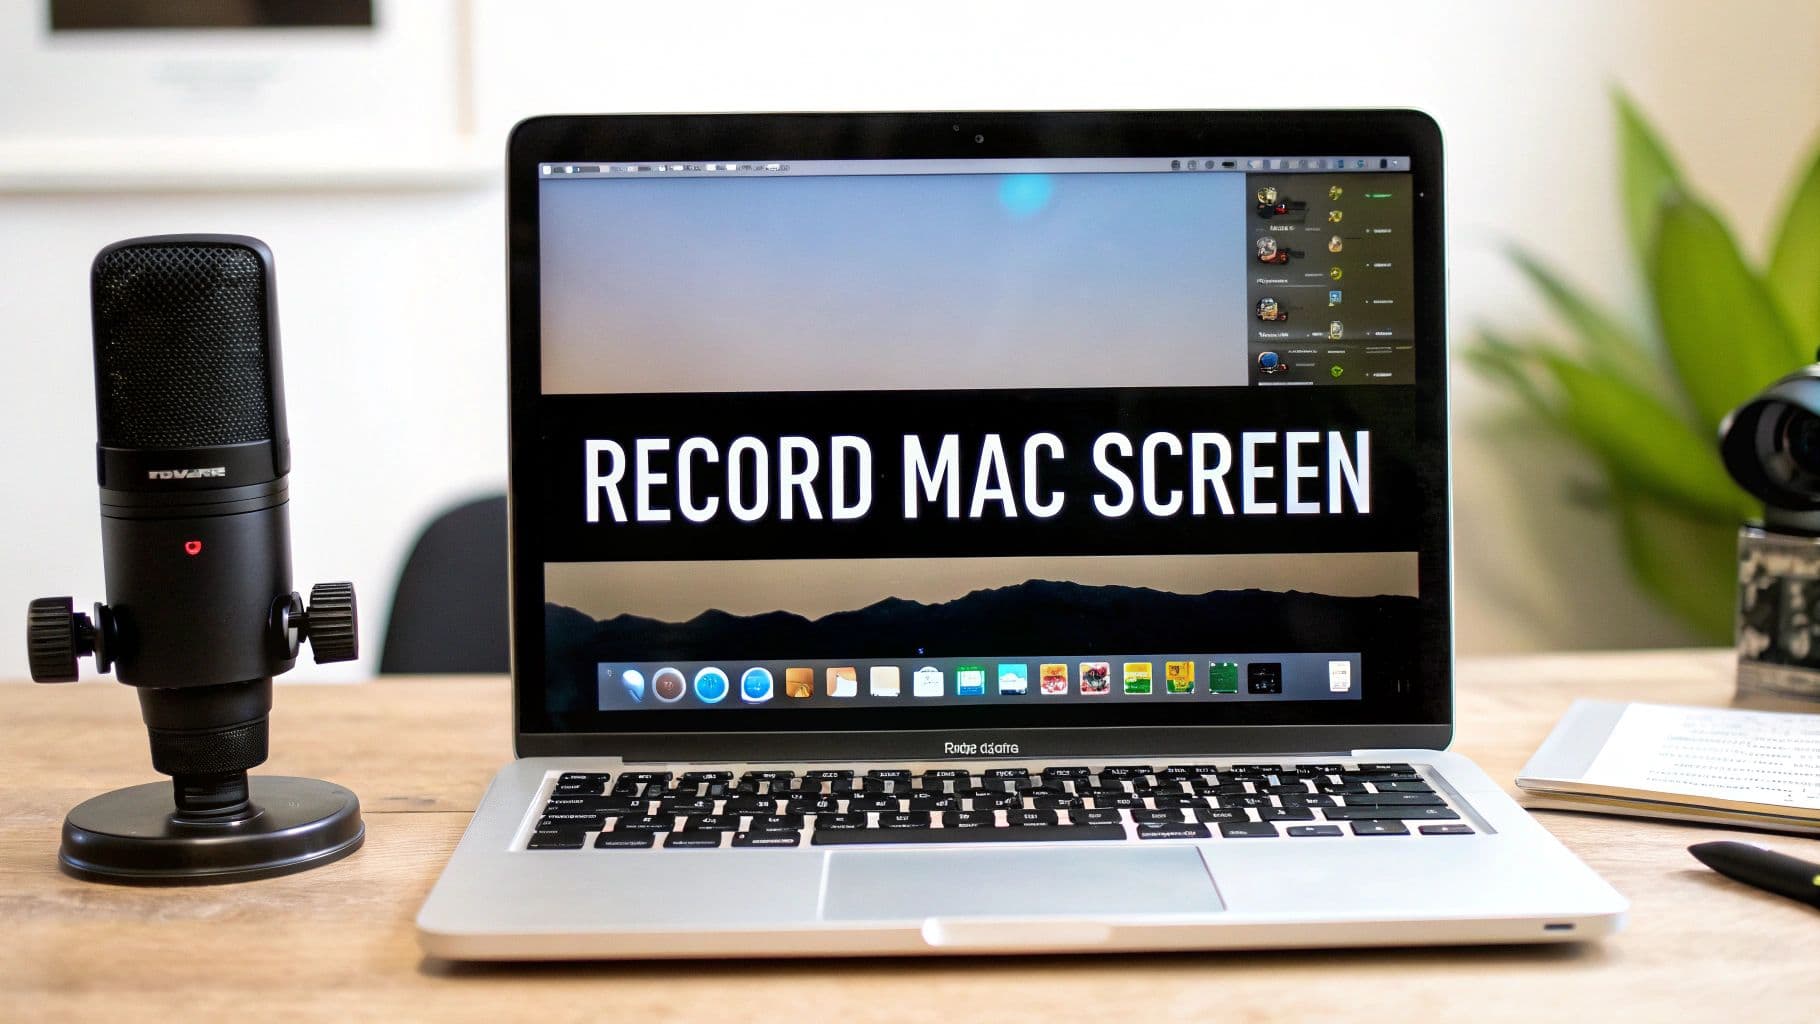
QuickTime Player: For a Little More Control
For times when you need more than just a quick clip, turn to QuickTime Player. It’s been a Mac staple for years and offers a bit more flexibility. Open it from your Applications folder and go to File > New Screen Recording.
While the recording interface looks similar to the Screenshot Toolbar, QuickTime has a secret weapon that many people miss.
You can connect your iPhone or iPad directly to your Mac with a standard Lightning cable and select it as the video source in QuickTime. This gives you a flawless, high-quality recording of your mobile device's screen—no clunky screen mirroring apps required.
This is a game-changer for anyone creating mobile app demos. It captures the screen perfectly. Once you’re done recording, QuickTime also has simple trimming tools, so you can easily snip off the beginning or end of your video before you save it.
Choosing Your Native macOS Recording Tool
So, which built-in macOS tool should you pick? It really depends on what you're trying to do. Here's a quick breakdown to help you decide.
| Feature | Screenshot Toolbar (Cmd+Shift+5) | QuickTime Player |
|---|---|---|
| Best For | Quick, impromptu recordings & screen clips | Basic tutorials & iPhone/iPad screen recording |
| How to Access | Keyboard shortcut (Cmd+Shift+5) | Applications > QuickTime Player > File |
| Key Advantage | Speed and convenience; no app to open | Can record connected iPhones and iPads |
| Editing | None (must use Photos or another app) | Basic trimming (start and end) |
| Microphone Audio | Yes | Yes |
| Show Mouse Clicks | Yes | No |
Ultimately, the Screenshot Toolbar is for speed, while QuickTime Player is for those rare times you need to record a mobile device or do a quick trim without leaving the app.
The Limits of Going Native on macOS
These built-in tools, which have been standard since macOS Mojave launched back in 2018, are great starting points. But let's be realistic—they have their limits.
They completely lack advanced features like automatic zooming to follow your cursor or integrated editing beyond a simple trim. This means you’re often forced to export your raw footage into another application for polishing, which can slow down a professional workflow by up to 40% when creating polished product demos.
This gap is precisely why specialized macOS tools exist—for those moments when you need a higher degree of polish, efficiency, and professional features that the built-in options just can't provide.
Setting Up Audio and Webcam for Polished Recordings
A silent screen recording is like a meal with no flavor—it gets the job done, but it’s completely forgettable. To really connect with your audience, you need two things: crystal-clear audio and the personal touch of a webcam. These elements are what turn a basic screen capture into a professional presentation people will actually trust and learn from.
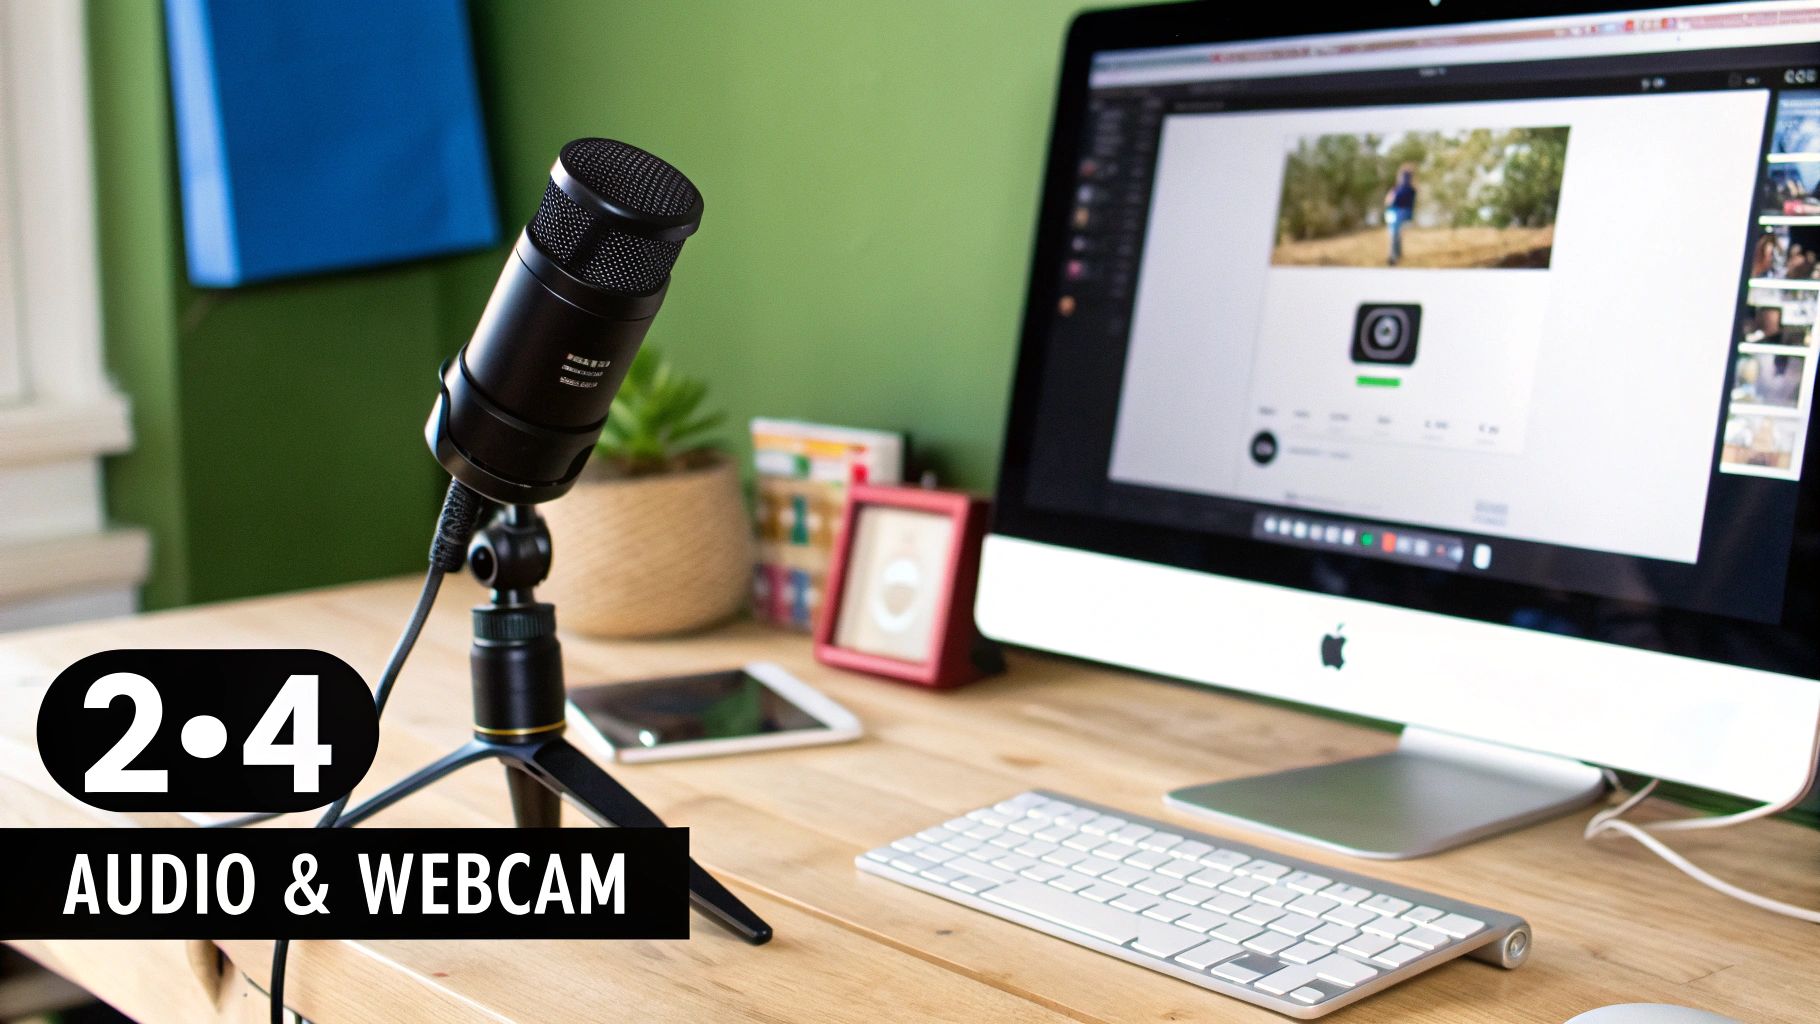
Great audio starts with your microphone. While your Mac’s built-in mic is fine in a pinch, it’s notorious for picking up every keyboard tap, fan whir, and echo in the room. If you're creating tutorials or product demos, investing in an external USB microphone is one of the smartest upgrades you can make.
Choosing and Configuring Your Microphone
A dedicated mic, like a Blue Yeti or Rode NT-USB, does a much better job of isolating your voice for that rich, clean sound. The good news is that they're plug-and-play. Once connected, your Mac will recognize it immediately, and you can select it as your input source in the Screenshot Toolbar's "Options" menu or within QuickTime Player.
To get that pristine audio quality, a few simple practices go a long way:
- Find a quiet space. Hard, empty rooms are your enemy. Record in a room with soft surfaces like carpets, curtains, or even a closet to absorb sound and kill echo.
- Position your mic correctly. Keep the microphone about 6-12 inches from your mouth and slightly off to the side. This simple trick captures your voice clearly while avoiding those harsh "popping" sounds from letters like 'P' and 'B'.
- Do a test recording. Always, always record a 30-second test clip. Put on headphones and listen back—you’ll be surprised by the background hum or weird noises you might have missed.
A common frustration on macOS is capturing system audio, which are the sounds coming from your applications. For privacy reasons, Apple doesn't offer a built-in way to do this. You'll need a third-party tool to route that audio into your recording. For a full walkthrough, check out our guide on recording system audio on a Mac.
Integrating Your Webcam for a Personal Touch
Putting your face in the video builds an instant connection. It shows there’s a real person behind the tutorial, which does wonders for building trust and keeping viewers engaged. You can use your Mac's built-in FaceTime camera or plug in an external one.
If you’re using QuickTime Player, you’ll quickly hit a wall: you can’t record your screen and webcam in a single file. The classic macOS workaround involves opening a "New Screen Recording" and a "New Movie Recording" at the same time, then layering the two clips together in an editor. It's a bit of a hassle.
A much simpler approach is to use a macOS tool that automatically creates a picture-in-picture effect for you as you record. But no matter which tool you use, how you present yourself on camera is what really counts.
Best Practices for a Professional Webcam Feed
You don't need a fancy studio to look great on camera. A few quick adjustments to your setup can dramatically boost your video quality.
Lighting Is Everything
This is the single most important factor. Seriously.
- Face the Light: Your main light source, whether it’s a window or a lamp, should be in front of you. If it’s behind you, you’ll turn into a dark silhouette.
- Avoid Overhead Lights: Harsh lighting from above creates weird, unflattering shadows. A simple desk lamp or an affordable ring light will give you much softer, more even light.
Camera Positioning and Background
A good angle and a clean background keep the focus where it belongs—on you.
- Eye Level Is Key: Position your camera at or slightly above your eye level. Nobody wants to look up your nose from a laptop camera on a desk. Use a stack of books or a laptop stand to get it right.
- Tidy Up Your Background: A cluttered, messy background is distracting. A simple bookshelf, a clean wall, or even a subtle virtual background keeps things looking professional.
Taking a few minutes to nail your audio and webcam setup is what separates an amateur recording from a polished, engaging video that your audience will actually value.
Advanced Techniques for a Flawless Mac Screen Recording
Nailing the basics of screen recording is one thing, but turning that raw footage into a truly compelling product demo? That's a different game entirely. It’s all about guiding your viewer’s attention, making even the most complex workflows on your Mac feel simple and obvious. These advanced techniques are what separate a passive screen share from an engaging story about your product.
A polished demo is an exercise in control—you're controlling where your audience looks and what they focus on. Just hitting record and clicking around the entire screen usually creates a mess where the important actions get lost. To really make your content shine, you have to direct the viewer’s eye with intention.
The Art of Strategic Zooming and Panning
Think of zooming as more than just making things bigger; it’s a powerful storytelling tool. When you zoom in on a specific button, menu, or form field, you’re essentially telling your audience, "Hey, look here. This part is important." This is absolutely critical when you record a screen on macOS for a detailed tutorial.
Instead of forcing the viewer to scan a busy interface, a smooth zoom isolates the key action. It cuts out the noise and makes your point crystal clear. Imagine you're showing off a complex settings panel. A gentle zoom into the specific toggle you’re about to flip is far more effective than a static, wide shot could ever be.
This approach instantly makes your demonstration feel more professional and easier to follow. And when you pair that zoom with a slow pan to the next area of interest, you create a seamless flow that feels natural, almost like how our eyes would explore an interface in person.
The real secret is making these movements feel deliberate, not jarring. In fact, studies on video tutorial engagement show that guided visual cues like dynamic zooming can boost comprehension and retention by over 30%. It simply reduces the mental effort required from your viewer.
Mastering Intentional Cursor Movement
In any Mac screen recording, your cursor is the star of the show. Its every move should be purposeful and clean, acting as a guide for the viewer's gaze. Haphazard, jerky mouse movements are incredibly distracting and can make an otherwise great demo look amateurish.
Before you even think about hitting record, do a dry run of the workflow. Know exactly where you need to click and move the cursor there with a smooth, direct path. Try to avoid fidgeting or circling the cursor while you figure out what to say next—these little habits can really drag down the final quality.
To give your actions more impact, consider highlighting your cursor clicks. This adds a small visual cue, often a colored circle that flashes on screen, confirming that you’ve clicked something. It's especially handy for showing subtle UI interactions that viewers might otherwise miss.
Pro-Tip for Cursor Clarity on macOS
- Make It Bigger: Temporarily bump up your cursor's size in System Settings > Accessibility > Display > Pointer. A slightly larger pointer is so much easier for people to follow on screen.
- Use a Highlighter: Many screen recording tools let you add a colored circle or highlight around your cursor, making it pop against any background.
- Pause with Purpose: Briefly pause the cursor over an element just before you click. This tiny hesitation gives the viewer a moment to register what’s about to happen.
Why Recording Resolution Matters More Than You Think
Getting the resolution right is fundamental for a crisp, professional-looking video. It’s tempting to just record your entire Mac screen as-is, but your display's resolution has a huge impact on the final quality, especially when that video gets viewed on a smaller screen or embedded on a webpage.
For instance, if you record a massive 4K or 5K Mac display and then shrink it down to fit in a standard 1080p (1920x1080) video player, all that beautiful detail gets lost. Text becomes blurry, and UI elements can turn into an unreadable mush. The best practice is to set your Mac’s display resolution to a standard video dimension before you start recording.
A common professional workflow is to set the display to either 1920x1080 or 2560x1440. This ensures that what you record is exactly what the viewer sees, with no weird scaling artifacts. The result is a much sharper, cleaner video that looks fantastic everywhere, from YouTube to a blog post. Taking a minute to adjust this setting is a small step that pays off big time.
If you're looking for more ways to create demos that truly stand out, we've got more ideas in our guide on creating exceptional product demo videos that will help you captivate and convert your audience.
Polishing Your Mac Screen Recording: Editing and Exporting
So, you’ve hit the stop button on your screen capture. That’s a great start, but the raw footage is just the beginning. The real magic happens in the edit, where you turn a clunky recording into a polished, professional video that actually respects your viewer's time.
You don’t need to be a seasoned video editor or have fancy software to make a huge difference. The whole point is to be efficient and clear. We're just talking about trimming the fat, cleaning up mistakes, and adding a bit of context where it helps.
The Essentials of a Clean Edit
First thing’s first: clean up the timeline. Almost every single screen recording has those awkward few seconds at the beginning and end—you know, the bit where you're fumbling to start the recorder or the final click to stop it. Slicing those off is the quickest win you can get. It instantly makes your video feel more intentional.
Next, hunt down any mistakes or long, dead-air pauses in the middle. Did you misspell a word, click the wrong menu, or just get stuck for a moment? Just cut that part out. A tight, concise video is way more engaging and keeps people watching far longer than one filled with unnecessary fluff.
Post-production isn't just about damage control; it's about telling a better story. Studies have shown that viewers start to check out after just a few seconds of confusing navigation or silence. A sharp edit keeps the momentum going and your audience locked in.
Finally, think about adding simple text overlays or callouts to guide the viewer. A quick title card, your name and title in the corner, or a text box clarifying a tricky step adds a layer of professionalism and makes your content much easier to digest.
Demystifying Export Settings for Perfect Playback
Once your edit is locked in, it’s time to export. This is the final, crucial step where a lot of people get tripped up. Getting these settings right ensures all your hard work looks crisp and clean, no matter where you share it.
When you record screen Mac OS footage, you're always looking for that sweet spot between high quality and a manageable file size. You don't want a file so massive it takes forever to upload or buffer.
For just about any online platform you can think of—YouTube, social media, your company’s knowledge base—the undisputed champion is the MP4 file format using the H.264 codec. This combination is fantastic because it squishes the file size down without wrecking the visual quality. Plus, it’s universally supported, so playback issues are practically a non-issue.
Choosing the Right Resolution and Format
The resolution you choose for your export really depends on where the video is going to live. You might record in beautiful 4K to capture every little detail, but you probably don't need to export a file that big for a quick social media post.
Here’s a practical guide to common export settings:
- High-Quality YouTube Tutorial: Aim for 1920x1080 (1080p) or even 2560x1440 (1440p). This keeps text sharp and ensures everything looks great, even on big monitors.
- Website or Blog Embed: 1080p is still a solid choice here. It looks professional without being too chunky for web browsers to load quickly.
- Social Media Clip (e.g., Twitter, LinkedIn): For short clips, you can get away with a lightweight GIF or a smaller MP4. A resolution of 1280x720 (720p) is often plenty and loads much faster in a mobile feed.
Most macOS editing tools, including QuickTime's "Export As" feature, have built-in presets like "1080p" or "Web" that handle all the technical details for you. Just pick the one that matches your goal, and you can be confident your final video will be optimized and look fantastic wherever it's shared.
A Smarter Workflow with Screen Charm
Let's be honest, while the built-in macOS tools get the job done for a quick capture, creating a truly polished product demo or tutorial can be a real grind. You end up recording in one app, manually setting keyframes for every single zoom in another, and maybe even jumping to a third for final edits. It’s a fragmented, time-consuming mess.
This is where a dedicated macOS tool can completely change the game, turning that multi-app headache into a single, smooth process.
For anyone serious about creating professional-level screen recordings on a Mac, an app like Screen Charm is built to solve these exact frustrations. It pulls the most important features—like dynamic zooming and on-the-spot editing—into one place, which is a massive time-saver. After all, if you want to consistently produce great videos, you need to master your video production workflow.
Say Goodbye to Manual Keyframing with Auto-Zoom
One of the biggest game-changers is automatic zoom. Instead of tediously setting start and end points for every pan and zoom, Screen Charm’s auto-zoom intelligently follows your cursor. As you move around the Mac screen, it smoothly zooms in on the action, highlighting the exact buttons, menus, or text fields you're focused on.
Think about it: this single feature can save you hours of post-production work. It keeps your viewer’s attention exactly where it needs to be, making even complex steps easy to follow. You can nail a professional-looking demo in a fraction of the time, all without ever touching a keyframe.
By automating the most tedious part of making a demo, you can finally focus on your message. The tool handles the visual storytelling for you.
The whole idea is to get you from raw footage to a finished product without all the usual friction.

This workflow is baked right into the app, keeping everything you need for creating a great video under one roof.
Customize Your Presentation for a Branded Look
In any screen recording, your cursor is the star of the show. Screen Charm gives you total control over how it looks. You can change its size and color to match your company's branding or just make it pop so it's easier for viewers to follow. It's a small detail that adds a big layer of professionalism.
You can also record your webcam with custom or even transparent backgrounds. This lets you overlay a clean, crisp picture-in-picture of yourself without needing a physical green screen. It's perfect for adding a personal touch and connecting with your audience on a more human level.
An Integrated Editor for Seamless Fine-Tuning
Hopping between your recorder and a separate video editor is just inefficient. The beauty of a purpose-built macOS tool is having everything you need right there. The built-in editor lets you handle all the essential post-production tweaks without ever leaving the app.
- Trim and Cut: Quickly snip out awkward pauses or mistakes.
- Adjust Auto-Zoom: Tweak the automatic zoom effects if you need to, changing the timing or intensity.
- Manage Layers: Easily control your webcam, screen recording, and background layers.
Having these tools integrated creates a much more cohesive and efficient workflow from start to finish. You can learn more about how it all comes together by visiting the https://screencharm.com/ website.
For a one-time price of $49.90, you get unlimited 4K exports and a 30-day money-back guarantee. It’s a powerful, budget-friendly alternative to subscription tools or complex video suites, built for Mac users who want to create compelling videos without the steep learning curve.
Common Questions About Screen Recording on macOS
Even with the best tools, you’ll probably hit a few snags when you first start recording your screen on a Mac. It happens to everyone. Getting ahead of these common issues can save you a ton of frustration and lead to a much cleaner final video. Let's tackle some of the most frequent questions I hear.
One of the first things people notice is that their recording is completely silent, even though they had application sounds playing. This isn't a bug; it's actually an intentional design choice by Apple for macOS.
How Can I Record My Mac Screen with Internal System Audio?
By default, macOS blocks you from directly recording internal system audio. It's a privacy and copyright thing. This means the built-in Screenshot Toolbar and QuickTime Player are set up to capture your microphone, but not the sounds coming from your apps.
If you want to record system audio—say, the sound effects from a game or the audio from a video in your browser—you'll need a little help. The solution usually involves a third-party macOS app or a virtual audio driver.
- Virtual Audio Drivers: A popular tool for this is BlackHole. It creates a virtual audio device that cleverly routes your Mac's output back as an input, which you can then select in your recording software. It’s a bit technical to set up but works like a charm once it's configured.
- Integrated Software: Thankfully, many dedicated Mac recording apps handle this for you. Tools like Screen Charm or OBS Studio have built-in solutions that let you capture both your microphone and system sounds at the same time, no extra setup required.
It's an interesting quirk that even with these workarounds, macOS's audio routing isn't always perfect. Some studies have shown that virtual audio devices can sometimes cause minor audio degradation, which is a bit odd for an OS so beloved by creative professionals.
Why Is My Screen Recording File Size So Large?
Ever finish a 10-minute recording and find you've created a file the size of a feature film? It’s a common surprise. This is usually caused by a combination of high resolution (like 4K), a high frame rate (60fps), and an inefficient video codec. QuickTime, in particular, loves to save recordings with massive, high-quality settings.
To get those file sizes under control without making your video look blurry, you just need to tweak your export settings. Exporting at 1080p (1920x1080) is the sweet spot for most web content, offering a fantastic balance of clarity and size. You can also drop the frame rate from 60fps to 30fps—for most tutorials, your viewers will never notice the difference, and it can cut your file size nearly in half.
Always make sure you're exporting with an efficient codec like H.264 to get the best results.
Can I Record Just One Application Window?
Yes, you absolutely can! This is one of my favorite tricks for creating a focused, professional-looking video. The macOS Screenshot Toolbar (Cmd+Shift+5) makes this incredibly easy.
When you open the toolbar, you’ll see an icon of a window with a dotted outline. That’s the "Record Selected Window" option. Click it, and your cursor will turn into a little camera. Now, just click on the application window you want to record. The recording will be perfectly cropped to that app, hiding your messy desktop and any distracting notifications. It’s the perfect way to create clean product demos.
Ready to skip the workarounds and complex setups? Screen Charm integrates all the features you need—from auto-zoom and cursor customization to easy audio and webcam recording—into one streamlined macOS app. Create polished, professional demos in minutes, not hours. Check out Screen Charm.