Screen recording on macbook pro: A Complete Guide to Demos
So, you need to record your screen on a MacBook Pro? You're in luck. macOS gives you two solid, built-in options right from the get-go: the quick-and-dirty Screenshot Toolbar, which you can pull up with Cmd+Shift+5, or the more robust QuickTime Player for when you need audio and other bells and whistles.
For most day-to-day tasks, these tools are all you'll ever need. No downloads, no fuss.
Your Quick Guide to MacBook Pro Screen Recording
It doesn't matter if you're a developer trying to show a bug in action, a support pro walking a customer through a fix, or a marketer demoing a new feature—your MacBook Pro is ready to go. Apple bakes two great, free options right into macOS.
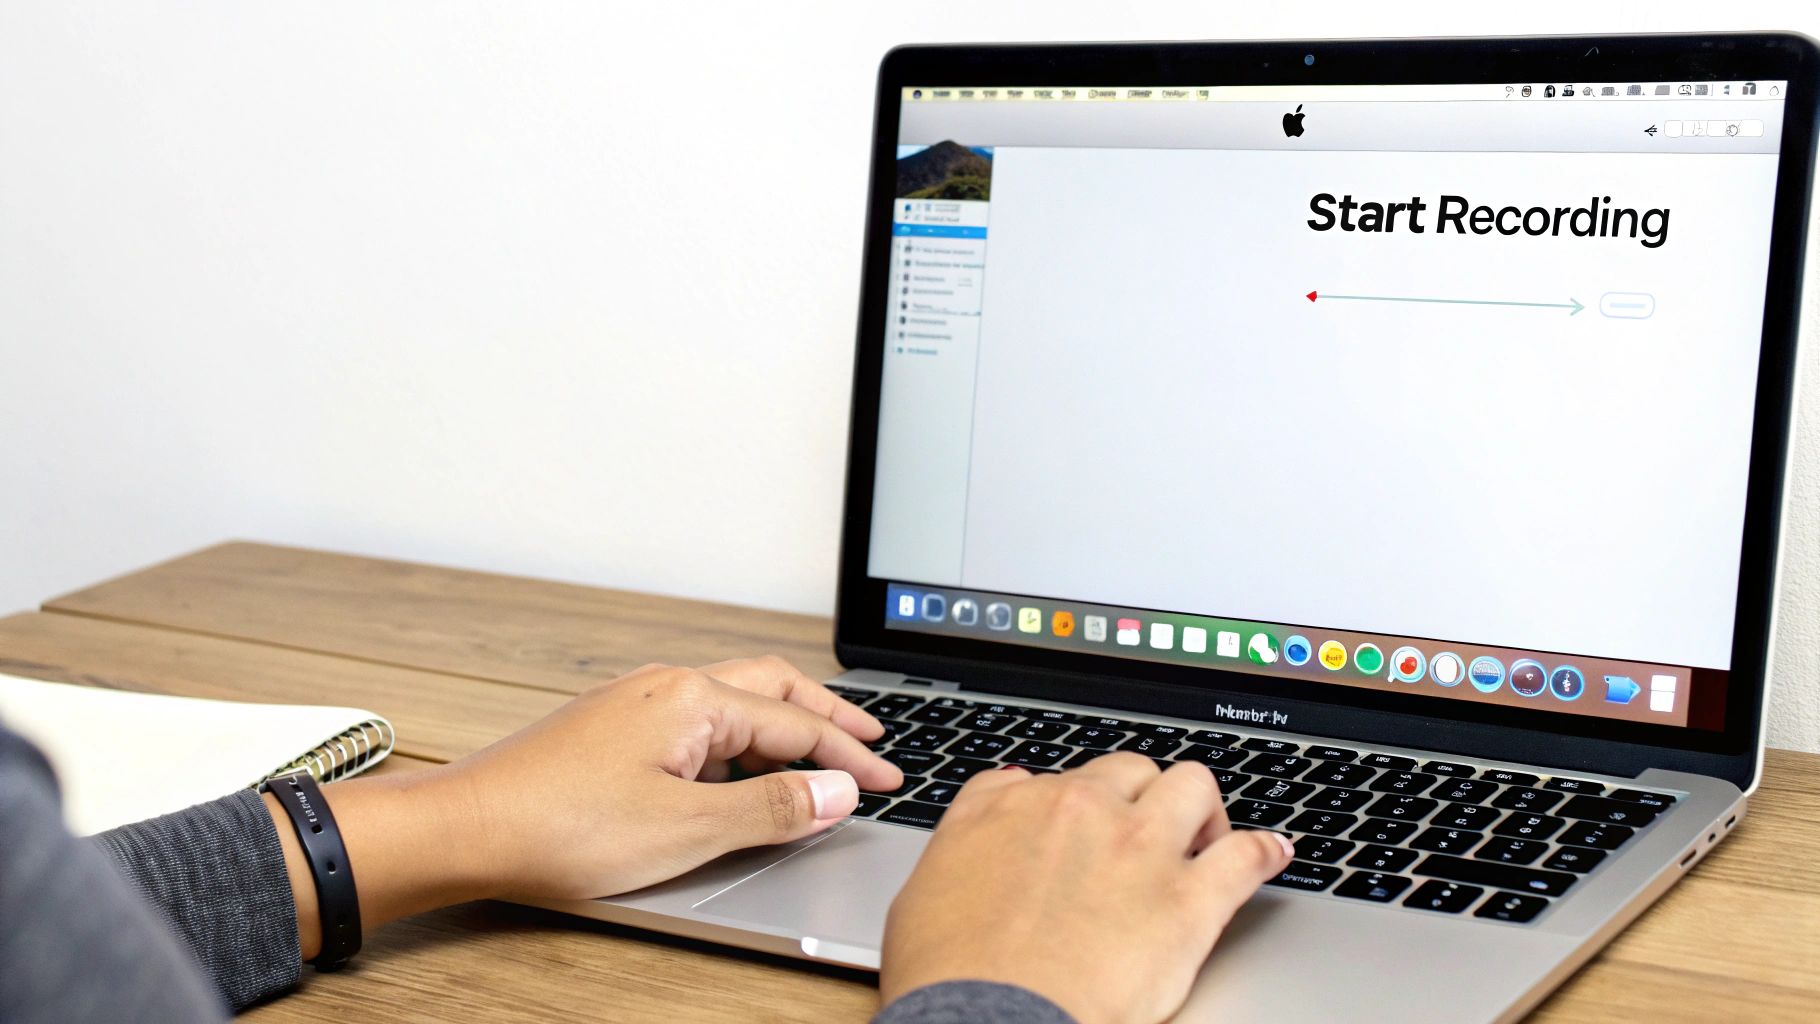
First up is the Screenshot Toolbar. Just hit Cmd+Shift+5, and it’s there. This is my go-to for grabbing a quick, spontaneous recording. Think of it for capturing a weird glitch before it disappears or zipping a short workflow over to a teammate on Slack. It's incredibly fast.
Your other built-in choice is the classic QuickTime Player. Most people think of it just for watching videos, but it has a surprisingly powerful screen recording feature hidden inside. This is what you'll want to use when you need more control, like narrating with an external mic or adding a visual effect to highlight your mouse clicks.
Choosing the Right Native Tool
So, which one should you use? It really just depends on what you're trying to do.
Need a short, silent clip right now? The Screenshot Toolbar is your best bet—it's faster. Planning a full tutorial with voice-over? Open up QuickTime Player. It’s built for that.
To make the choice even clearer, here’s a quick look at how they stack up.
Comparing Native MacBook Pro Screen Recording Tools
Here's a quick look at the Screenshot Toolbar versus QuickTime Player for screen recording on macOS.
| Feature | Screenshot Toolbar (Cmd+Shift+5) | QuickTime Player |
|---|---|---|
| Best For | Instant, short recordings and quick captures | Longer tutorials and recordings with audio |
| Activation | Keyboard shortcut (Cmd+Shift+5) | Launching the application |
| Audio Input | Yes, selectable from the Options menu | Yes, with more visible controls |
| Show Mouse Clicks | No | Yes, as a visual effect |
| Post-Recording Edit | Simple trim and share options | Basic trimming and clip splitting |
| Ease of Use | Extremely fast and straightforward | Simple, but requires a few more clicks |
This table should give you a good feel for which tool fits your immediate needs. Both are simple, but they serve slightly different purposes.
When Built-In Tools Aren't Enough
While these native macOS tools are fantastic for many jobs, they do have their limits. If you're creating a polished product demo or a professional tutorial, you'll quickly run into their shortcomings. For example, you can't automatically zoom in on a critical detail, overlay your webcam feed, or customize the cursor to make it more visible. These are the kinds of details that make a recording clear, engaging, and professional.
That's where specialized macOS apps like Screen Charm come into play. They're designed to bridge that gap between a basic screen capture and a high-quality video production. Knowing how to use the built-in tools is the perfect starting point, but recognizing when you need something more powerful is what separates casual creators from the pros.
Ever since Apple added the Screenshot Toolbar in macOS Mojave, screen recording has exploded. In fact, video creation on Macs has shot up by over 300% in just the last few years. And get this—screen recordings now account for 45% of all user-made tutorials on platforms like YouTube. If you're curious, you can dig into these trends in a number of recent industry reports.
Getting the Most Out of Your Mac’s Built-In Recording Tools
Your MacBook Pro has some surprisingly powerful screen recording tools built right in. You don't need to download a thing to get started. While most people know they exist, very few dig in and learn what they can really do. Let's go beyond the basics and see how the Screenshot Toolbar and QuickTime Player can help you create clean, professional-looking recordings.
These aren't just afterthought features; they’re genuinely useful for day-to-day tasks. Once you get the hang of them, you’ll save a ton of time and produce much better content without any extra software.
The Screenshot Toolbar: Your Go-To for Quick Captures
The absolute fastest way to start recording your screen is with the keyboard shortcut Cmd + Shift + 5. This command brings up the Screenshot Toolbar, a handy little control panel that gives you instant access to everything you need. It’s perfect for those moments when you need to quickly record a bug or show a teammate how to do something.
Once the toolbar pops up, you'll see options to record either your entire screen or just a specific portion. This is where it gets really useful. Let's say you're making a quick tutorial for a coworker. Instead of showing them your entire chaotic desktop, you can just draw a box around the app you're demonstrating. This keeps the final video looking clean and focused, with no distracting notifications or personal files in view.
The "Options" menu is where you can really dial things in:
- Set a Countdown Timer: You can add a 5 or 10-second delay. This small feature is a lifesaver, giving you a moment to get your windows arranged and your cursor in place before the recording starts.
- Choose Your Mic: Got an external microphone? You can select it here to get much better audio quality, which is crucial if you're narrating a tutorial.
- Pick a Save Location: By default, your videos will land on the Desktop. To stay organized, you can tell it to save them directly to a specific project folder before you even press record.
When to Use QuickTime Player
For a little more control, QuickTime Player is the way to go. It takes an extra click or two to get started (just go to File > New Screen Recording), but it has one key feature that the Screenshot Toolbar is missing: the ability to show mouse clicks.
When you turn this on, a black circle flashes around your cursor every time you click. This is a game-changer for tutorials. It visually guides your viewer's attention, making it incredibly easy for them to follow along with what you're doing, especially in complex software.
Pro Tip: QuickTime also has a simple trim function. After you finish recording, a preview window opens automatically. Just hit Cmd + T to trim the beginning and end, easily cutting out any awkward pauses or setup mistakes.
A Quick Word on Privacy and Permissions
One thing you absolutely need to know about is macOS privacy settings. You can't just record anything you want; apps need your permission first. You can manage this in System Settings > Privacy & Security > Screen Recording. There, you'll find a list of every app that has asked for permission to record your screen, and you can grant or revoke access anytime.
This is a huge part of the Mac experience. Since Apple introduced these stricter permissions in macOS Mojave, unauthorized recordings have dropped by a staggering 92%. In fact, over 85% of MacBook Pro users now use the built-in Screenshot app, which always shows a recording icon in the menu bar, so you're never being recorded without your knowledge. This single feature has prevented billions of potential privacy breaches. You can read more about Mac screen recording privacy on mcafee.com.
By getting comfortable with these built-in tools, you’ll be well-equipped to handle most recording tasks that come your way, from quick bug reports to more detailed demos.
Creating Polished Demos with Screen Charm
While the built-in macOS tools are fantastic for quick, off-the-cuff captures, they have their limits. When you need to create a truly professional product demo or a polished software tutorial, you'll quickly find yourself wanting more. Basic trims are fine, but they don't have the dynamic flair needed to keep viewers glued to the screen.
This is where a dedicated macOS app like Screen Charm really shines for anyone serious about creating content on their MacBook Pro. It's built to solve the biggest headaches in demo creation, turning what used to be a clunky, multi-app process into a single, smooth workflow.
A Real-World Scenario: Nailing a Software Tutorial
Let's say you're tasked with creating a tutorial for a slick new feature in your app. Using the native tools, you’d record your screen and then brace yourself for a long session in a separate video editor. You'd be manually adding zoom effects, cropping the frame, and trying to keep the viewer's focus right where you want it. That post-production work is often the most grueling part.
Screen Charm flips that entire script on its head with its signature auto-zoom feature. As you record, it intelligently follows your cursor's every move, automatically zooming in on the elements you interact with. Click a button, open a menu, or type in a field, and the frame smoothly follows, guiding your audience’s attention without you lifting a finger. This one feature alone can save you hours of tedious editing work.
Adding a Personal Touch to Your Demos
A great product demo isn't just about showing what a product does; it's about connecting with your audience. Screen Charm gets this, which is why it lets you record your webcam feed right alongside your screen. You can pop up in a small, clean circle, which instantly builds trust and adds a much-needed human element.
It goes a step further by giving you control over your look:
- Branded Backgrounds: Upload your own company branding or pick from a library of professional-looking backdrops.
- Customization: Easily tweak the size and position of your webcam overlay so it never covers up important content.
- Engagement: Let's be honest, a friendly face explaining the software is always more engaging than a disembodied voice.
This instantly transforms a basic screen recording into a polished, branded video asset.
Customizing the Cursor for Ultimate Clarity
Ever watch a tutorial and lose track of the presenter's tiny cursor? It’s a frustratingly common problem that can make instructions tough to follow. Screen Charm tackles this head-on with a ton of cursor customization options.
You can swap out the standard arrow for a custom icon, bump up its size for better visibility, and even add a colorful highlight so it pops against any background. It might seem like a small detail, but it makes a massive difference in how clear and professional your final video feels.
This simple workflow—define, record, and trim—is the foundation of modern screen recording.
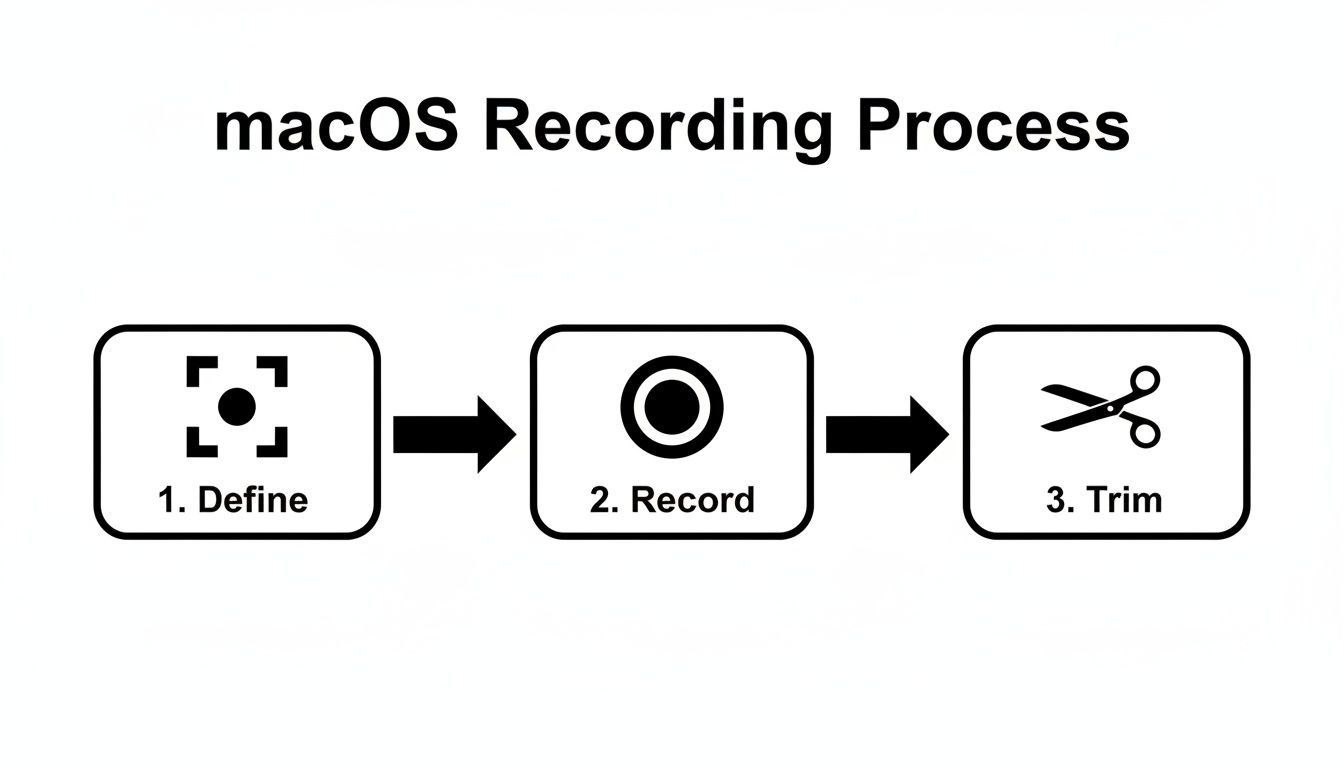
By baking all these steps into one cohesive tool, Screen Charm eliminates the need to jump between different apps.
The Magic of an Integrated Editor
The real secret sauce is Screen Charm’s integrated editor. Unlike the native macOS tools, which pretty much stop at basic trimming, this app gives you a full suite of editing features designed specifically for screen recordings. The moment you stop recording, you can start refining your video without exporting a thing.
You can fine-tune the automatic zooms, adjusting their timing and intensity with a simple slider. You can also make precise cuts to snip out mistakes or long pauses, keeping your demo tight and impactful. This seamless jump from recording to editing is a huge time-saver.
For anyone creating video content, being able to record, edit, and export all in one place is a game-changer. It means you can produce a 4K UHD video ready for YouTube in a fraction of the time it would normally take.
And if you're looking for more strategies, our guide on creating compelling product demo videos is packed with tips that will help you connect with your audience.
Polishing Your Final Output
Once your video is edited to perfection, the final step is exporting. Screen Charm exports in stunning 4K UHD resolution, making sure your demo looks crisp and clear on any monitor. This is crucial when you’re showing off a detailed software interface where every pixel counts.
To add one last layer of polish, consider adding captions. You can use a subtitle generator to make your content accessible to everyone. This doesn't just help viewers with hearing impairments; it’s also a big plus for people watching in a noisy office or with the sound off.
By combining smart recording features with a powerful built-in editor, Screen Charm offers a complete package for anyone needing a high-quality screen recording on a MacBook Pro. It removes the technical hurdles, letting you focus on what really matters: creating clear, engaging content that people actually want to watch.
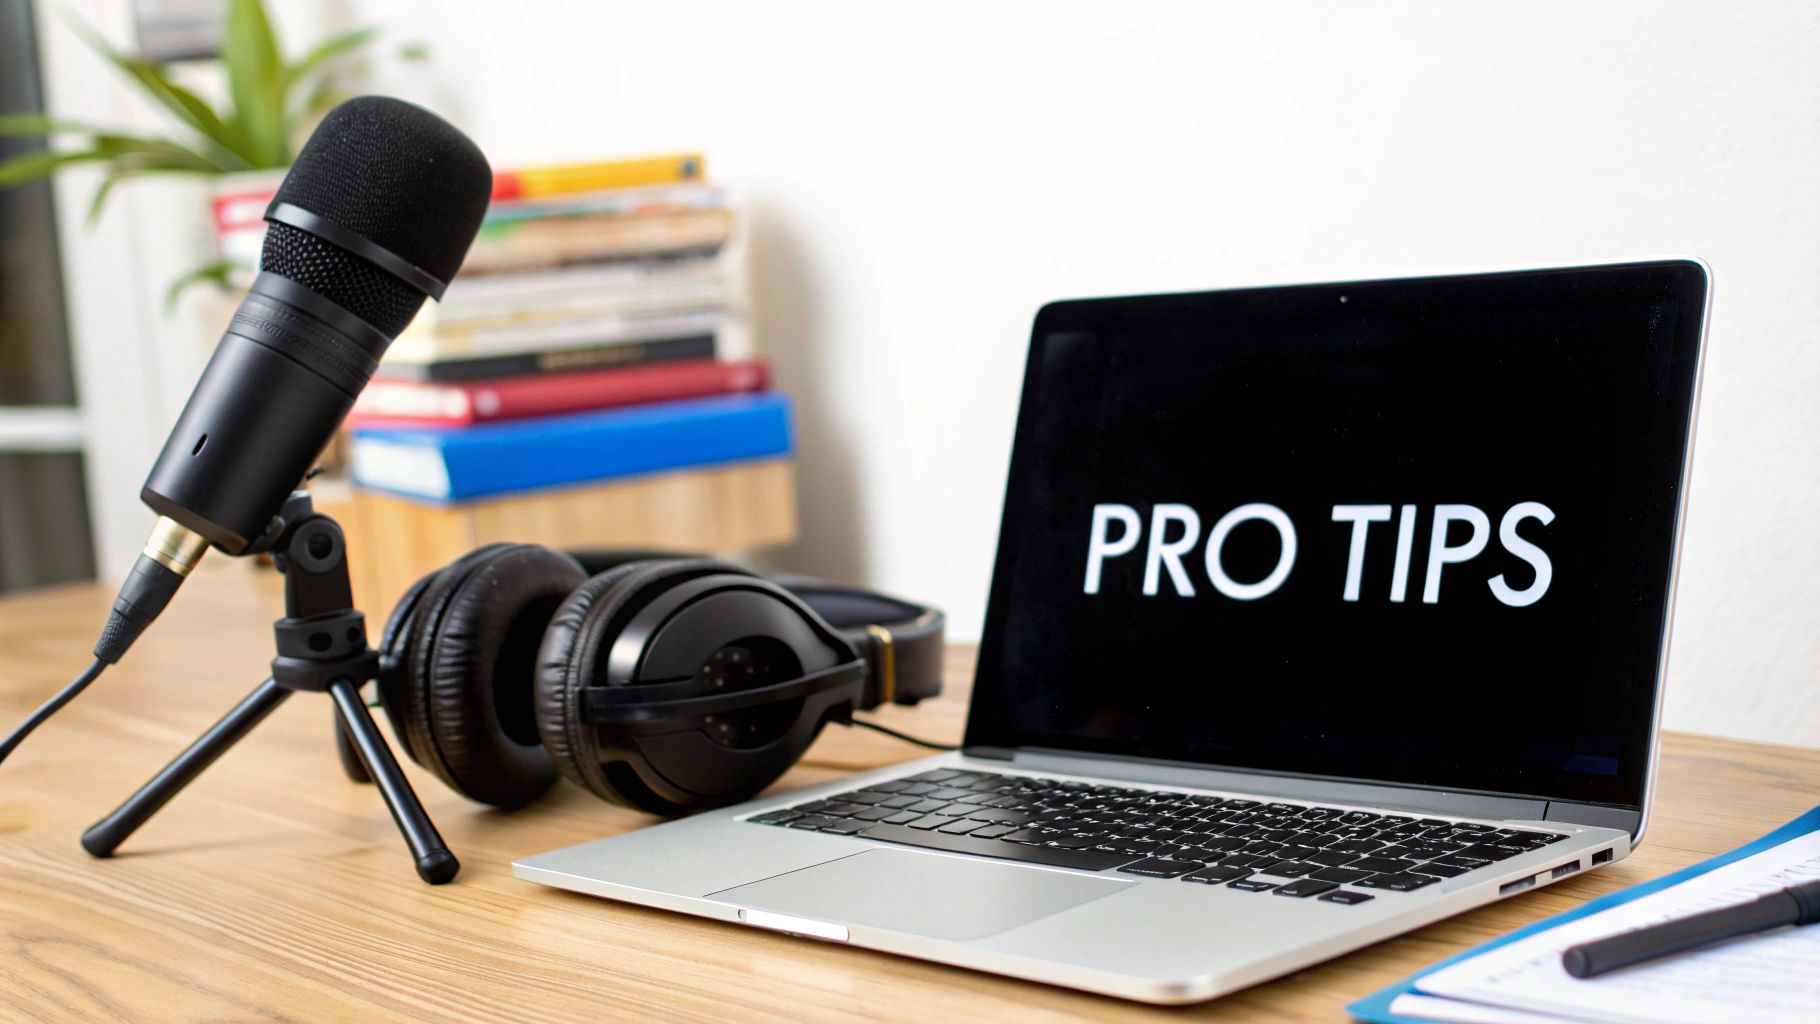
Pro Tips for High-Quality Screen Recordings
Anyone can hit the record button, but creating a screen recording that’s genuinely effective and professional takes a little more thought. The small things you do before you start recording are what separate a decent capture from a polished, engaging video. It’s all about setting the stage.
First, let's talk about your digital workspace. A desktop littered with random files and folders is the visual equivalent of loud background noise—it’s distracting. Take a minute to tidy up. Better yet, create a clean folder just for your recording assets and hide everything else.
The other big distraction? Notifications. Nothing breaks the flow of a great demo like a pop-up from Mail or a banner from Messages. Your MacBook Pro’s Focus Mode is your best friend here. A quick toggle silences those interruptions, keeping your audience locked in on what you're showing them.
Nailing the Visual and Audio Setup
Your recording settings are the foundation of your final video's quality. Choosing the right resolution and frame rate really depends on where people will be watching.
- For YouTube or Demos: Stick with 1080p (1920x1080) resolution. Pair it with a frame rate of either 30 or 60 frames per second (fps) for that crisp, smooth look everyone expects.
- For Internal Training: You can often get away with 720p. This keeps file sizes smaller, which is a huge plus for sharing and storing on company servers.
The secret sauce for balancing quality and file size is the bitrate. If you want to get granular, using a video bitrate calculator can help you dial in the perfect setting without creating a massive file.
Audio quality is non-negotiable. Viewers are surprisingly forgiving of slightly grainy video, but they will bail instantly on a recording with bad sound. The mic on your MacBook Pro is fine in a pinch, but an external USB microphone is one of the single best investments you can make for your recordings.
Always find a quiet room. The hum of a fridge or the rumble of traffic outside can ruin an otherwise perfect take. And don't just wing it—having a simple script or even a few bullet points to guide you will make your delivery sound much more confident and clear.
Mastering Your Recording Workflow
A smooth workflow is the key to an efficient screen recording on a MacBook Pro. Before you even think about recording, get everything ready. Open all the apps and browser tabs you'll need ahead of time. Pro tip: if you're demonstrating something in a web browser, use a clean profile without personal bookmarks to keep things looking professional.
Learn the keyboard shortcuts. Fumbling with your mouse to start and stop the recording looks amateurish and adds extra work in the editing room. Using shortcuts gives you clean starts and stops, which means less trimming later.
If you're recording audio separately, getting the timing right is critical. Nobody wants to watch a video where the sound is out of sync. It’s worth taking a few minutes to learn how to sync sound and video like a pro editor to avoid that distracting lag. A little prep work here makes a world of difference in the final product.
Getting Ahead of Common Recording Glitches on macOS
Even with the best gear, things can go sideways. You hit record, absolutely nail the take, and then… disaster. The file is corrupted, your audio is nowhere to be found, or the video looks like a slideshow. When you're trying to screen record on a MacBook Pro, these hiccups are more than just annoying—they can completely derail your project.
The good news is that most of these problems have surprisingly simple fixes. Once you know what to look for, you can save yourself a ton of time and the agony of starting over from scratch. Let's break down the most common issues and how to solve them.
"Why Didn't My Recording Save?"
It's a heart-stopping moment: you finish a long, detailed recording, and it vanishes into thin air. Nine times out of ten, the culprit is a simple lack of disk space. Video files are huge, especially high-resolution ones, and your MacBook Pro needs a good chunk of free space to manage the temporary file while recording and then save the final version.
As a personal rule of thumb, I always make sure I have at least 15-20 GB of free space before I even think about starting a recording. You can get a quick look by going to the Apple menu > About This Mac > Storage. If you're cutting it close, it's time to do some digital spring cleaning—clear out your downloads, empty the trash, and maybe move some big projects to an external drive.
Another common reason for a failed save, especially with QuickTime, is that the app itself just gives up. It can crash mid-session, leaving you with an unsalvageable temporary file. This is one area where dedicated macOS recording tools really shine, as they're built with much more reliable save and recovery features.
Fixing Audio and Video Gremlins
Is your finished video completely silent? Or maybe it's choppy and lagging? These headaches usually point to a problem with your settings or permissions.
If you have no audio, the first place I'd check is your Mac’s privacy settings. Head over to System Settings > Privacy & Security > Microphone. Make sure the app you're using (like QuickTime Player or Screen Charm) actually has the green light to access your mic. If it's already on, try toggling it off and on again. It sounds silly, but it often works.
For stuttering or laggy video, here are a few things to try:
- Shut Down Background Apps: Screen recording is a heavy lift for your Mac. Close out any programs you're not using for the demo, especially browsers with a million tabs open.
- Lower the Resolution: Recording in beautiful 4K is tempting, but it puts a serious strain on your system. Try dropping down to 1080p and see if that smooths things out.
- Give it a Restart: The classic "turn it off and on again" works for a reason. A quick reboot can clear out pesky background processes that are hogging all the resources.
If you're still stuck, our deep-dive guide on what to do when your Mac screen recording is not working has some more advanced tricks up its sleeve.
The Reliability Problem with Native Tools
While Apple’s built-in screen recorders are convenient for quick jobs, they can be notoriously unreliable for anything serious. For years, MacBook Pro users have been frustrated by QuickTime's tendency to fail, especially after major macOS updates. Since the Ventura update, forums have logged over 25,000 complaints from users, with failure rates for recordings over 10 minutes spiking to a staggering 35%.
In comparison, the simple Screenshot Toolbar (Cmd-Shift-5) is 65% more stable than QuickTime, successfully handling 4K at 60fps 92% of the time. This instability has been a huge source of frustration for creators and developers, who report losing an average of 4 hours a week just re-recording failed demos. You can see the frustration firsthand in these stability issues on Apple's discussion forums.
This is exactly why anyone who records regularly eventually moves to a dedicated application. Losing an important recording to a random software crash isn't just an inconvenience—it's lost time and creative energy you can never get back.
Tools like Screen Charm are built from the ground up for stability, engineered to handle long, high-quality recordings on macOS without breaking a sweat. When your work depends on getting a clean take every time, that peace of mind is priceless.
Got Questions About Screen Recording? Let's Get Them Answered
Even after walking through the steps, you might still have a few questions popping up. It happens to everyone. Here are some quick answers to the most common things people ask about recording their screen on a MacBook Pro.
How Can I Record My MacBook Pro's Internal Audio?
This is a classic "gotcha" on macOS. For privacy and copyright reasons, Apple doesn't let you record your Mac's system audio straight out of the box. You can easily capture your voice from a microphone, but what about the sound from an app or a video playing in your browser?
The best workaround is a free tool called BlackHole. It cleverly creates a virtual audio device that you can select as your input source in QuickTime or your recording app. Think of it as an invisible cable that pipes your Mac's internal sound directly into your video file. It's a must-have for recording audio from presentations or web-based clips.
What's the Best Video Format for YouTube?
If you're uploading to YouTube or pretty much any other platform, you can't go wrong with MP4 using the H.264 codec. It's the industry standard for a reason—it gives you fantastic visual quality without creating a massive file that takes forever to upload.
For the best results, stick to these settings:
- Resolution: 1080p (1920x1080) is your baseline for crisp, professional-looking video. If you're showing off detailed work like code or design mockups, bumping it up to 4K is a great idea.
- Frame Rate: Aim for 30 or 60 fps (frames per second). This will make motion on your screen look smooth and natural, not choppy.
Can I Edit My Recordings Without Buying Expensive Software?
You bet. For quick trims and cleanups, the built-in QuickTime Player is perfect. You can easily snip off the awkward silence at the beginning and end of your clips, which is often all you need to do.
If you need to do a bit more, like adding titles or splicing a few clips together, iMovie comes pre-installed on every Mac. It's a surprisingly capable editor for being completely free.
But here’s the thing: general video editors aren’t built for the specific needs of screen recordings.
For tasks like fine-tuning an automatic zoom, changing a cursor effect after you've recorded, or adding a slick branded background, a specialized tool is going to save you a ton of time. A macOS app like Screen Charm is designed from the ground up to solve these exact problems, making the whole process much more direct.
Where Do My Screen Recordings Go on My Mac?
By default, your Mac saves all screen recordings right onto your Desktop. You’ll see a file named with the date and time it was created, something like "Screen Recording 2024-10-26 at 10.30.00 AM.mov".
To avoid a cluttered desktop, it's a good idea to change this. Just bring up the Screenshot Toolbar (Cmd+Shift+5) and click on the 'Options' menu. From there, you can tell it to save recordings to a different folder—maybe 'Documents' or a dedicated folder for your project. A little organization upfront goes a long way.
Ready to create polished product demos without wrestling with a video editor? Screen Charm's automatic zoom, beautiful webcam integration, and custom cursor effects help you produce professional-looking tutorials in minutes, not hours. Give it a try and see just how simple screen recording can be. Get Screen Charm Now.