How to Make Your Mouse Pointer Bigger on a Mac
It's surprisingly easy to make your mouse pointer bigger on a Mac. The control is tucked away in your System Settings, right inside the Accessibility options. This one small tweak can make a massive difference in day-to-day use, especially if you're working on a large, high-resolution display where the default cursor tends to vanish.
Why a Bigger Pointer Is a Game Changer for Mac Users

Ever find yourself wiggling the mouse just to find that tiny arrow on your screen? It happens to all of us, especially when lost in a dense spreadsheet or a cluttered design project. That little pointer isn't just a minor annoyance; for a lot of people, it's a real obstacle to using their computer effectively.
The need for a larger cursor goes way beyond simple preference—it's a critical accessibility feature. For millions, trying to track a tiny pointer is a constant struggle. The World Health Organization estimates that 285 million people worldwide have some form of visual impairment. Here in the U.S., about 26% of adults live with a disability, and vision-related challenges are a big part of that. If you want to dive deeper into this, allaccessible.org has some great insights on how disabilities affect web use.
More Than Just Accessibility
While making technology accessible is a huge reason to bump up your cursor size, the perks don't stop there. A more prominent pointer can honestly make your Mac feel smoother and more intuitive to use, no matter who you are.
I've found it makes a huge difference for:
- Content Creators: If you're recording a tutorial or a product demo, a big, easy-to-see pointer is your audience's guide. It makes sure no one misses that crucial click.
- Presenters: When you're sharing your screen in a meeting, a larger cursor keeps your team locked on the exact part of the interface you're talking about. No more "Wait, where are you clicking?"
- Users with High-Resolution Displays: On those beautiful 4K or 5K monitors, the default pointer can look ridiculously small. A bigger one saves you from squinting and hunting for it all day long.
Honestly, adjusting your cursor size is one of the quickest wins for reducing visual strain. It makes using your computer feel less like a chore and more like a natural extension of what you're trying to do.
Practical Gains from a Larger Pointer
At the end of the day, resizing your pointer is a tiny change with a surprisingly big impact. It cuts down on the mental energy you waste just trying to find where you are on the screen, letting you focus on the actual work.
This simple fix leads to fewer mistakes, like clicking the wrong menu item or dragging a file to the wrong place. By making your cursor a clear focal point, you improve your accuracy and speed up your entire workflow. It can truly turn a frustrating experience into a seamless one.
Making Your Pointer Bigger on macOS
If you're on a Mac, you’re in luck. Apple has built some fantastic accessibility features right into macOS, so you don't need any third-party apps to get a more visible cursor. This is especially helpful on those beautiful, high-resolution Retina displays where the tiny default pointer can sometimes feel like it's playing hide-and-seek.
All the controls you need are tucked away in the System Settings app, specifically under the Accessibility section. This is Apple’s command center for anything related to making your Mac easier to see, hear, or use. Once you know where to look, you'll find a surprising number of ways to customize your pointer.
Finding the Right Controls
Getting to the right settings is a breeze. The whole process takes you from the main System Settings panel into a specific display area where you can adjust your pointer's look and feel.
Here’s the path to get there:
- First, open up System Settings. You can usually find it in your Dock, or just use Spotlight search (Cmd + Space) to pull it up.
- Once it's open, look at the sidebar on the left and click on Accessibility.
- From there, find and select the Display option in the main window.
This is where the real work begins. The "Display" area has a bunch of visual settings, but the one we care about is front and center.
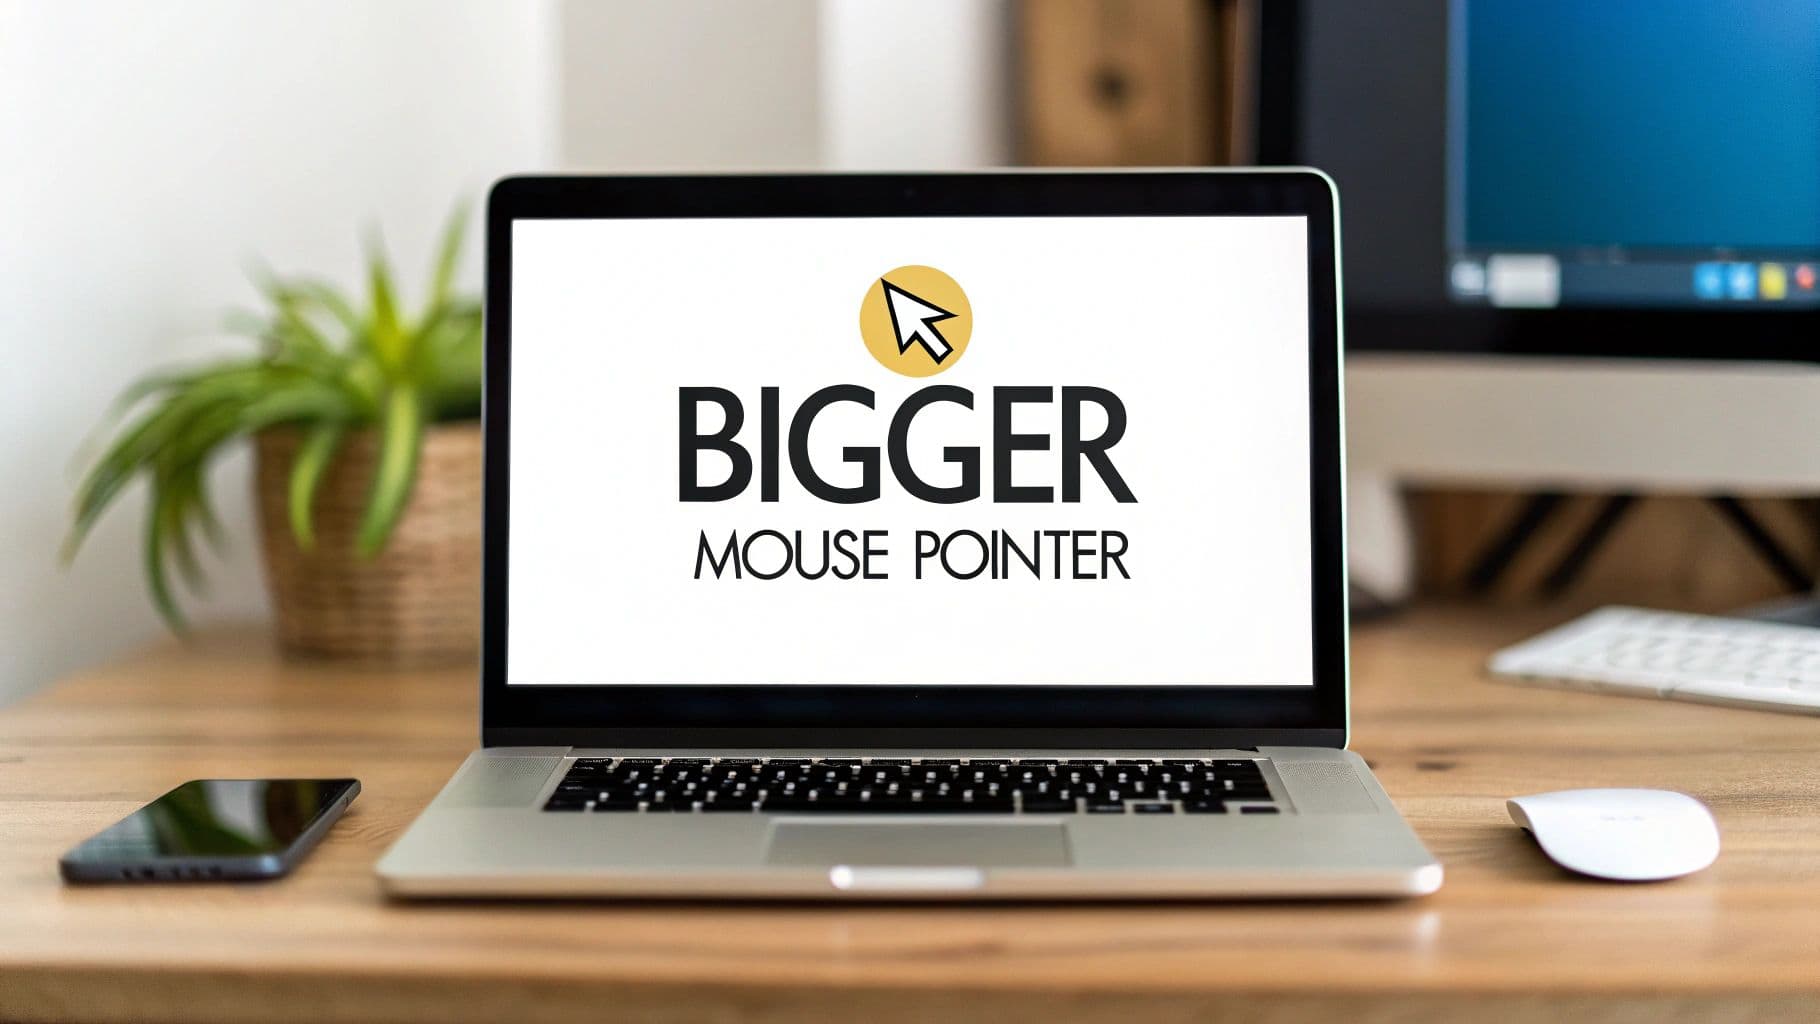
You can’t miss it: the first option is "Pointer size." It's a simple slider that gives you instant feedback. As you drag it to the right, you'll see your cursor grow in real-time, letting you stop at the exact size that feels right for your screen and your eyesight.
More Than Just Size: Fine-Tuning Your Cursor's Look
Making the pointer bigger is a great start, but macOS gives you a couple more tools to make sure it truly stands out. Right below the size slider, you’ll see options for "Pointer outline color" and "Pointer fill color." These are game-changers for boosting contrast.
For instance, if you're a fan of dark mode, setting a bright white or even a vibrant yellow outline will make your pointer pop against dark backgrounds. On the flip side, a bold black outline can help it stay visible when you're working in a bright white document. Play around with different color combinations to see what you prefer. For a deeper dive into personalization, you can explore our guide on how to change the mouse cursor on a Mac.
A Classic Mac Trick I Swear By
Beyond size and color, there’s one more built-in feature I use all the time: "Shake mouse pointer to locate." It’s a toggle switch right there in the same "Display" settings. When you turn this on, a quick, vigorous shake of your mouse (or a fast swipe on the trackpad) temporarily makes the pointer huge, instantly revealing its location.
It's a classic macOS helper that's invaluable if you're juggling multiple monitors or just lose your cursor on a busy screen. Combining a custom size, a high-contrast color, and this shake-to-find feature creates a foolproof system for never losing track of your pointer again.
Beyond System Settings for Demos and Tutorials
While the built-in system settings are a decent start, they just don't cut it when you need to create truly professional-looking content. When you’re recording a product demo or a tutorial, your cursor isn't just a pointer—it's the main character, guiding your audience's attention. A simple, oversized arrow can still get completely lost in a busy interface.
This is where specialized software becomes essential for creators. Standard settings lack the dynamic highlighting, zooming, or custom looks needed to make instructional videos pop. You really need a tool designed to make every click and movement a clear, intentional part of your story. Without one, you're just hoping your viewers can follow along, which often leads to frustration and a less impactful video.
A Creator-Focused Solution for macOS
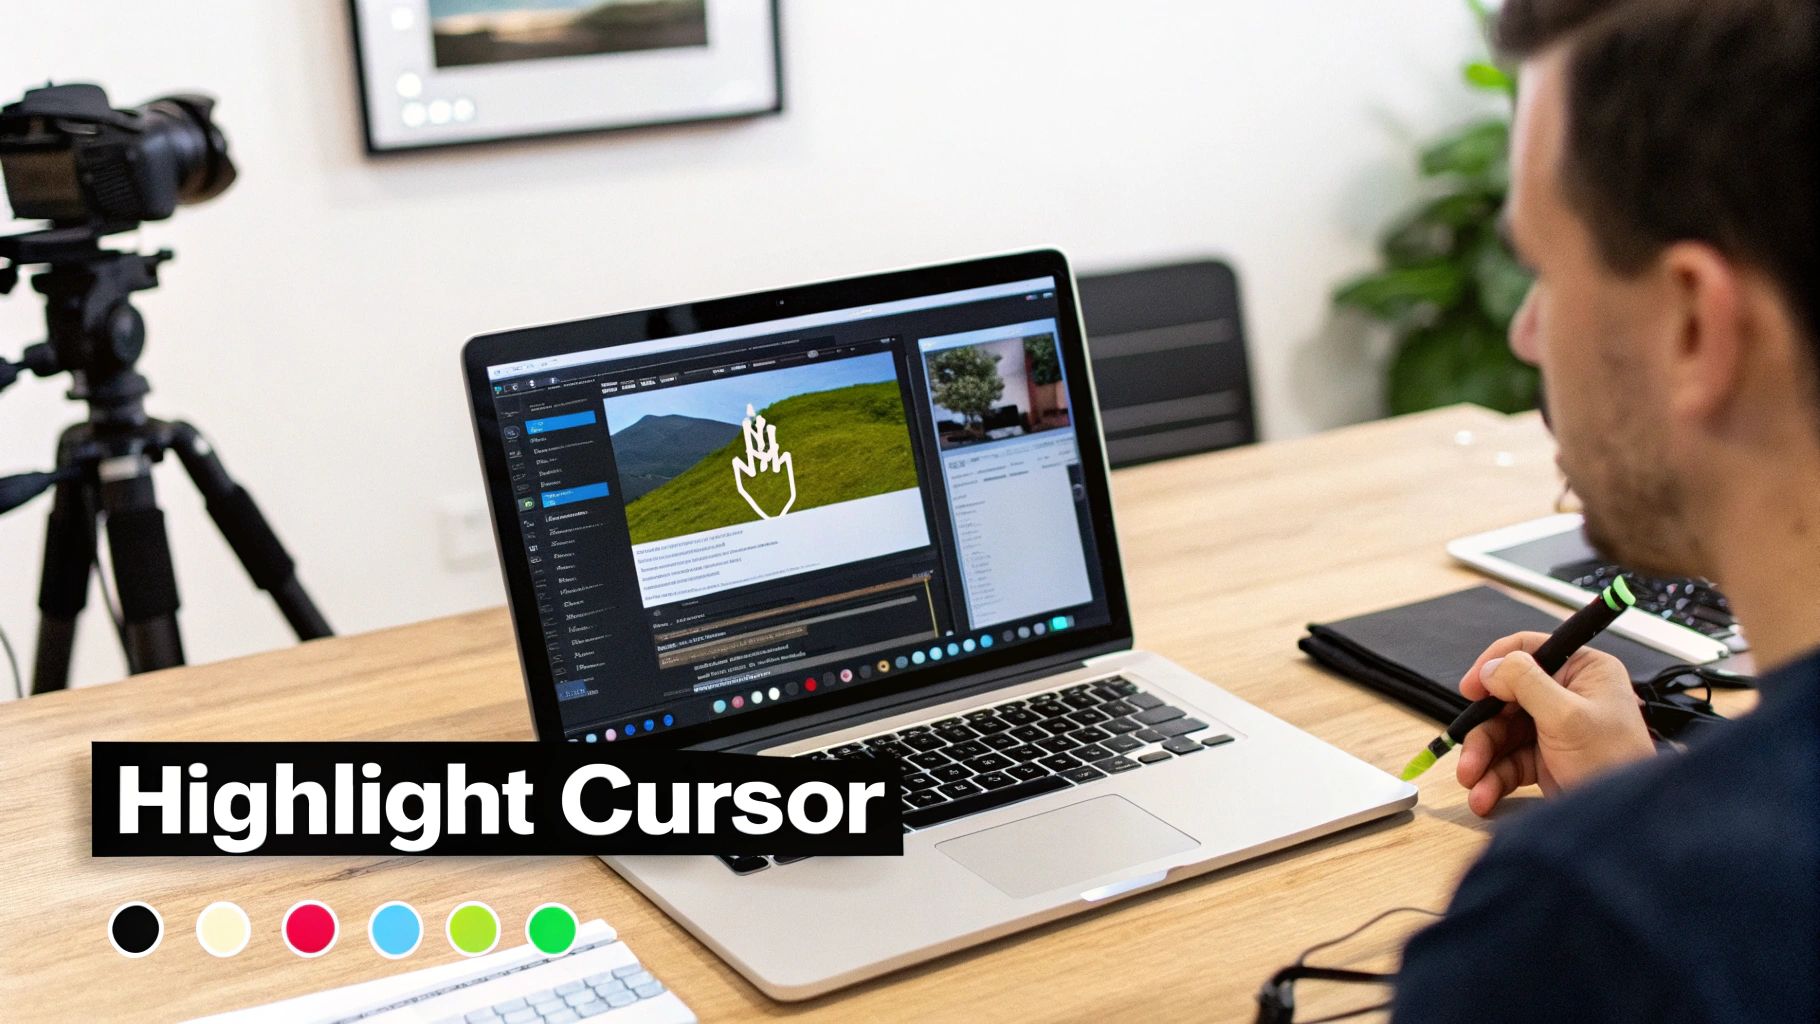
For anyone serious about producing high-quality screen recordings on a Mac, an app like Screen Charm is built from the ground up to solve these exact problems. It goes way beyond just the ability to make mouse pointer bigger, offering a whole suite of features that transform your cursor into a powerful teaching tool. It’s all about helping you guide your audience's focus without a second thought.
Imagine you're demonstrating a new software feature. Instead of a clunky arrow, your cursor is now a bright, highlighted circle that’s impossible to miss. That one small change completely elevates the viewing experience, making your instructions so much easier to follow.
The core idea here is to shift from a passive pointer to an active visual guide. It’s about ensuring that when you point to something, your audience doesn’t just see where you are—they understand why you’re there.
Features That Elevate Your Recordings
What really sets a tool like Screen Charm apart is how it combines multiple functions to create a polished, professional final product. These aren't just cosmetic tweaks; they are practical, road-tested features that directly improve the clarity of your content.
- Cursor Highlighting: Draw a customizable ring of color around your pointer. This little trick makes it stand out against any background, whether you're working in a light or dark UI.
- Auto-Zoom Functionality: This is the real game-changer. The app can automatically zoom in on the area around your cursor as you move, bringing tiny buttons and menu items into sharp focus right as you click them. No more "wait, where did they click?" moments.
- Custom Cursor Icons: Ditch the boring old arrow. You can change your pointer to different shapes or even a hand icon to better match the style of your video.
These capabilities work in tandem to create a genuinely engaging tutorial. By using these tools, you can create screen recordings for tutorials that are not only informative but also a pleasure to watch. It helps cut down on the mental effort for your viewers, letting them soak up the information you’re sharing instead of struggling to keep up.
Pro Tips for Pointer Visibility in Recordings

Alright, so you’ve managed to make mouse pointer bigger. That's a huge first step toward creating clearer, more professional screen recordings. But a big cursor is just one piece of the puzzle. To really connect with your audience, you need to think of that pointer as an extension of your voice—a tool for guiding attention with purpose.
Imagine you're in a presentation. You wouldn't wave a laser pointer all over the screen, would you? The same principle applies here. Your cursor's movement should be calm, deliberate, and smooth. When you move to click something, glide there gracefully and pause for a beat over the button or menu item before clicking. It feels more intentional and gives your viewers a moment to catch up.
Master Your Cursor's Movement
This slow-and-steady technique is what separates amateur recordings from polished, professional tutorials. It turns the cursor into a storytelling device, showing your audience exactly where to look and reinforcing what you're saying. A steady hand communicates confidence.
Ready to take it up a notch? Here are a few tricks I’ve learned over the years:
- Highlight Your Clicks: Find a recording tool that adds a visual cue—like a colored circle or a ripple effect—when you click. This provides instant, unmistakable feedback for the viewer.
- Use a Spotlight: Some applications can dim the screen except for a "spotlight" around your pointer. This is a game-changer for focusing attention on one specific part of a crowded interface.
- Trace the Path: Before clicking a drop-down menu, try tracing the shape of it with your cursor. This little bit of foreshadowing helps orient the viewer and prepares them for the next action.
The goal is to make it impossible for your audience to get lost. Every move your cursor makes should serve a purpose, helping them follow along and replicate your steps without any guesswork.
Make It Pop with High Contrast
Size isn't everything; color matters just as much, especially when recording. A black cursor can easily vanish into a dark-mode application, just as a white one gets lost in a sea of text. I always recommend picking a bright, high-contrast color like yellow, cyan, or magenta that will stand out no matter what window or background you’re navigating.
This is also a massive win for accessibility. It's easy to forget that 19.9 million U.S. adults live with motor impairments that make controlling a tiny pointer a real challenge. For them, a large, brightly colored cursor isn't just a nice-to-have; it's essential. You can find more powerful data on this topic in TPGi's research on accessibility statistics.
When you combine a larger size with thoughtful movement and smart visual aids, your pointer becomes more than just a navigational tool. It becomes a powerful instrument for communication, and that’s what makes a good recording truly great.
Got Questions? We've Got Answers
When you start tweaking your mouse pointer, a few questions almost always come up. Whether you're trying to fix a weird issue or just exploring the customization options on your Mac, getting a straight answer can save you a ton of hassle. Let's dig into what people most often ask.
A big one is performance. It’s a fair question, especially if you remember the days when even minor cosmetic changes could make an old computer chug. Thankfully, those days are long behind us.
Will a Bigger Mouse Pointer Slow Down My Mac?
Nope, not at all. This is probably the number one concern I hear, but you can put it out of your mind. Bumping up the pointer size using the built-in macOS accessibility settings is incredibly efficient. It has zero noticeable impact on your Mac's speed or battery life.
Apple designed these features at the OS level, so they barely use any system resources. Go ahead and make that pointer as big as you need it to be—your Mac won't even break a sweat.
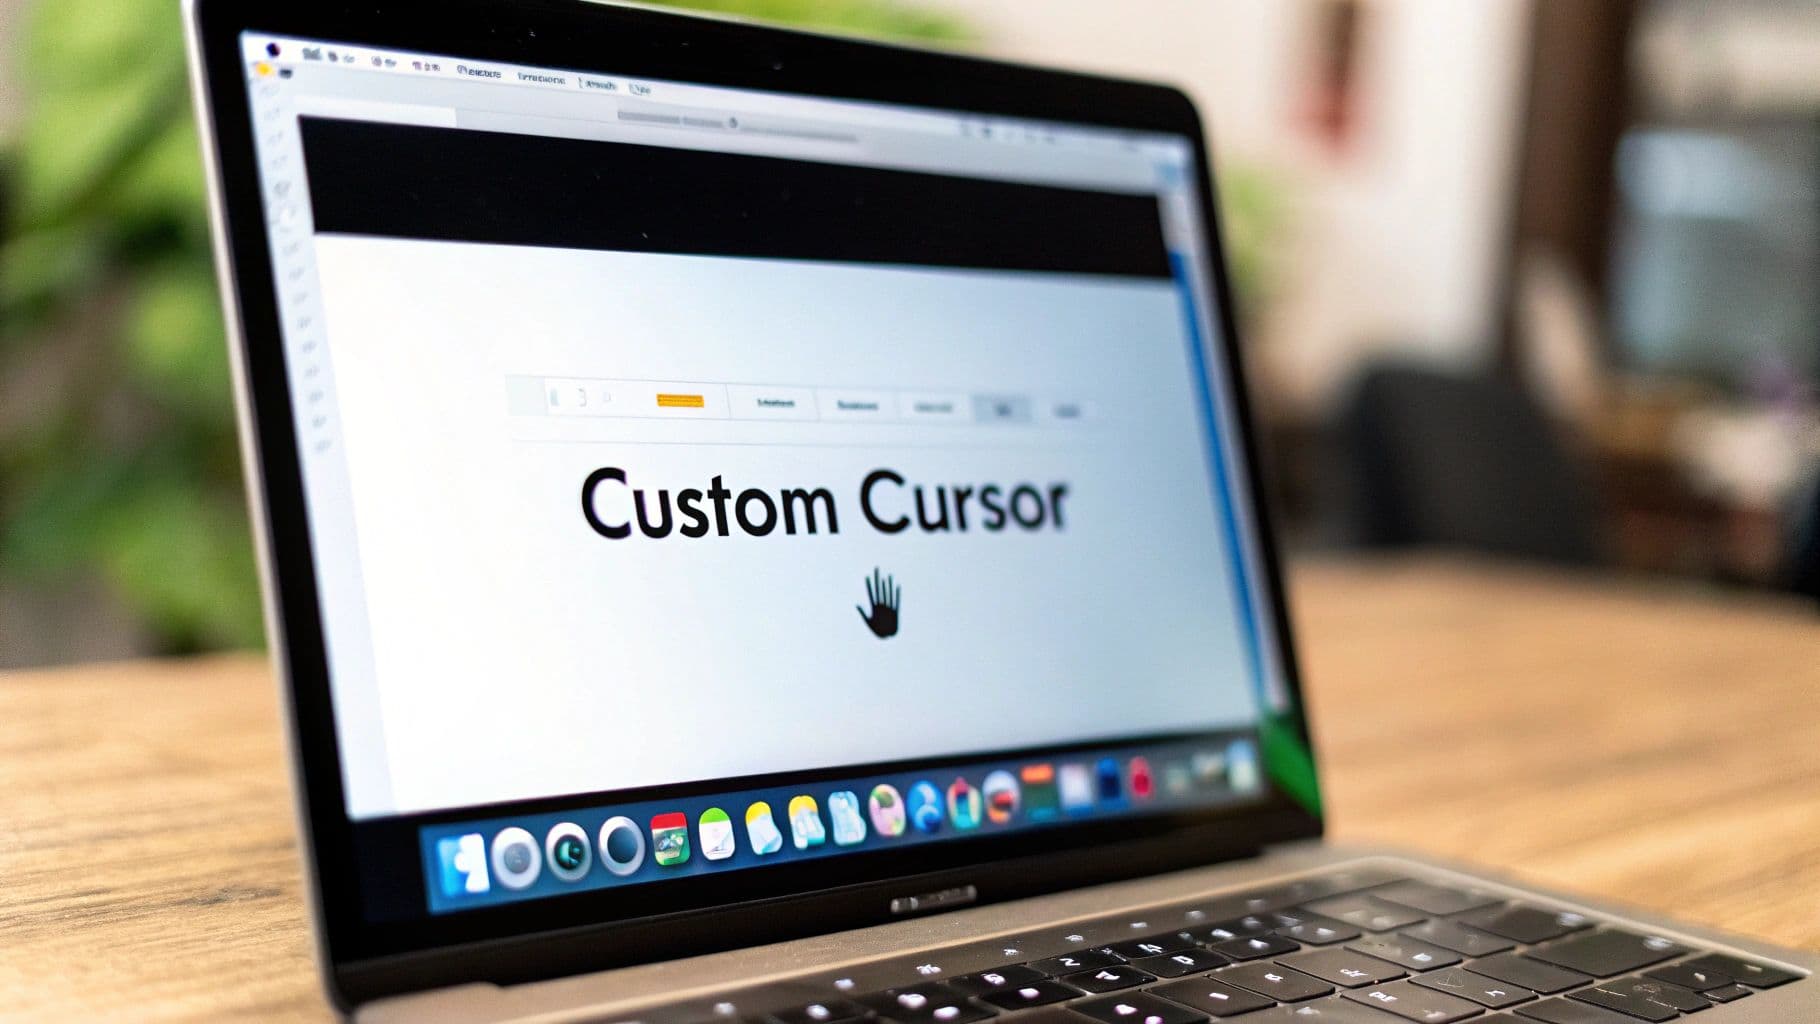
Can I Use a Custom Image for My Pointer?
Out of the box, macOS doesn't let you just upload a custom image file, like a PNG, to serve as your system-wide cursor. You're generally limited to the size and color tweaks found in System Settings > Accessibility.
This is where third-party apps, especially those for content creators, really shine.
- For everyday use: You're stuck with the standard arrow shape.
- For creators: Tools like Screen Charm give you the power to change the cursor's appearance within your recordings. This means you can get creative with custom icons or highlights in your videos, even if your day-to-day system pointer remains the same. And for more ideas on this, check out our guide to create a custom cursor.
Why Does My Giant Pointer Sometimes Shrink Back to Normal?
This can be a head-scratcher, but it's usually happening for a good reason. There are two main culprits. First, some specialized apps—think graphic design software, 3D modeling tools, or most video games—have their own custom cursors designed for specific functions. When you’re in that app, its cursor takes over, temporarily overriding your system setting.
The other reason is security. Your Mac will often switch back to the default pointer on secure input fields, like the login screen or when you’re asked for your admin password. This is a built-in safety feature to ensure nothing interferes with critical system commands. Once you're back to your regular apps, your enlarged pointer should reappear.
Is There a Keyboard Shortcut to Change Pointer Size?
Unfortunately, macOS doesn't have a built-in hotkey to cycle through pointer sizes on the fly, like you can with volume or screen brightness.
However, if you're someone who needs to adjust it often, you can get a little creative with the Shortcuts app. You could build a simple automation to jump you directly to the 'Accessibility > Display' settings pane with a single click or keyboard command. It's not a one-press toggle, but it's a heck of a lot faster than navigating through the menus every time.
For creators who need to do more than just make the pointer bigger, Screen Charm is the way to go. It lets you move past basic system settings with features like cursor highlighting and an auto-zoom that follows your every move, making your product demos and tutorials incredibly clear and professional. You can check it out at screencharm.com.