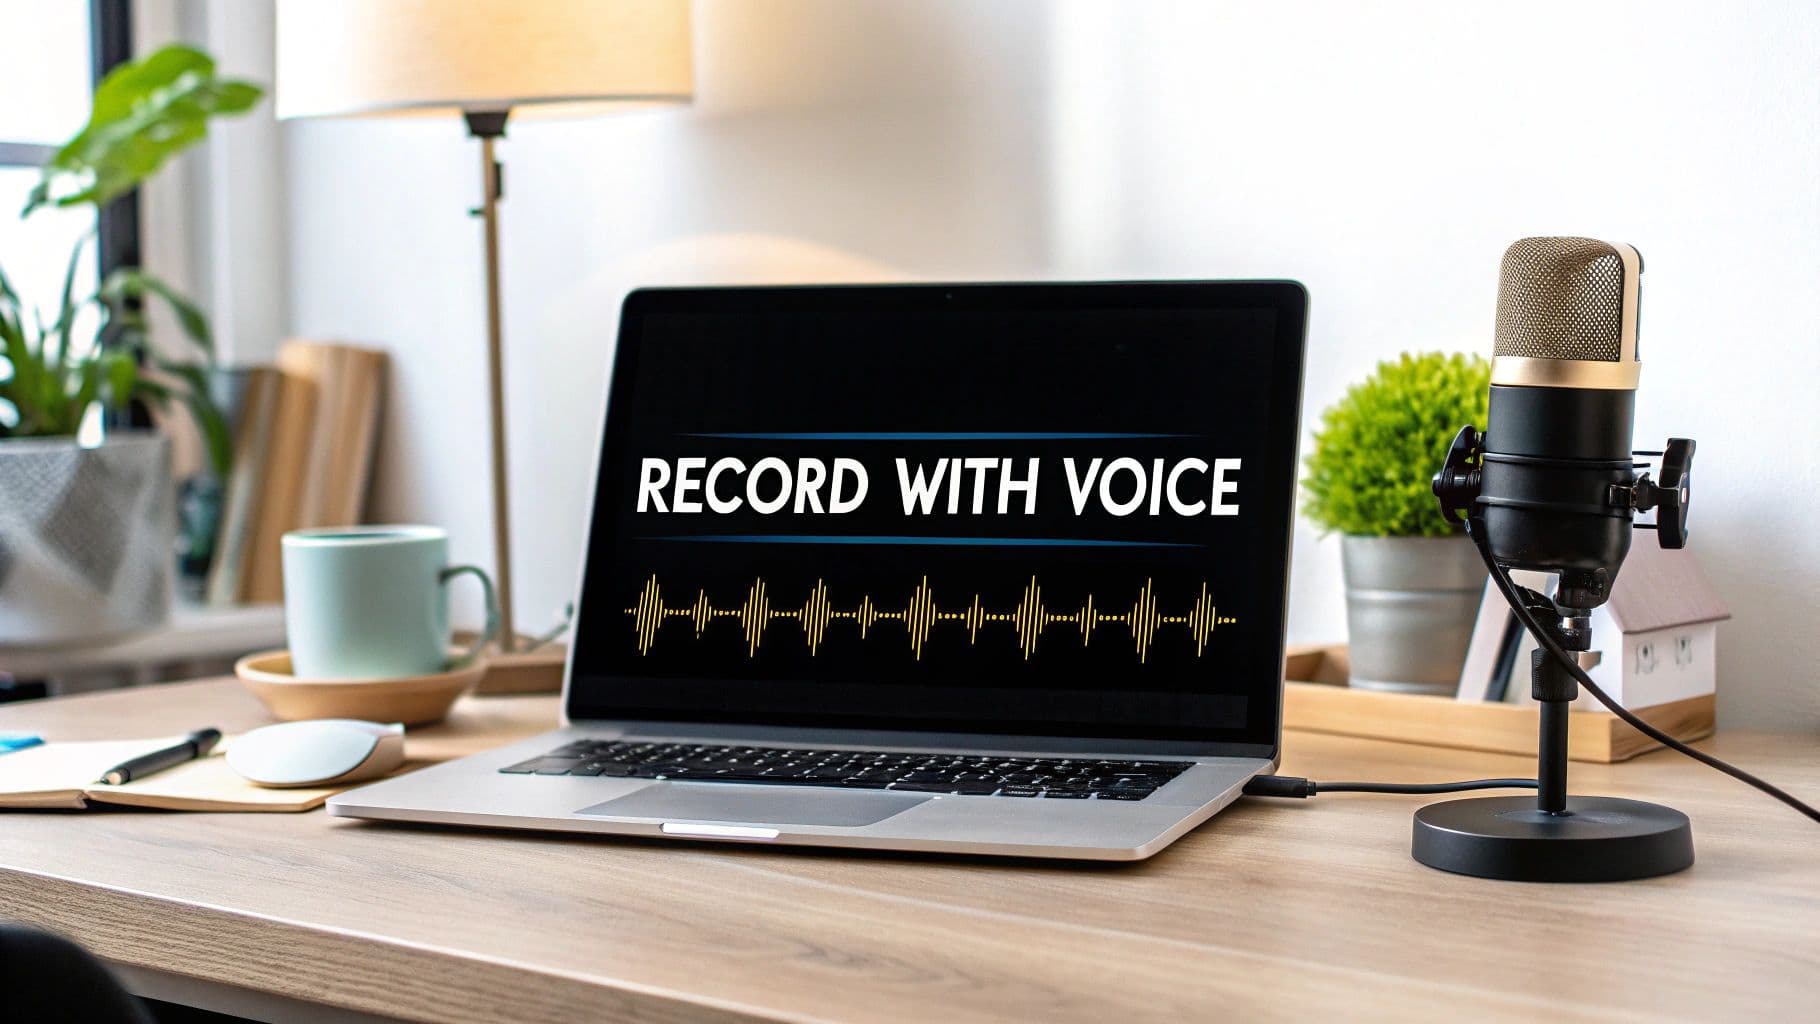
A Guide to Screen Recording with Voice on macOS
If you're looking to create a professional screen recording with voice on a Mac, you're in the right place. The magic formula is simple: combine a quality microphone with a solid recording app. This duo is all it takes to capture your screen and your voice at the same time, turning a basic screen capture into a genuinely effective tutorial.
Why Clear Audio in Screen Recordings Matters
A visual demo is a great start, but your voice is what truly brings it to life. It adds context, personality, and much-needed clarity. A screen recording without any narration is really just a silent movie; your voiceover transforms it into a story, a lesson, or a compelling walkthrough. For anyone creating product demos or tutorials on a Mac, getting this right is non-negotiable.
Think back to the last tutorial you watched. If the audio was muffled, full of static, or you could hear a dog barking in the background, did you stick around? Probably not. It immediately makes the content feel unprofessional and hard to trust. On the flip side, a crisp, clear voice commands attention and builds instant credibility.
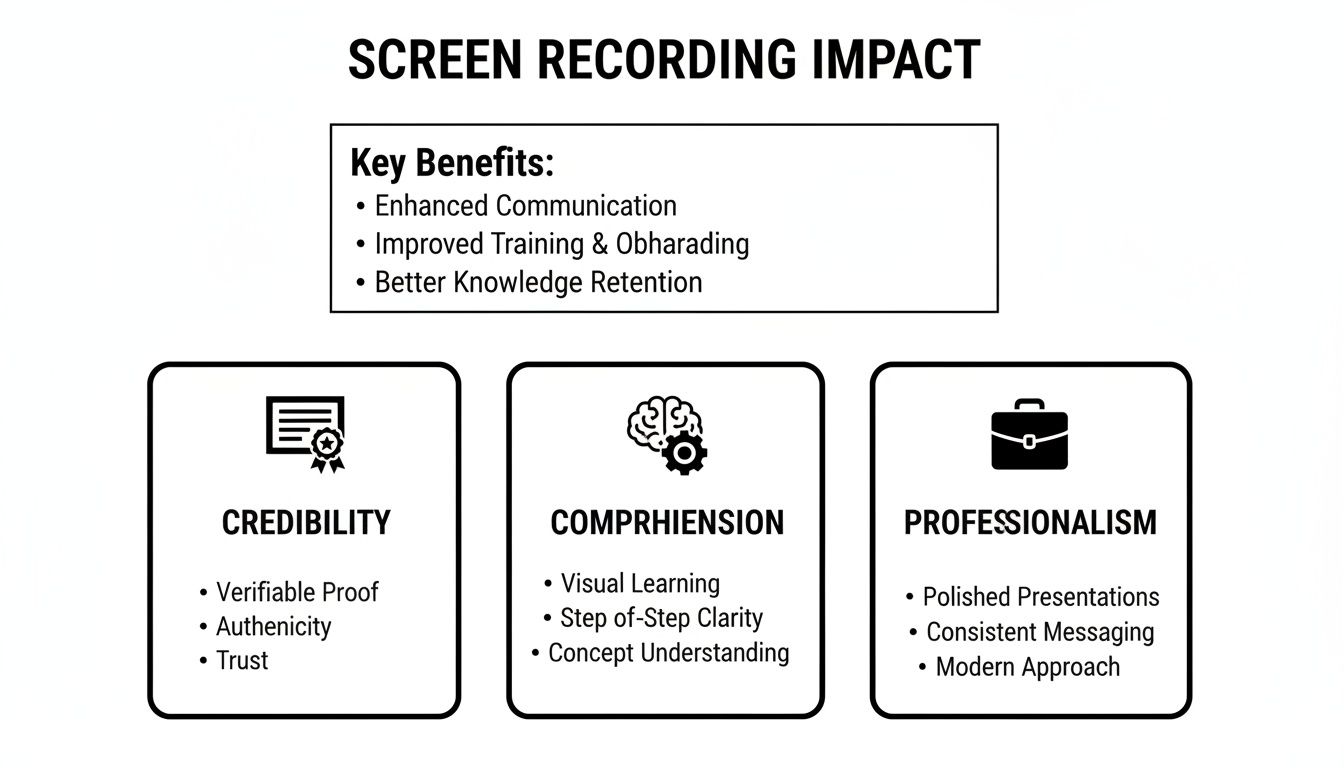
The Impact of High-Quality Narration
Great audio isn't just about sounding pleasant—it has a direct impact on how your audience absorbs your message and perceives your brand.
When your narration is crystal clear, your instructions are easy to follow. This is a game-changer for complex software demonstrations or detailed educational videos where every single step counts. You're not just showing them what to do; you're guiding them confidently.
A polished voiceover is a signal of professionalism. It tells your audience you respect their time and are serious about delivering a high-quality experience. That small detail can be the very thing that convinces someone to trust your expertise or adopt your software.
This push for quality is happening everywhere. The global market for screen recording software is expected to jump from USD 1.5 billion in 2023 to a whopping USD 3.5 billion by 2033. North America alone makes up nearly 49% of that market. This explosive growth is fueled by businesses and educators who need these tools to communicate clearly, especially with remote work and learning becoming the norm. If you're curious, you can dive deeper into the trends shaping the screen recording market and see where your own content fits into the bigger picture.
At the end of the day, putting a little extra effort into your audio pays off massively. It ensures your message isn't just seen—it's heard, understood, and actually remembered.
Choosing and Setting Up Your Microphone on macOS
Let’s be honest: your microphone is the make-or-break element for a great screen recording with voice. While the built-in mic on your Mac is fine in a pinch, if you want your video to sound professional, an external microphone is non-negotiable. The good news? You don't need a thousand-dollar studio setup to get crisp, clear audio.
For most people creating content on a Mac, a quality USB condenser mic is the perfect sweet spot. They’re essentially plug-and-play and deliver that rich, full sound you hear in professional voiceovers. Another fantastic, often-overlooked option is a simple lavalier (or "lav") mic that clips right onto your shirt. Because it's so close to the source—your mouth—it does a stellar job of isolating your voice and cutting down on distracting room echo.
Not sure which path to take? This quick comparison should help you decide what fits your needs and budget.
Choosing Your Microphone for Screen Recording
| Microphone Type | Best For | Pros | Cons |
|---|---|---|---|
| Built-in Mac Mic | Quick, informal recordings or when you have no other option. | It's free and always available on your MacBook or iMac. | Picks up lots of background noise; sounds thin and distant. |
| USB Condenser Mic | Voiceovers, tutorials, and podcasts where rich audio is key. | Excellent sound quality for the price; easy plug-and-play setup with any Mac. | Can be sensitive and pick up keyboard clicks or room echo. |
| Lavalier (Lav) Mic | Demos, presentations, or recording in less-than-ideal spaces. | Great at isolating your voice and minimizing echo. | Audio can sound a bit less full; might pick up rustling from clothing. |
| Headset Mic | Live streaming, online meetings, and gaming content. | Good noise cancellation; keeps mic position consistent. | Audio quality is often a step down from dedicated USB mics. |
Ultimately, any of these external options will be a huge leap forward from your Mac's built-in microphone, instantly making your recordings sound more polished and authoritative.
As you can see, investing a little in your audio setup pays huge dividends in credibility and helps your audience actually absorb what you’re showing them.
Dialing in Your Mic on macOS
Once you have your microphone, getting it set up on a Mac is refreshingly simple. macOS makes it easy to select your mic and get your levels right before you even hit record.
First, plug your mic in. Then, head over to System Settings > Sound. You’ll see a panel with a few tabs—click on Input.
- Pick Your Mic: You'll see a list of all available input devices. Just click on the name of your external microphone to make it the default.
- Set Your Volume: Now, speak into the mic at a normal, conversational volume. Watch the blue "Input level" meter. You want the bars to consistently bounce into the upper half of the meter without ever hitting the far right side. If it hits the end, your audio will "clip" and sound distorted. Adjust the slider below it until you find that sweet spot.
- Try Noise Reduction: Depending on your Mac model, you might see a checkbox for "Use ambient noise reduction." It’s worth trying. This feature can help magically filter out low, consistent background sounds like a computer fan or an air conditioner.
Pro Tip: Spending 30 seconds getting your levels right in System Settings is one of the most important things you can do. It ensures a clean audio signal is sent to your recording app, which saves you a ton of frustration later.
A Few Real-World Tips for Cleaner Audio
Beyond the settings, where you record has a massive impact on your sound quality. You don't need a professional sound booth—just a bit of environmental awareness.
Make sure you’re positioning the microphone correctly. For most USB mics, that means speaking into the front (the side with the logo), not the top, from about 6 to 12 inches away. This proximity captures the warmth of your voice while naturally reducing the sound of the room.
Also, think about the room itself. Hard surfaces are your enemy. Bare walls, large windows, and hardwood floors bounce sound waves all over the place, creating a noticeable echo. The fix? Soft surfaces. Recording in a room with a rug, curtains, a couch, or even a full bookshelf will absorb those reflections and give you a much cleaner, more professional sound.
If you're ready to buy some gear, this guide to the Best Budget USB Microphones is a great place to find affordable options that punch well above their weight. Getting this audio foundation solid is the first step before you even begin exploring the different recording apps on Mac.
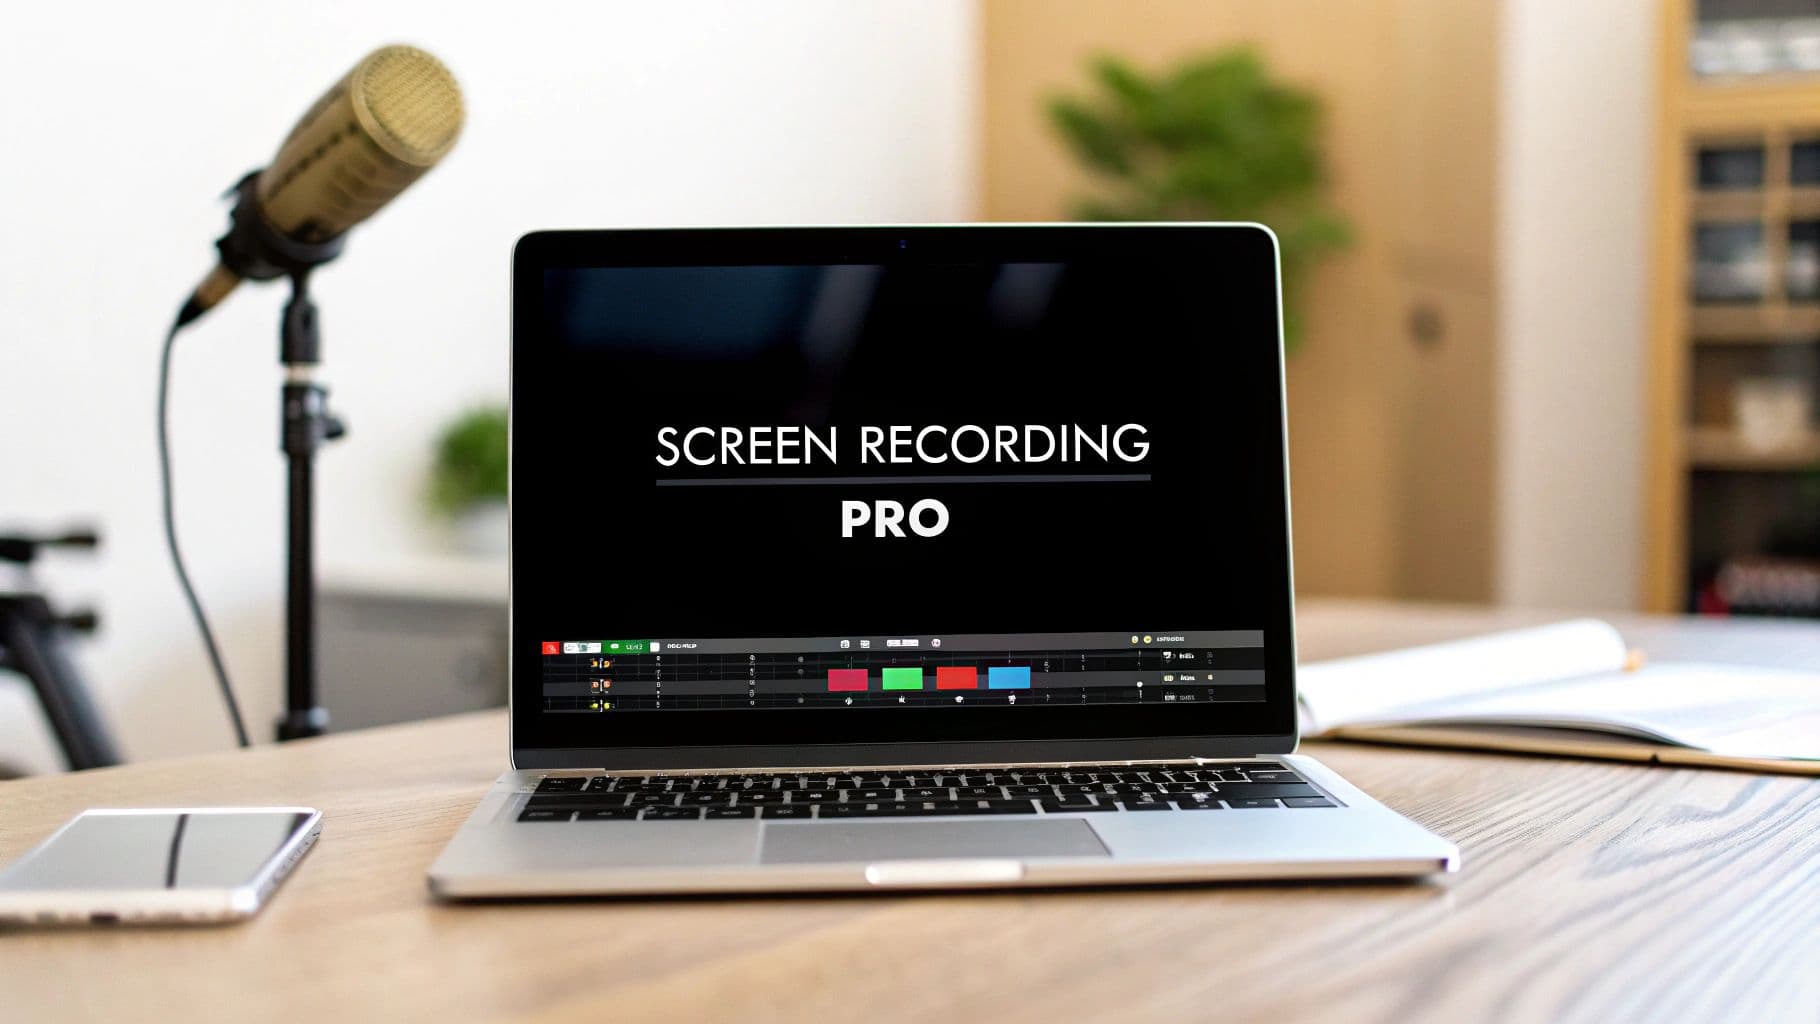
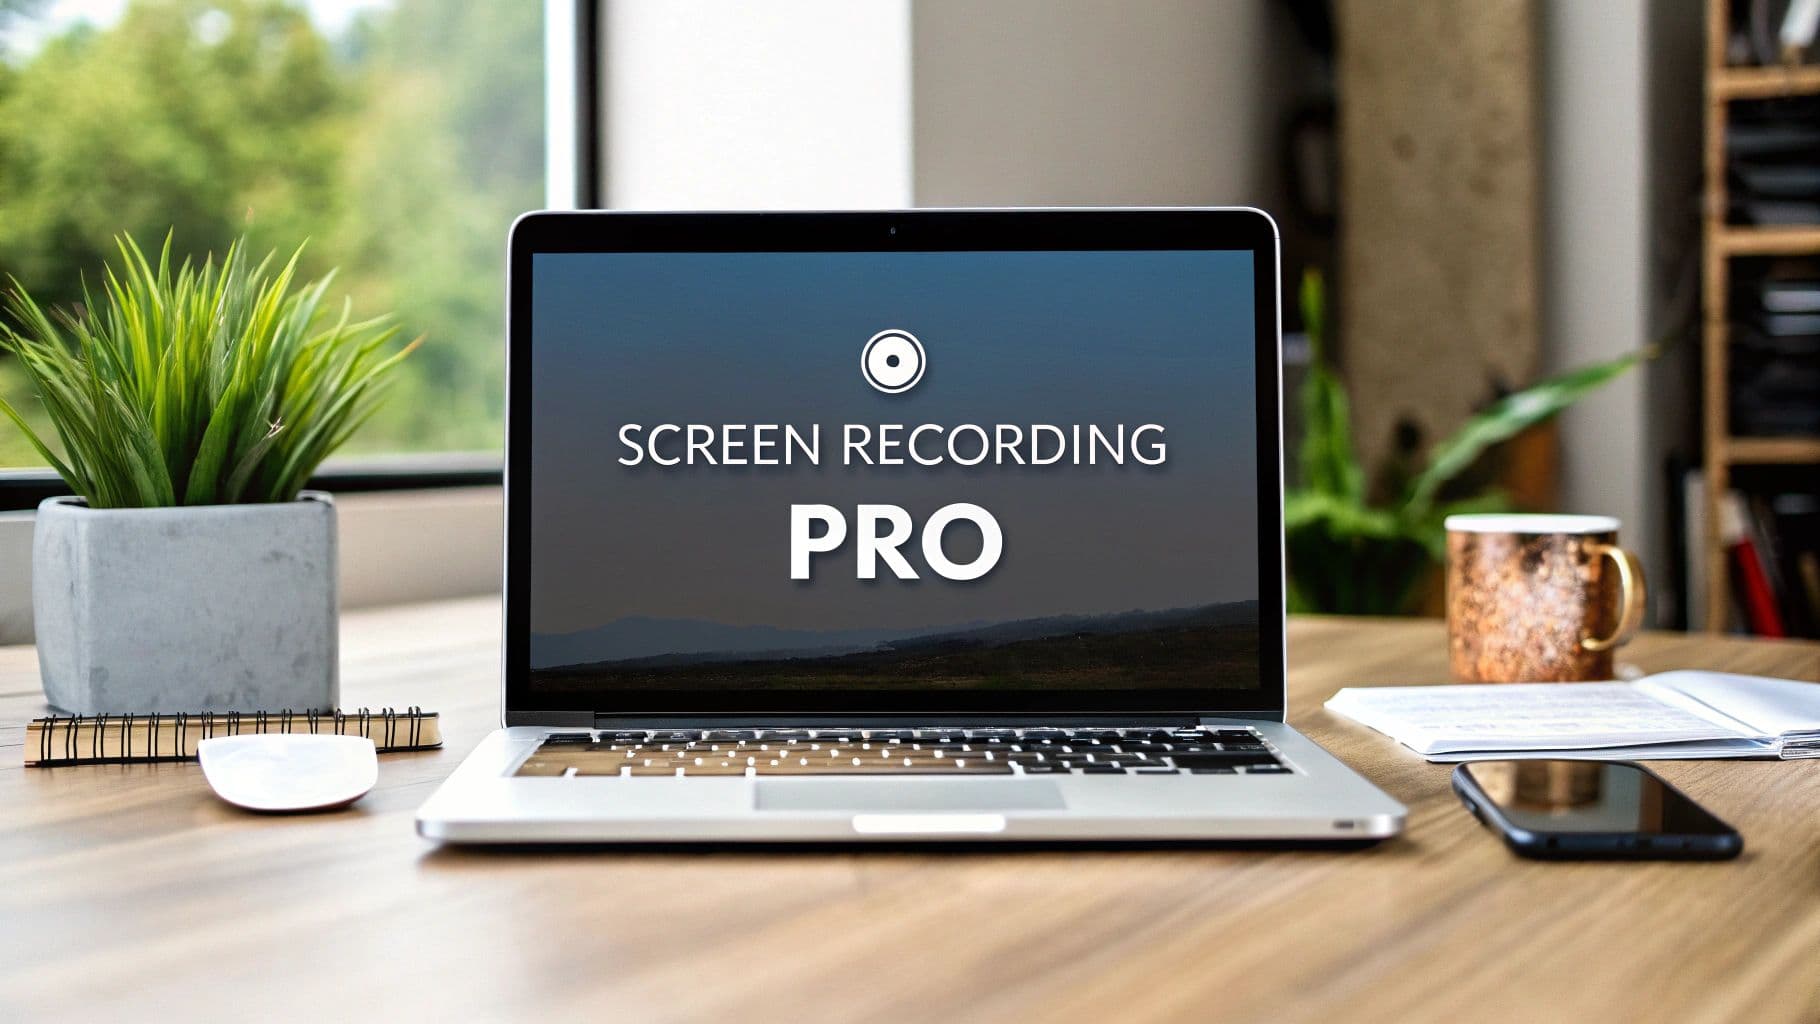
Putting It All Together: Recording Your Screen and Voice with Screen Charm
Alright, your microphone is dialed in and ready for action. Now, let's walk through the entire recording process using Screen Charm, a dedicated macOS app. My goal here is to show you just how fast you can go from a simple idea to a finished, professional-looking video, all inside one app. We're cutting out the technical busywork that usually slows people down.
This workflow is perfect for creating crystal-clear software demos, detailed tutorials, and engaging presentations on your Mac.
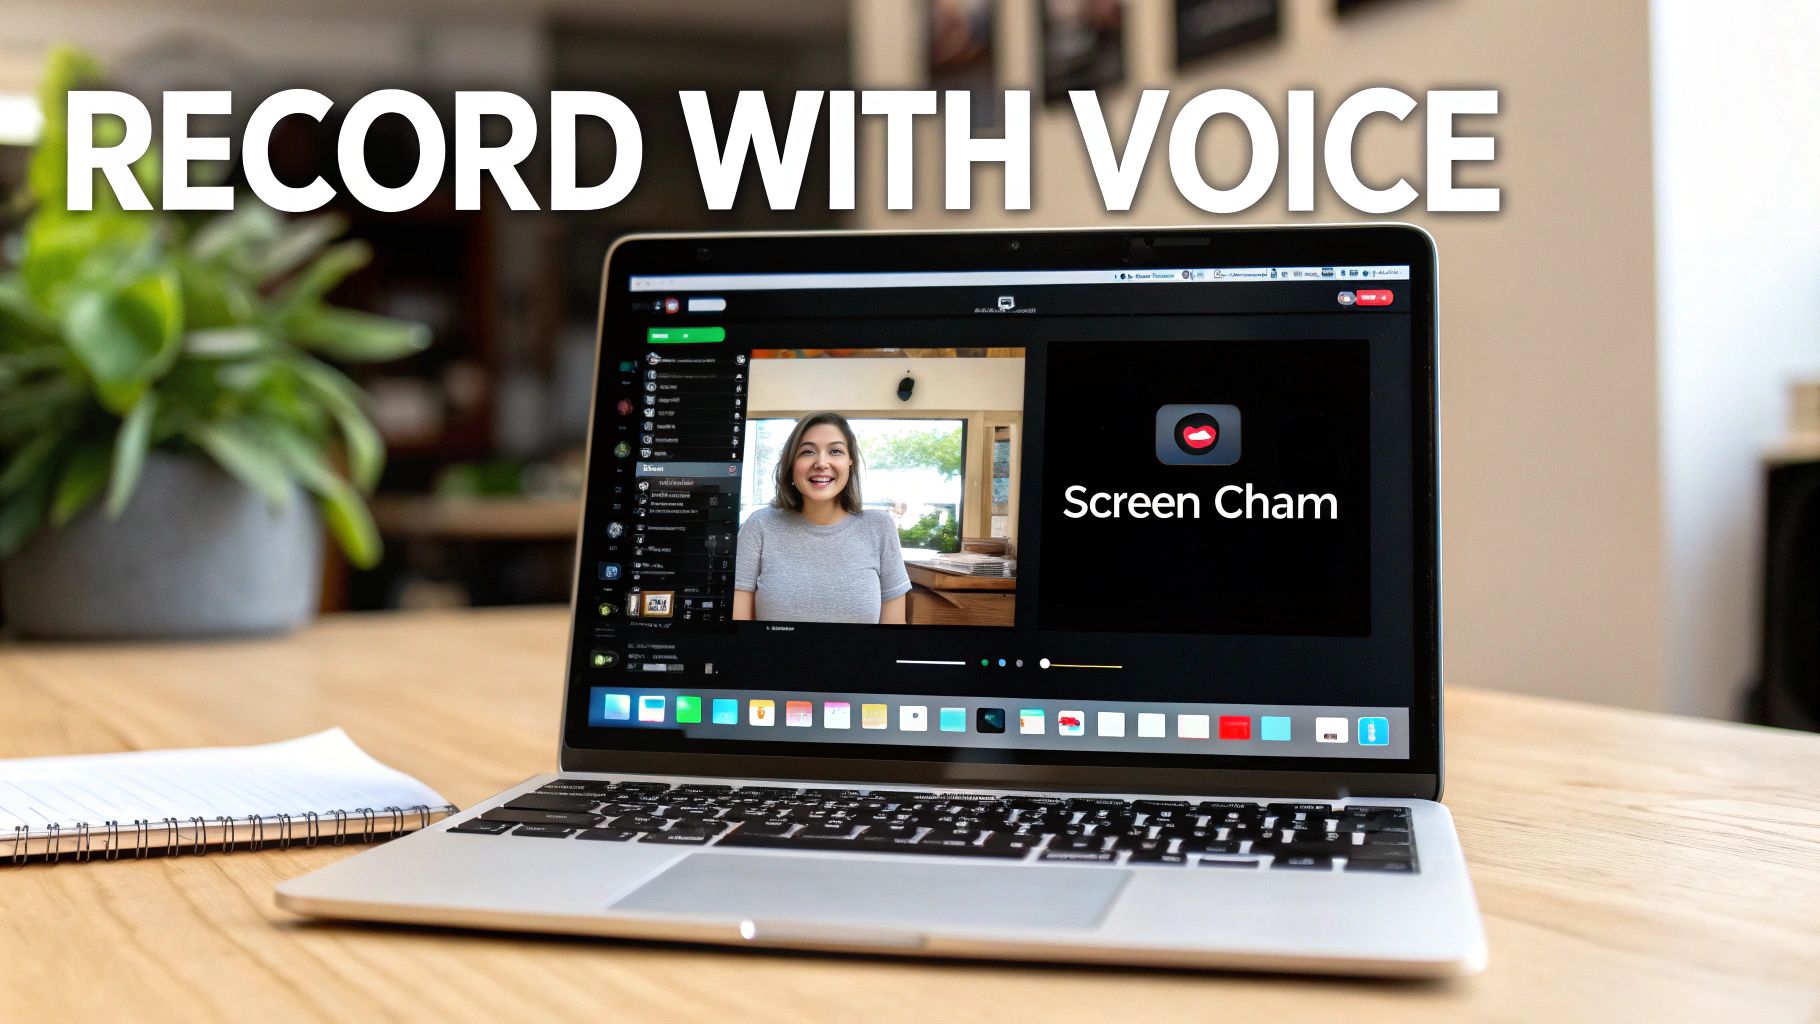
This is the classic setup for a great recording: a sharp screen capture paired with a personal webcam feed. That face-to-face element really helps build a connection with whoever is watching.
Your First Recording: Launch and Setup
When you first open Screen Charm on your Mac, you’ll notice the interface is clean and simple. All the important stuff is right there in front of you—no digging through confusing menus. Getting started takes just a minute.
You only have to make a few quick decisions before hitting that record button:
- What to Capture: You can choose to record your entire screen, a specific app window, or just drag a box around a custom area. For most tutorials, I find that locking onto a specific window is best. It keeps the viewer focused and avoids any distracting notifications or desktop clutter from your macOS desktop.
- Audio Source: This is where our earlier work pays off. Just click the microphone icon and select the external mic you just set up in your macOS system settings.
- Webcam Feed: I highly recommend turning this on. It adds a human touch. You can easily drag your video feed to any corner of the screen where it feels right.
Using Standout Features for a Polished Look
This is where Screen Charm starts to pull away from more basic macOS screen recorders like QuickTime. It’s loaded with features designed to give your videos a pro-edited feel without you needing to be a video editor. The whole idea is to guide your audience's attention effortlessly.
One of the best tools for this is the auto-zoom. As you move your mouse around, the software intelligently follows your cursor, smoothly zooming in on buttons, menu items, or anything you click. This little bit of motion automatically directs the viewer's gaze, making your instructions incredibly easy to follow. You don't even have to say, "now look over here."
When the software handles the visual focus for you, it frees you up to concentrate on delivering a clear, confident narration. It's like having a virtual camera operator making sure your audience never misses a key detail.
You can also instantly upgrade your video’s background. Instead of a messy desktop or your home office, you can choose from a library of clean, professional backdrops or even upload your own branded image. It’s a small detail that makes a huge impact on how professional your video feels. To see how it all comes together, you can check out the full Screen Charm workflow on their website.
Customizing the Details for a Consistent Brand
If you're a developer, marketer, or educator, branding is everything. Screen Charm gives you some great customization options to turn a generic recording into a true brand asset. For instance, you can change the cursor to a custom color or icon that matches your company’s style, making your video instantly recognizable.
These aren't just cosmetic tweaks. For the folks who rely on tools like this, having customizable cursors and backgrounds is what separates raw footage from a polished, branded masterpiece. This is especially true when you consider that 85% of online tutorials use voice-guided recording to hold viewer attention. Doing this all in one app—and skipping a separate video editor—can save creators up to 50% of their production time.
If you’re curious about what else is out there, it’s always a good idea to explore other useful DIY video production tools to round out your toolkit. Once you’re done recording in Screen Charm, you can make quick trims and adjust the zoom effects right in the built-in editor before exporting your final video, ready to share.
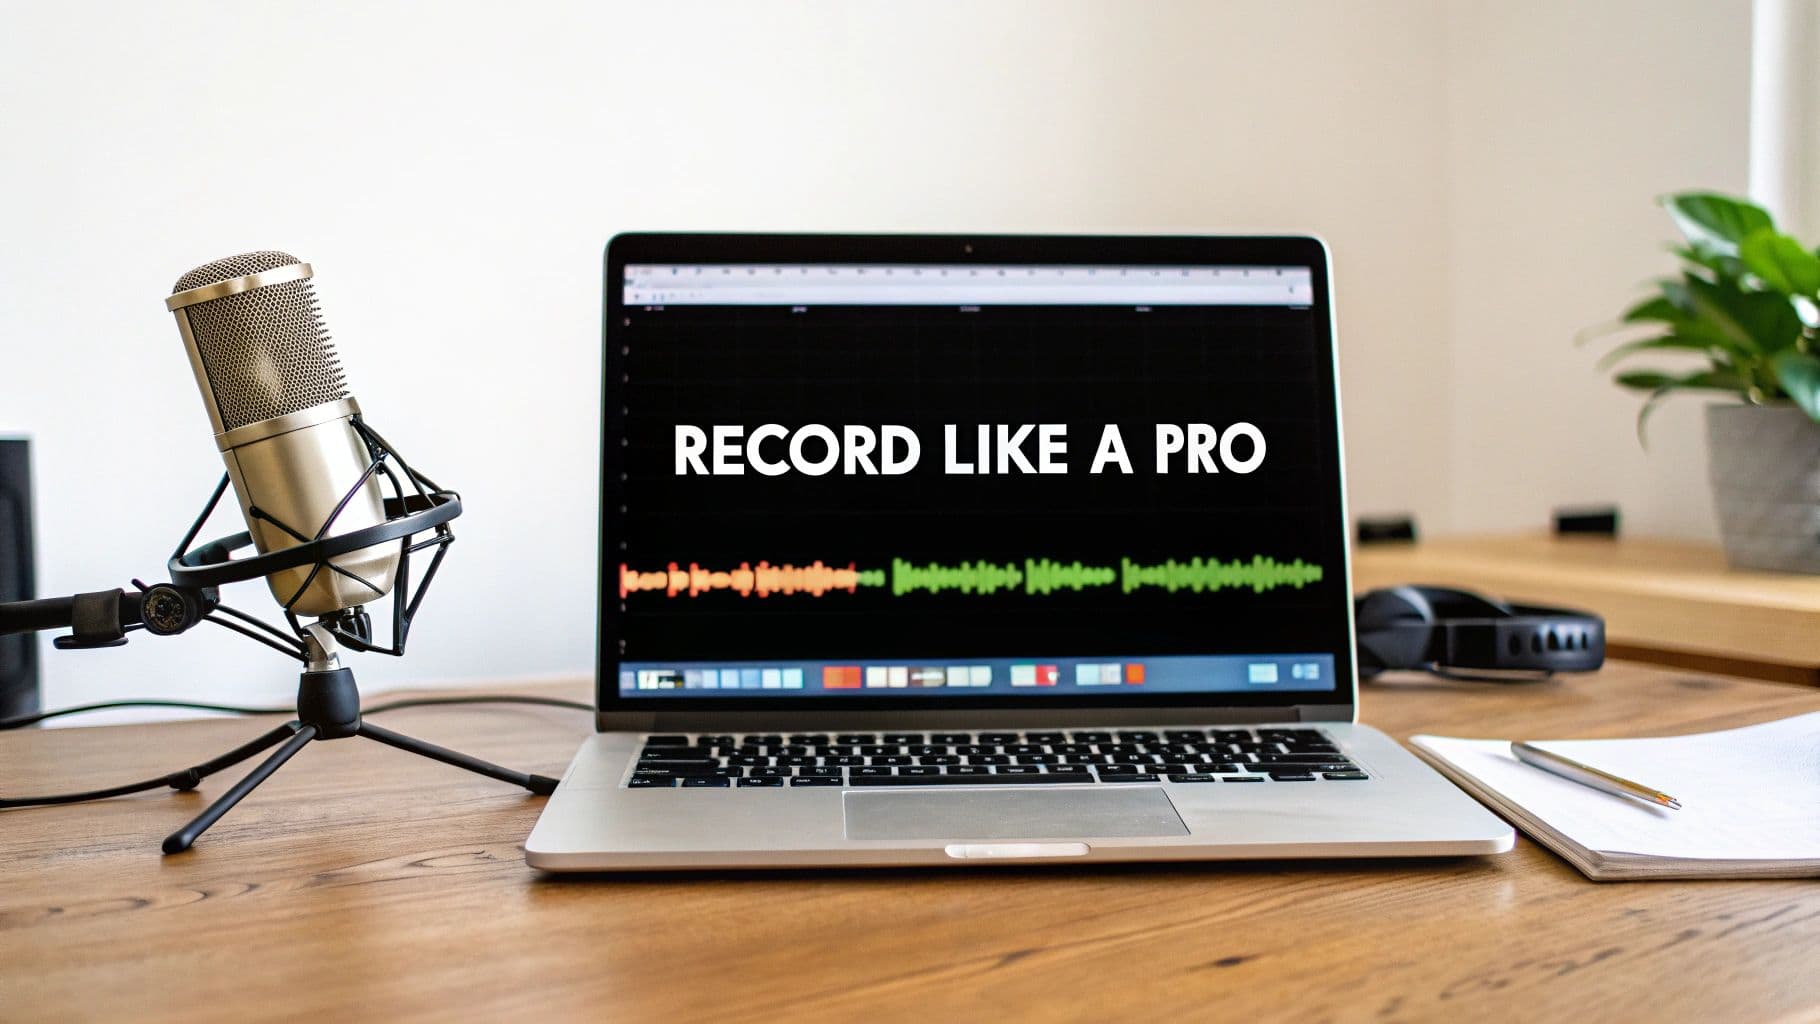
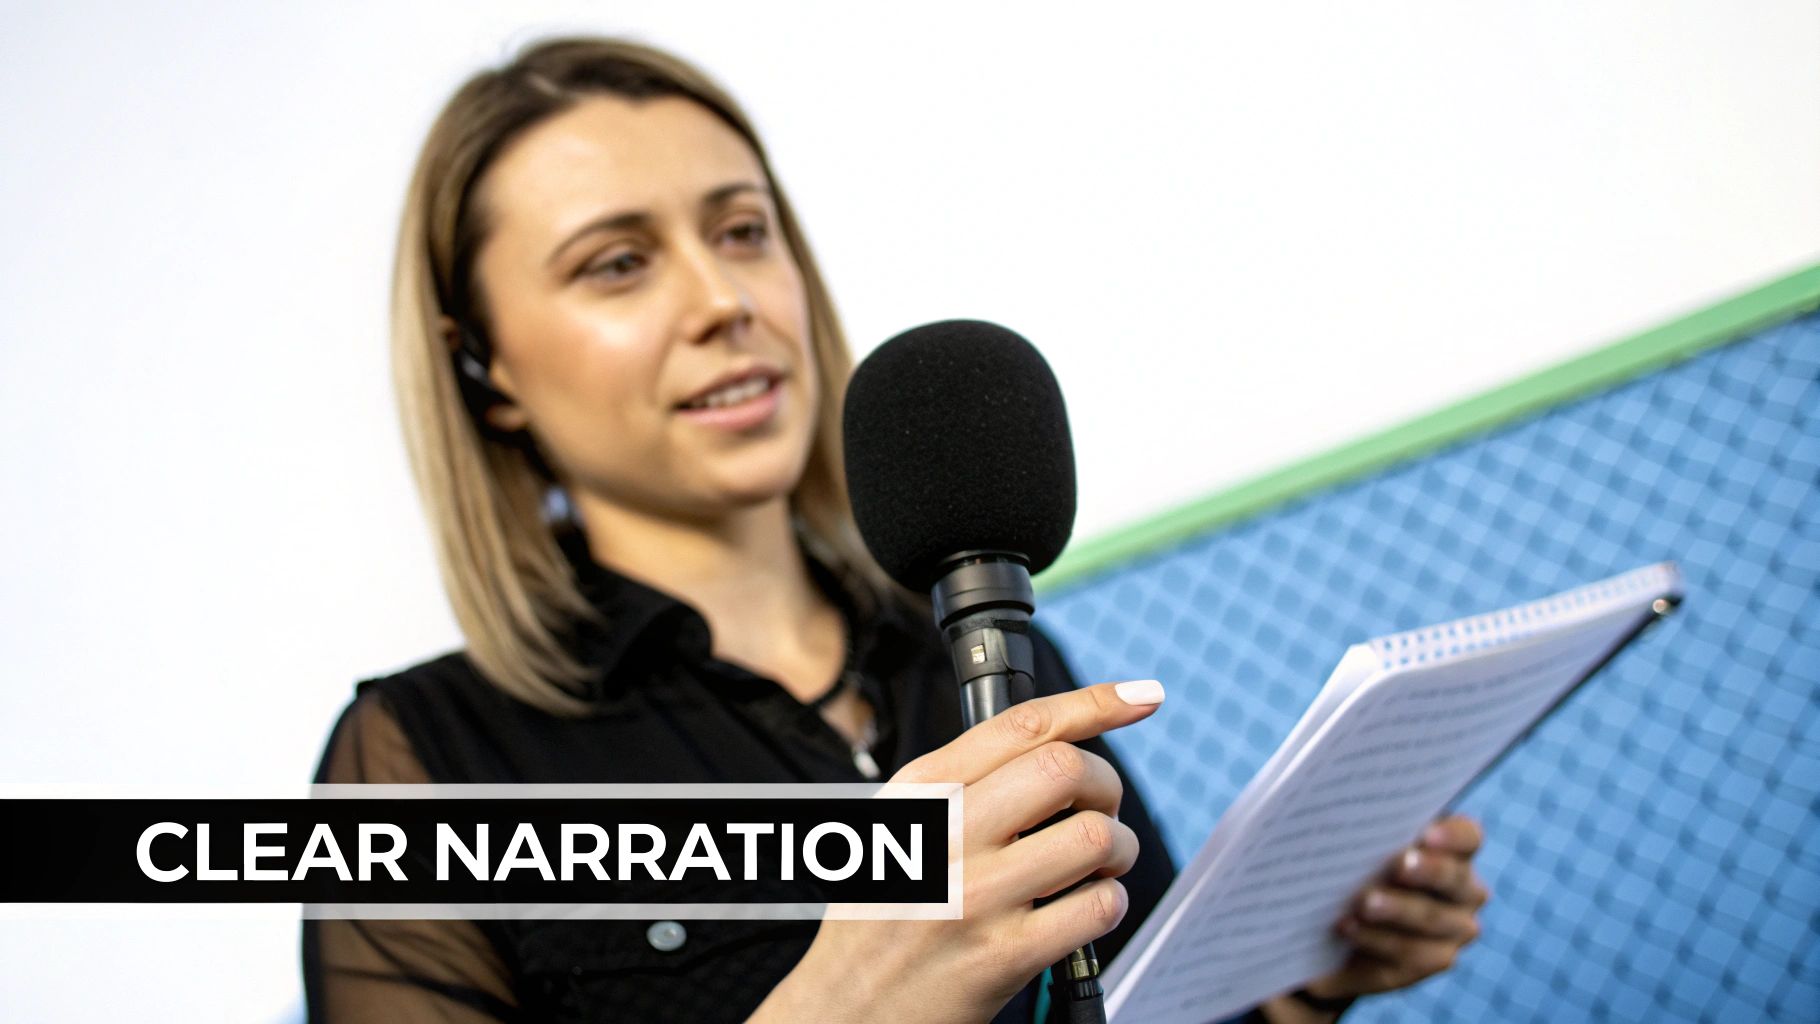
Tips for Recording a Clear and Confident Narration
Having great audio gear is a fantastic start, but it's only half the equation. The real magic happens in your delivery. How you speak is what elevates a basic screen recording with voice into something genuinely engaging and professional. You don't need to sound like a seasoned radio host—the goal is just to be clear, confident, and easy to follow.
This all begins with a little bit of prep work. I'm not talking about a word-for-word script, but simply jotting down your main talking points can be a lifesaver. A few bullet points on a sticky note or in a nearby text file will help keep you from rambling and make sure you hit all the crucial steps in a logical order.
For anyone creating tutorials, especially software developers or online instructors, clear narration isn't just a nice-to-have; it's essential. Consider that 80% of B2B buyers prefer watching a video demo to reading text. On top of that, screen recordings with a good voiceover can drive up to 300% more engagement than static screenshots. When your message is delivered clearly, people actually listen. You can dig deeper into the impact of screen recording software to see just how important this has become.
Mastering Your Vocal Delivery
Once your outline is ready, it's time to think about your pacing and tone. It's completely natural to speed up when you're nervous or passionate about a topic, but a fast-talking tutorial can leave your audience behind.
Here’s what to focus on:
- Speak Slowly and Deliberately: Before you hit record, take a deep breath. Make a conscious effort to speak at a steady, conversational pace. It’s also a great idea to pause briefly after making a key point—this gives your viewers a moment to process what you just showed them.
- Maintain Consistent Volume: This is a common mistake. If you lean toward the mic and then back away as you talk, your audio levels will be all over the place. Try to stay a consistent distance from your microphone for a smooth, professional sound.
- Enunciate Clearly: Mumbling is the kryptonite of a good narration. Make sure to pronounce your words distinctly, especially when you're throwing around technical jargon or complex names.
Pro Tip: Record a quick 30-second test and play it back. Do you sound rushed? Is the volume jumping around? This simple check is the best way to catch and fix issues before you record your entire session.
Eliminating Common Audio Problems
Even with a perfect delivery, the room you're in can sabotage your sound. The good news is that most of these audio headaches are surprisingly easy to fix.
The usual suspects are background noise, those harsh "popping" sounds from certain words, and echo. Let's tackle them one by one.
- Minimize Background Noise: This one's straightforward. Find a quiet time and place. That means closing the windows, shutting off any fans or air conditioners, and putting your phone on silent. Every little bit helps.
- Tame Plosives: "Plosives" are those aggressive puffs of air that hit the microphone when you say words with "p" and "b" sounds, creating a distorted pop. The easiest fix is a foam cover for your mic or a pop filter that sits between you and the microphone.
- Reduce Echo: Recording in a big, empty room? You're going to get echo. The solution is to be in a space with soft surfaces. Things like carpet, curtains, a bookshelf full of books, or even a couch can absorb sound waves and stop them from bouncing around.
Polishing and Sharing Your Final Video
You've nailed the recording, and your voiceover sounds great. Now what? It's time for the final polish that turns a good take into a truly professional video. The good news is you don't have to fire up a complicated, external video editor like Final Cut Pro. Screen Charm’s built-in tools have everything you need to get your screen recording with voice ready for the world.
The real beauty of an integrated editor is speed. You can jump straight into making tweaks the second you stop recording, which honestly saves a ton of time and hassle. A few small, deliberate edits can make a massive difference in how your video is received.
Making Quick Edits Right Inside the App
This is where you smooth out any rough patches. The most common edit I make is simply trimming the beginning and end. It’s almost impossible to avoid a few seconds of fumbling or silence as you start and stop the recording. Snipping those off gives you a much cleaner, more professional start and finish.
Beyond trimming, take a look at the automatic effects. The auto-zoom in Screen Charm is a fantastic feature for guiding your viewer's attention, but a little manual adjustment can really perfect it.
- Fine-Tune Zoom Points: Manually drag where the zoom starts and ends. This lets you make sure it perfectly frames the most important button or menu item you're talking about.
- Adjust Zoom Speed: You can also control how fast the zoom happens. I find that a slightly slower, more gradual zoom feels less jarring and more intentional.
This kind of control helps the visuals match your narration perfectly. You’re not just stuck with the defaults; you’re actively directing the viewer’s eye exactly where it needs to go.
The biggest advantage here is keeping everything in one place. Not having to export your raw footage, import it into another program, and learn a whole new interface is a huge win. It lets you stay focused on getting the final product just right.
Exporting for Your Audience
Once you're happy with the edits, the last step is exporting. The settings you pick here really depend on where the video is going to live. Screen Charm makes this pretty straightforward by offering high-quality options that work for just about any platform.
You can export your finished videos in resolutions all the way up to 4K Ultra HD. This is perfect for making sure your recording looks sharp and clear, even on a huge monitor.
Here’s how I think about choosing the right settings:
- YouTube or Vimeo: For dedicated video platforms, I always go with 1080p or 4K. The higher resolution looks better and is often favored by their algorithms.
- Social Media: If I'm posting to LinkedIn or X (formerly Twitter), 1080p is usually more than enough. It keeps the file size down, which means faster uploads for me and quicker loading for my audience.
- Online Courses or Tutorials: Clarity is king here. A crisp 1080p export ensures that every line of code or tiny menu option is perfectly readable for students.
Picking the right format ensures all your hard work pays off and looks fantastic wherever it's seen. With just a few clicks, your polished video is ready to share.
Troubleshooting Common Mac Recording Issues
It happens to everyone. You wrap up what you think is the perfect recording session on your Mac, only to run into a frustrating technical glitch. Whether it's a silent video or a choppy screen, these little snags can feel like a huge setback.
The good news is that most of these problems, especially when you're trying to screen record with voice, are surprisingly easy to fix with a quick look at your macOS settings. Let's walk through some of the most common issues I've seen over the years.
The number one panic-inducer? Finishing a long recording and realizing there's no audio. I’ve been there. Before you do anything else, check your Mac's permissions. It's almost always the culprit.
macOS is really strict about privacy, so you have to explicitly tell it which apps can use your microphone.
- Open up System Settings > Privacy & Security > Microphone.
- Scroll through the list and find your recording app (like Screen Charm).
- Make sure the little toggle switch next to it is on. If it’s off, your Mac is blocking it from hearing a single sound.
This one simple check solves the "no audio" mystery for the vast majority of people.
Diagnosing Audio and Video Glitches
Okay, but what if you do have audio, and it just sounds terrible? A constant background hum or static can ruin an otherwise great recording. If you're sure it's not the air conditioner, it's probably a bad connection.
The first thing I always try is unplugging my USB mic and plugging it into a different port on my Mac. Sometimes a specific port or a cheap USB hub can introduce electrical noise. A loose cable can do the same.
Then there's the dreaded sync issue—where your voice is a second or two behind the action on screen. This usually means your Mac is overworked. Recording high-resolution video and clear audio at the same time is a heavy lift for any computer.
The easiest fix is to give your recording software some breathing room. Before you hit record, close everything you don’t absolutely need. That means extra browser tabs, messaging apps like Slack, and music players. Freeing up that processing power often smooths everything out and gets your audio and video back in perfect harmony.
The same logic applies if your video playback is choppy or stuttering. Your system might just be struggling with the resolution. Try dropping the recording quality from 4K down to 1080p. For most tutorials or demos, the difference is barely noticeable to the viewer, but it can make a huge difference in performance.
If you're still running into specific problems with your microphone or sound setup, you can dive deeper into how to get sound on a screen recording for more advanced solutions.
Ready to create stunning product demos and tutorials on your Mac without the technical headaches? Screen Charm simplifies the entire process with intelligent auto-zoom, professional backgrounds, and an all-in-one editor. Get Screen Charm today and start producing polished videos in minutes.