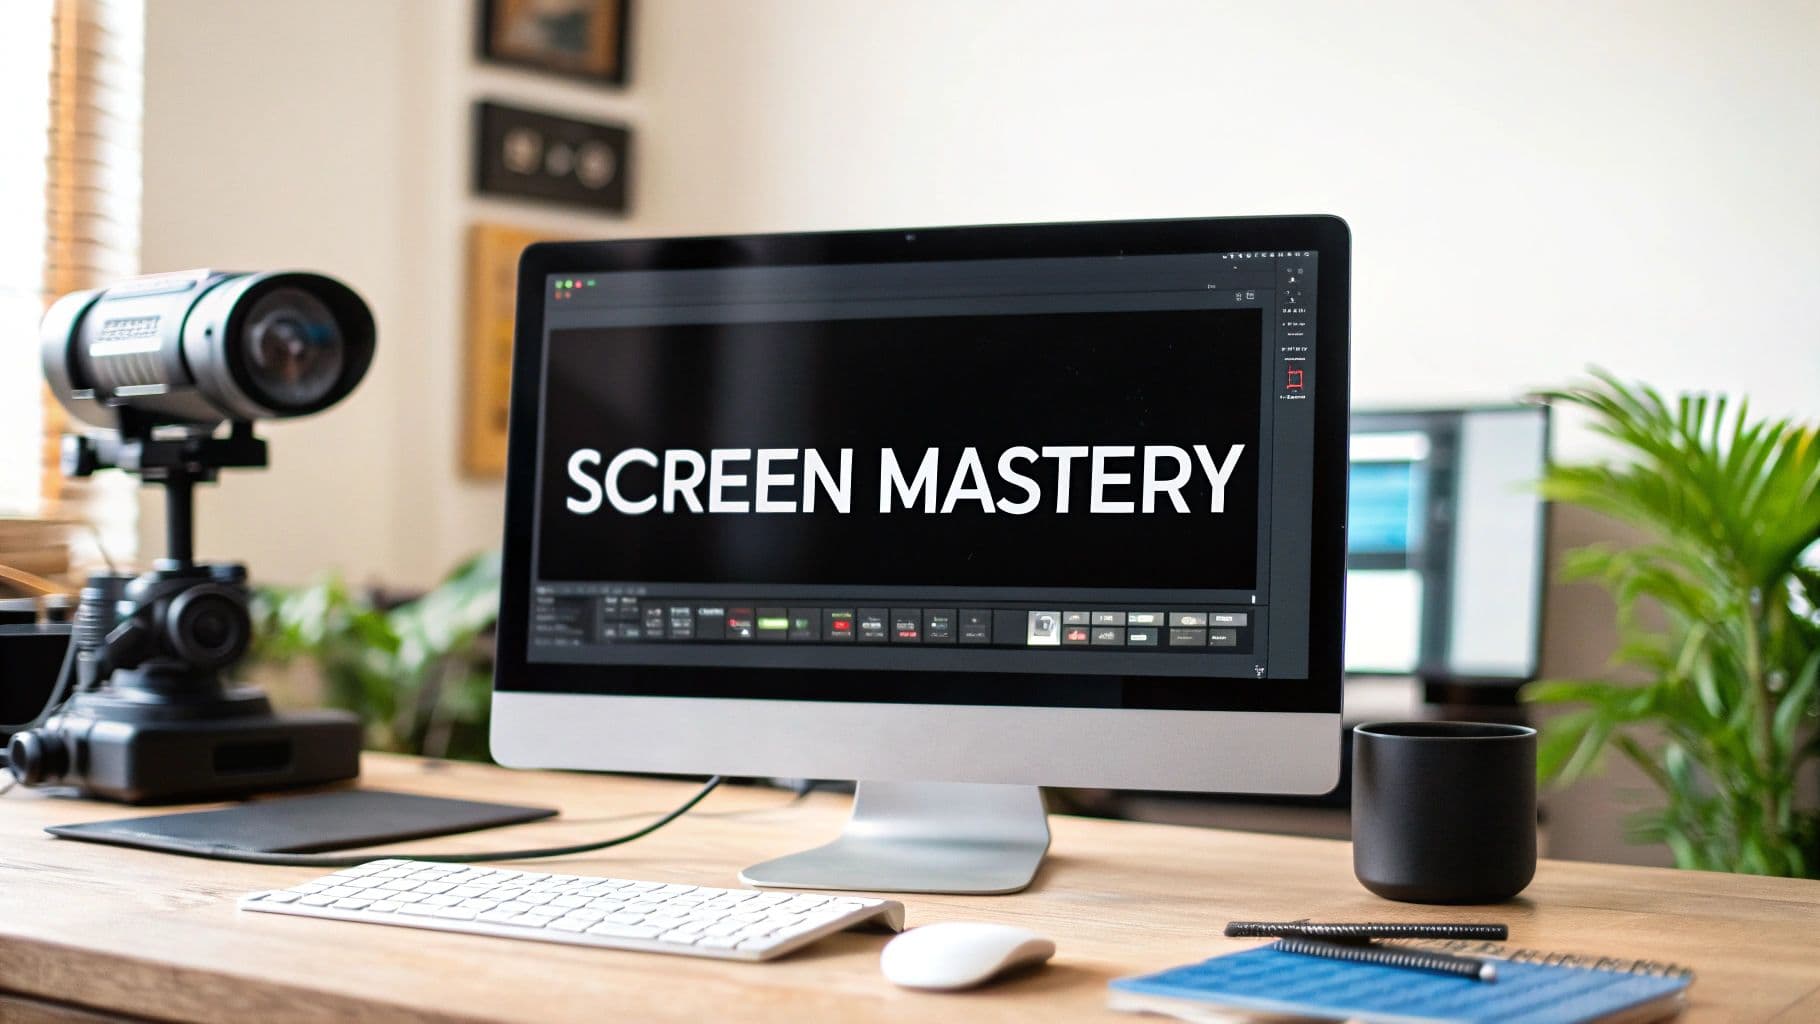
Screen Recording High Quality: A Guide for Flawless Mac Demos
A pixelated, choppy screen recording can kill your credibility in a heartbeat. To capture high-quality screen recordings on your Mac, you have to think beyond a simple screen grab. The real magic lies in mastering the three pillars of professional video: high resolution, smooth frame rates, and crystal-clear audio.
This guide will show you exactly how to get there, making sure your macOS demos and tutorials look as sharp and polished as you are.
Why Crisp Recordings Are Non-Negotiable on macOS
Let’s be real for a second. A low-quality recording doesn't just look bad—it actively sabotages your message.
Think about it. Whether you're a founder demoing a new app or a support specialist walking a customer through a fix, the clarity of your video is a direct reflection of your work's quality. A sharp, professional recording builds instant trust and makes complex information way easier to follow.
Imagine a potential investor trying to watch your product demo. If the on-screen text is a blurry mess and the animations stutter, their confidence in your product is going to take a nosedive. Now, picture that same demo in a crystal-clear 4K recording that glides through every feature. That screams competence and attention to detail. This isn't just about looking good; it's about driving real business results.
Beyond Just Looking Good
The payoff for a high-quality screen recording goes way beyond a good first impression. When you’re creating educational or support content, clarity directly impacts how well your audience understands the material. People are much more likely to grasp a process when they can actually see every single click and menu option.
This creates a powerful ripple effect:
- Fewer Support Tickets: Clear tutorials empower users to solve their own problems, which frees up your support team for more complex issues.
- Better User Adoption: A polished onboarding video makes a new app feel approachable, not intimidating, encouraging people to dive in and explore.
- A Stronger Brand: Pumping out consistently high-quality video content shows everyone that your brand is committed to excellence.
The goal is to make the viewing experience feel completely effortless. A great recording guides the viewer's focus so well they forget they're even watching a screen capture—they just absorb the information.
The Growing Demand for Quality
This focus on quality isn't just a fleeting trend; it’s a massive shift in how we communicate. The global screen recording software market was valued at USD 1.5 billion in 2023 and is expected to hit USD 3.5 billion by 2033. That growth is fueled by the need for polished video in e-learning and remote work, where clarity isn't just nice to have—it's essential.
When you're trying to demonstrate complex software or break down a tricky concept in a Mac demo, your recording's quality is everything. It's a lot like the detailed planning that goes into creating clear explainer videos for complex products.
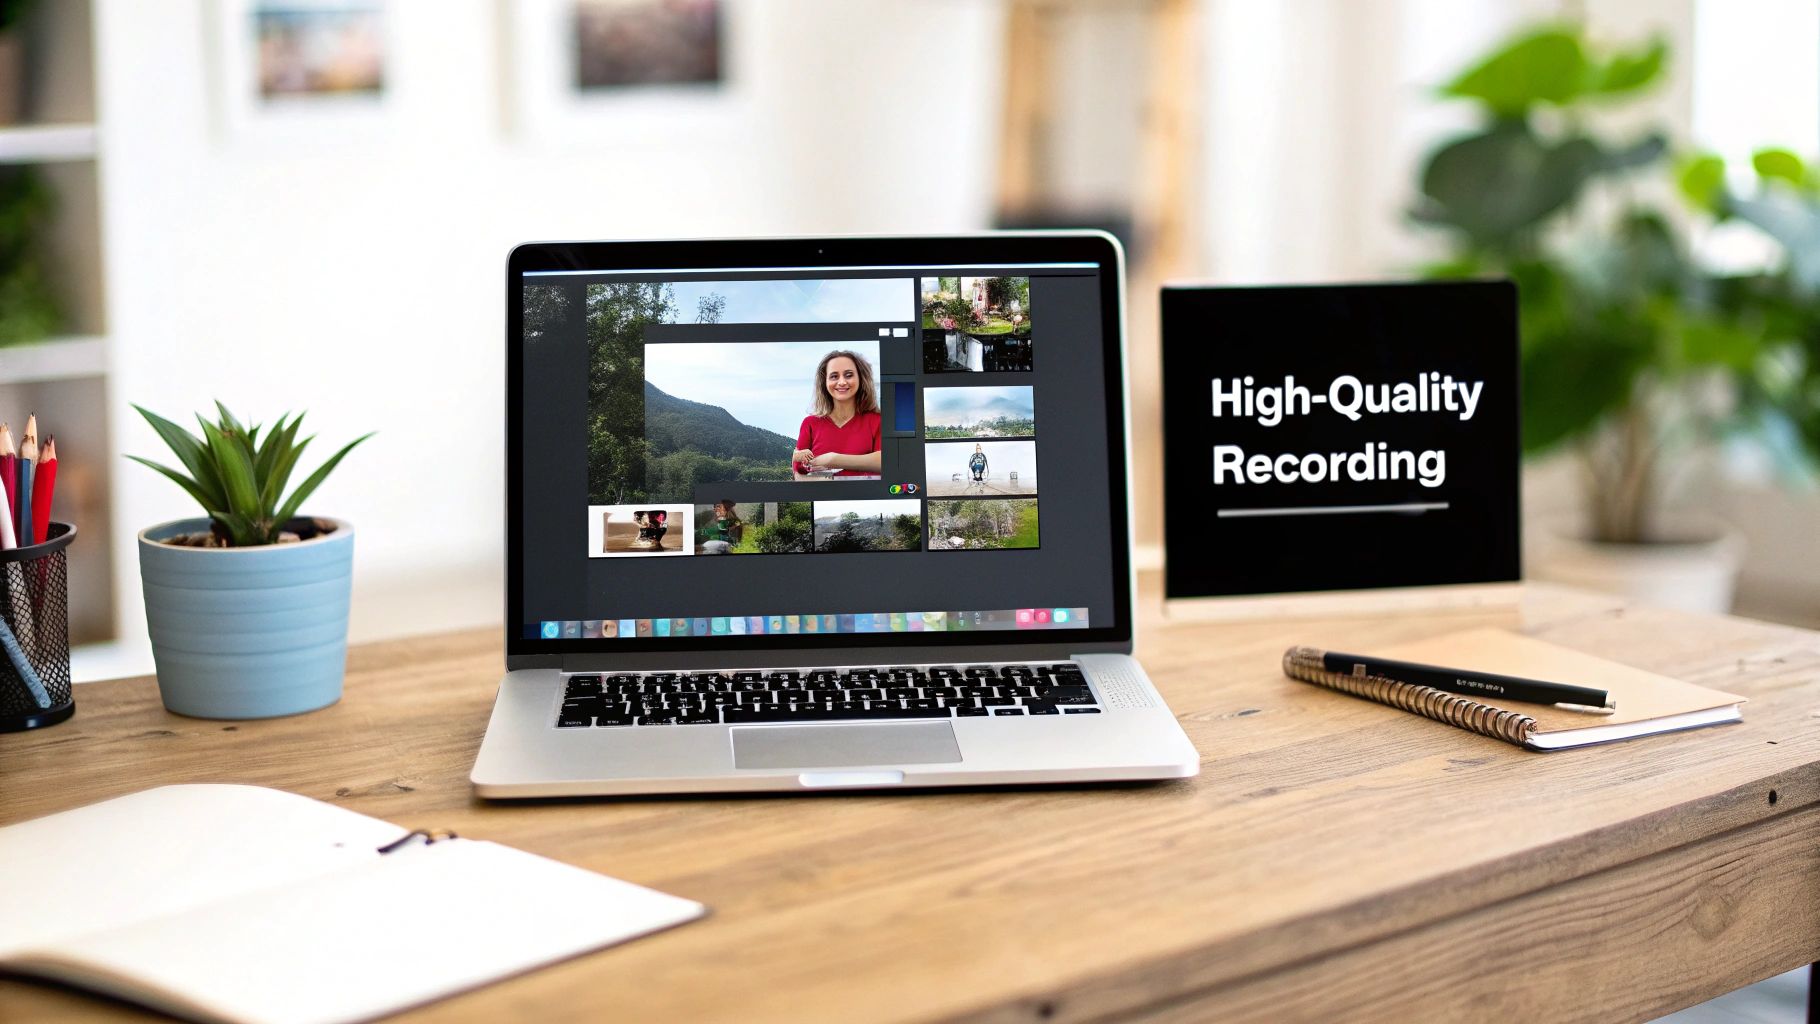
Luckily, you don't need a degree in video engineering to get professional results on macOS anymore. Tools like Screen Charm are specifically designed to deliver stunning recordings—think 4K resolution and buttery-smooth motion—without the headache. We'll walk you through the key steps to create videos that don't just inform, but also impress.
Sponsored by the makers
Tired of boring screen recordings?
Try Screen Charm.
Auto-zoom, motion blur, camera overlay, and background music. All built in. Record once, export a polished video.
See what it doesGetting Your Mac Set Up for a Flawless Recording
To get that professional, high-quality screen recording, you first need to get comfortable with a few core settings. Think of resolution, frame rate, and bitrate as the key ingredients in your video recipe—get them right, and the final result will look incredible. Get them wrong, and you'll end up with blurry visuals, choppy motion, or massive files you can't even share.
The good news is that setting this up on your Mac isn't as scary as it sounds. It’s really just about matching your recording parameters to what your project actually needs.
Matching Resolution to Your Content
Resolution is all about the clarity and detail in your video. It's measured in pixels (width x height), and more pixels mean a sharper image. While 4K (3840 x 2160 pixels) offers stunning fidelity, it's not always the best tool for the job.
Here’s how to think about it in practical terms:
- 4K UHD (Ultra High Definition): This is what you want for showcasing detailed software, intricate design work, or anything with tiny text that needs to be perfectly readable. It gives you that crisp, polished look that’s perfect for big product launches or important macOS demos.
- 1080p (Full HD): This is the workhorse of video resolution. It’s perfect for most tutorials, presentations, and general web content. You get fantastic quality while keeping file sizes much more manageable than 4K.
- 720p (HD): While you probably won't use this for your main recordings, 720p is handy for quick, informal updates or when you just need the smallest possible file for a fast upload.
The trick is to record at the native resolution of whatever you're showing. For instance, if you're only recording a single app window, capturing your entire 5K iMac screen is complete overkill and just creates more editing work for you later.
Frame Rate: The Key to Smooth Motion
Frame rate, measured in frames per second (fps), dictates how smooth the motion looks in your video. It’s like the pages in a flipbook—the more pages you flip per second, the more fluid the animation appears. While 24-30 fps has been the standard for years, modern high-refresh-rate Mac displays have changed expectations.
Think about it in these scenarios:
- 60 fps: This is absolutely essential for capturing anything with fast-moving action. If you're demonstrating slick UI animations, scrolling quickly, or recording gameplay on your Mac, 60 fps is non-negotiable. It kills motion blur and keeps every detail sharp.
- 30 fps: For most standard screen recordings, this is the sweet spot. It works perfectly for slideshows, software walkthroughs with minimal movement, or coding tutorials. It produces a clean video and cuts your file size nearly in half compared to a 60 fps recording.
A mismatched frame rate is one of the easiest ways to spot an amateur recording. Capturing a fast, smooth animation at 30 fps will make it look choppy and unprofessional, instantly damaging the perception of your product.
Understanding Codecs and Bitrate
Okay, this is where it gets a little more technical, but the idea is simple. A codec (coder-decoder) is a program that compresses your video into a smaller file and then decompresses it for playback. For web video, the undisputed king is H.264, which hits a great balance between quality and file size.
Bitrate is the amount of data used to create one second of video. Higher bitrate means more data, which translates to better quality and a bigger file. A lower bitrate gives you a smaller file, but if you drop it too low, you’ll start seeing ugly compression artifacts like blocky pixels.
If you're ever unsure about what bitrate to use, our free online video bitrate calculator can help you find that perfect balance between quality and file size.
This balance is a huge deal in fields like e-learning. In fact, e-learning drives 30% of the demand for screen recording software. With 80% of online courses using screen recordings, high-resolution exports are critical for keeping students focused—a low-quality video can cause a 25% drop in viewer retention.
Screen Charm takes the guesswork out of this. Our intelligent presets automatically pick the best settings for you, but you always have the power to export in brilliant 4K UHD when you need that extra shine. It's all about getting the perfect blend of quality and practicality, every single time.
To make things even easier, here's a quick guide to help you pick the right settings for your next project.
Recommended Recording Settings for Different Use Cases
| Use Case | Recommended Resolution | Frame Rate (fps) | Best For |
|---|---|---|---|
| Software Demo | 1080p or 4K | 60 fps | Showcasing smooth UI animations and intricate details without any stutter. |
| Online Course / Tutorial | 1080p | 30 fps | Providing clear, easy-to-follow instructions with manageable file sizes. |
| Team Update / Quick Asks | 720p or 1080p | 30 fps | Sharing quick, informal video messages that upload fast. |
| Website Walkthrough | 1080p | 60 fps | Capturing smooth scrolling and interactive elements on a webpage. |
This table should serve as a great starting point. As you get more experienced, you'll develop a feel for which settings work best for your specific style and audience.
Getting Your Webcam and Audio Just Right
You can have the most stunning 4K screen recording, but if your audio is terrible, the whole thing falls flat. It’s a classic mistake. We get so focused on the visuals that we forget sound is what truly connects with the audience. Clear, crisp audio and a well-integrated webcam aren't just add-ons; they're essential for creating a screen recording high quality enough to feel professional.
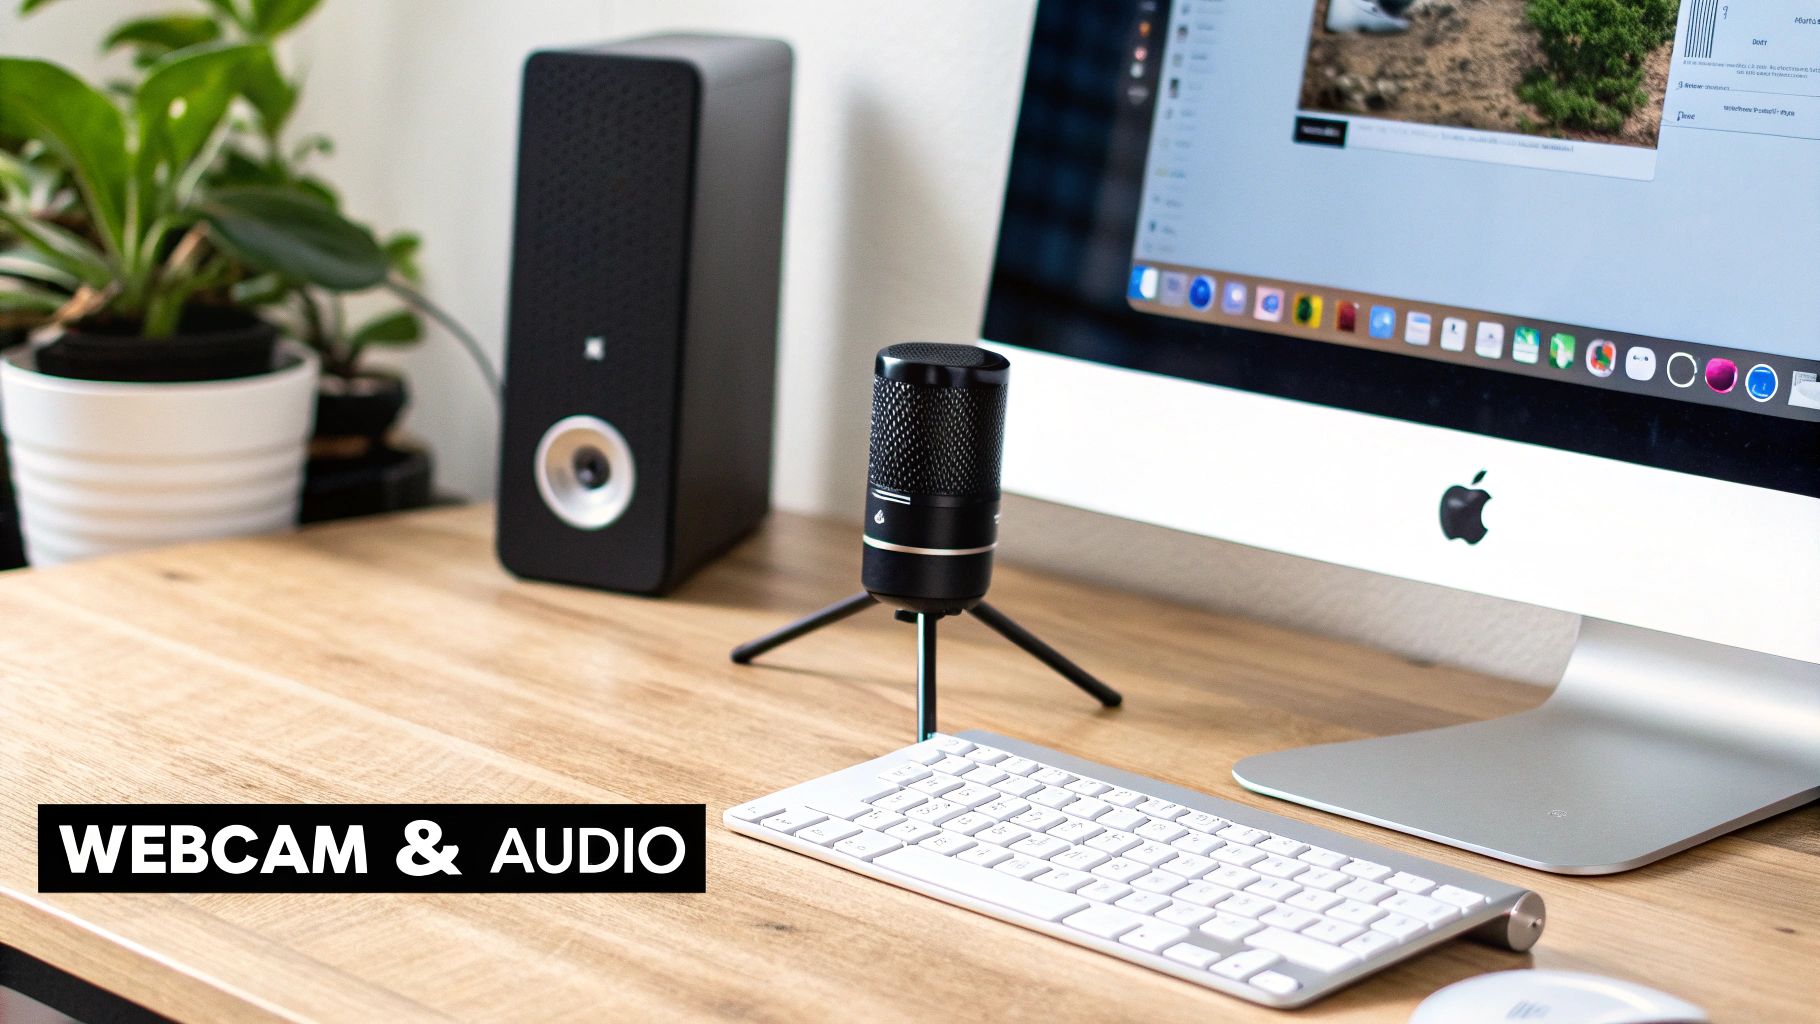
It all starts with your microphone. Look, the built-in mic on your Mac is fine for a quick FaceTime call, but for a polished recording, it’s a non-starter. It’s notorious for picking up every distracting sound—your keyboard clicks, the Mac's fan, the echo of the room. These little noises can instantly pull your viewer out of the experience.
The single best investment you can make is a decent external USB microphone. You don't need to spend a fortune to get one that isolates your voice and delivers that rich, clean sound that holds a listener's attention.
Dialing in Your Mac Audio Settings
Once you have your mic, don't just plug it in and assume it’s working perfectly. A quick check of your Mac's sound settings can save you from discovering an hour into editing that you recorded with the wrong input.
Before you hit record, run through this quick checklist:
- Pick the Right Mic: Go to
System Settings > Sound > Input. Make sure your external mic is actually selected. macOS sometimes defaults back to the internal one, even when another is plugged in. - Set Your Volume Level: Talk into the mic at your normal speaking volume. Watch the input level meter—you want it bouncing in the top half but never hitting the max. If it hits the end, you get "clipping," which is a nasty digital distortion you can't fix later.
- Find a Quiet Room: This sounds obvious, but it’s so easy to forget. Shut the window to block traffic noise, turn off any fans, and silence your phone. Small background hums become glaringly obvious in a final recording.
A quick 30-second test recording is your best friend. It’s the fastest way to catch an issue—like a muted mic or an air conditioner you forgot to turn off—before you’ve wasted an entire take.
Bringing a Personal Touch with Your Webcam
Adding your face to a screen recording is a game-changer. It builds trust and makes the content feel more like a one-on-one conversation than a cold, impersonal tutorial.
But a bad webcam shot—poorly lit, awkwardly framed—can be more distracting than helpful. The good news is you probably don't need a new camera. Your Mac's built-in FaceTime camera is surprisingly capable if you just control the environment.
Simple Tricks for a Professional Webcam Look
It really boils down to two things: lighting and positioning.
First, always have your main light source in front of you. Facing a window is perfect. If it's dark, a simple desk lamp will do the trick. This gives you soft, even light and gets rid of those harsh, unflattering shadows.
Next, think about your camera angle. Get the webcam to eye level or slightly above. It's a much more engaging and natural-looking angle. If you're on a laptop, just prop it up on a stack of books. Easy.
For a deeper dive into camera setups and framing, check out our guide on how to record your webcam on a Mac.
This is where Screen Charm really simplifies things. It lets you record your screen and camera at the same time, but it also offers a killer branding feature: custom backgrounds. Instead of showing off a messy room, you can pop in a branded background for a marketing video or just a clean, neutral one for a tutorial. It’s a small touch that keeps your videos looking consistent, professional, and completely on-brand.
Using Dynamic Effects to Guide Viewer Attention
A high-resolution video is a fantastic starting point, but it's the dynamic effects that really separate a basic screen capture from a professional, engaging presentation. Let's be honest, static recordings can be hard to follow. Viewers get lost trying to track a tiny cursor darting across a busy screen. This is where you can take your recording from just "watchable" to genuinely compelling.
Without a little guidance, your audience’s eyes will wander. They might miss that critical click or fail to spot a subtle change in the interface. Dynamic effects are your secret weapon; they act like a director, pointing a spotlight and telling your viewers, "Hey, look over here. This is important."
The Magic of Automated Zoom
In the old days, creating this kind of guided experience was a massive headache. It meant hours of tedious post-production, manually setting keyframes to zoom in on a menu, then zoom back out, then track the cursor to another part of the screen. It's a clunky, time-sucking process that requires some serious editing chops.
This is the exact problem Screen Charm was built to solve on macOS. Its signature auto-zoom feature is brilliant—it intelligently follows your cursor's movement in real-time. When you pause your mouse over a button or a form field, the camera smoothly zooms in to highlight that action. Move away, and it gracefully zooms back out, restoring the broader context.
This isn't just a gimmick; it's an incredibly powerful communication tool. It makes sure your audience never misses a crucial step, and you don’t have to touch a single keyframe in an editor. What you get is a recording that feels polished, intentional, and ridiculously easy to follow.
Think of auto-zoom as your personal camera operator. It anticipates where the action is and provides the perfect close-up, turning a passive viewing experience into an active, guided tour of your software.
This automated approach is a huge time-saver. It lets you focus on your message instead of getting bogged down in technical editing. It’s the difference between a flat, one-dimensional recording and a dynamic one that keeps your viewers completely locked in.
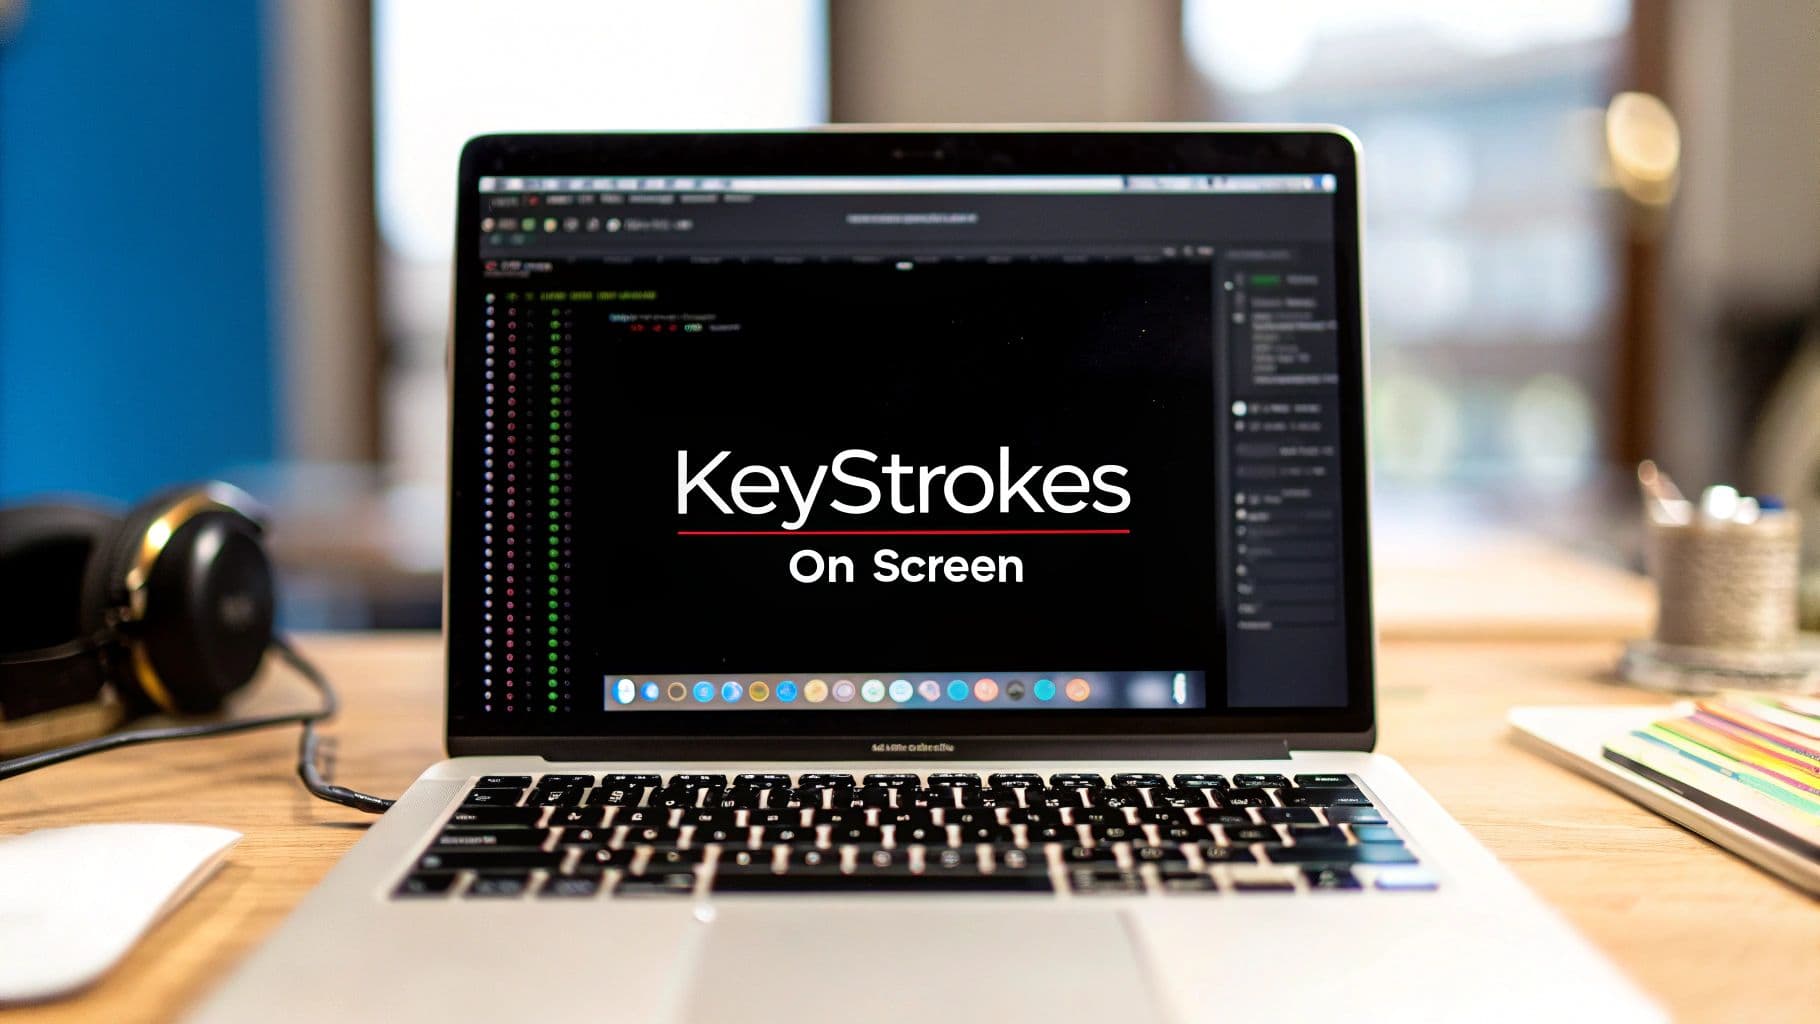
Turning Your Cursor into a Teaching Tool
Your cursor is the star of the show in any screen recording, so why let it be boring? The default macOS cursor is functional, sure, but it hardly stands out. By customizing its appearance, you can transform it from a simple pointer into an effective teaching aid that reinforces your brand and your message.
This is especially valuable when you're creating clear, instructional content. Picture this: you’re demonstrating a complex workflow with a dozen steps. A generic little arrow can easily get lost against a busy user interface.
Now, consider what a few simple but powerful tweaks can do:
- Increase the Size: Just making the cursor a bit larger makes it impossible to miss.
- Add a Highlight: A colored circle or "spotlight" around the cursor instantly draws the eye.
- Change the Icon: You could even use a branded icon or a shape that fits your content.
These small adjustments make a massive difference in how well your viewers understand what's happening. A bright yellow highlight around the cursor, for instance, ensures that every single click is crystal clear, even if someone's watching on a small phone screen. It’s a subtle cue that reinforces your actions and makes your tutorial far more effective.
Before and After: The Impact of Dynamic Effects
The real impact of these effects becomes obvious when you see them in action. Let’s compare two quick scenarios.
Scenario 1: The Static Recording You record a software demo at full-screen resolution. Your cursor zips from a menu in the top-left corner to a button on the bottom-right. The viewer's eyes struggle to keep up. When you click a tiny checkbox, it's barely visible, and there's a good chance your audience missed the action entirely. The final video feels flat and requires a lot of concentration to follow.
Scenario 2: The Dynamic Recording Now, you record that same demo using auto-zoom and a custom cursor. As your highlighted cursor moves to the menu, the frame smoothly zooms in, making the options large and easy to read. When you move to the button on the right, the camera pans to follow, creating a natural sense of motion. As you hover over that tiny checkbox, the screen magnifies it, leaving absolutely no doubt about what you’re clicking.
The difference is night and day. The dynamic version isn't just more professional—it’s significantly easier to understand. It respects your viewer's time by making the information as clear and accessible as possible, ensuring no critical step ever gets lost in the shuffle.
Your Pre-Flight Checklist and Post-Production Workflow
I’ve learned the hard way that a great screen recording doesn't just happen when you hit the record button. It starts with what you do beforehand. Think of it like a pilot's pre-flight check; a few minutes of prep work on the front end saves you from a world of headaches and retakes later.
Once you have the footage, the magic is in the edit. But this is where most people get stuck. The key is to have a simple, direct path from recording to final video without getting tangled up in complex software.
Set Yourself Up for Success
Before I record anything, I always run through a quick mental checklist on my Mac. This little ritual makes a massive difference in the final quality and saves me from having to edit out silly mistakes.
I’ve put my go-to steps into a quick table. Following these will help you produce a much cleaner, more professional recording right from the start.
Pre-Recording Checklist for macOS
Follow these simple steps before every recording session to ensure a professional and error-free outcome.
| Checklist Item | Why It's Important | Quick Tip |
|---|---|---|
| Clean Your Desktop | A messy desktop with personal files is distracting and looks unprofessional. | Create a temporary folder and drag everything off your desktop into it. You can move it all back later. |
| Silence All Notifications | An unexpected email or Slack notification popping up can completely ruin a perfect take. | Use the "Do Not Disturb" Focus mode in your Mac's Control Center. It's a lifesaver. |
| Close Unneeded Apps | Extra apps eat up system resources, which can cause lag or stutters in your recording. | Do a quick Command+Tab sweep and quit everything you don't absolutely need for the video. |
| Have Your Script/Notes Ready | Winging it often leads to rambling. Having your key points ready keeps you focused. | I use a simple bulleted list in a notes app on a second monitor or my phone. |
Getting these basics right means you're starting with a much cleaner raw file, which drastically cuts down on editing time.
A clean digital environment is just as important as a quiet physical one. By minimizing distractions for both yourself and your audience, you create a focused space that lets your content shine.
Refining Your Recording with an Integrated Editor
So, you've got your raw footage. Now what? For many creators, this is where the momentum dies. In fact, a staggering 90% of them say editing is their single biggest challenge. This is especially true for developers launching a new product—crystal-clear 4K recordings are almost a requirement to show off features, and they've been shown to increase SaaS adoption by up to 40%.
That's precisely why Screen Charm's built-in editor is such a game-changer. You don’t need to export your file and wrestle with another complex program. You can polish your video right where you captured it, keeping your workflow smooth and efficient.
This flow diagram shows exactly how a standard, static screen capture is transformed into something much more dynamic and engaging.
As you can see, intelligent effects like auto-zoom do the heavy lifting, automatically guiding your viewer's eye to what's important.
Trimming and Fine-Tuning Your Video
Inside the editor, you'll likely spend most of your time on two simple tasks: trimming and tweaking.
- Trim Unwanted Sections: Nobody nails a recording in one perfect take. I always have a few seconds of fumbling at the start and end. Just drag the handles on the timeline to snip off those awkward pauses. It’s that easy.
- Refine Auto-Zoom Effects: The automatic zoom is fantastic, but you're always in the driver's seat. You can easily adjust a zoom's timing, make it more or less dramatic, or remove it entirely if a section works better without it. This gives you complete creative control.
This all-in-one approach really does take you from a rough idea to a finished video. When you’re ready to share your work with the world, you can dive deeper into the video rendering process with our other guide.
And one final tip: as you start sharing these beautiful, high-quality videos, it helps to understand your internet upload speed. A fast upload connection means less time waiting for files to transfer and more time getting your content in front of your audience.
Got Questions About Screen Recording on Your Mac?
Even when you think you've got everything dialed in, a few nagging questions can pop up right when you're trying to finalize that perfect recording. Let's tackle some of the most common hurdles I see macOS users run into, so you can get your project over the finish line.
What’s the Best Format for My Final Video?
For just about any project you can think of, MP4 with an H.264 codec is your best bet. It's the gold standard for a reason. Platforms like YouTube and Vimeo practically expect it, as it delivers a crisp image and smooth playback without creating a ridiculously large file.
Now, if you're a professional video editor deep in the weeds of color grading and heavy post-production, you might look into ProRes. It preserves an incredible amount of detail, but be warned: the file sizes are gigantic and not practical for everyday sharing.
I tell people that for 99% of use cases—whether you're making a product demo, an online course, or a quick tutorial—a properly configured H.264 MP4 is exactly what you need. It’s the perfect middle ground between stunning quality and a file size that won’t clog up your hard drive.
This is one of those things you don't want to overthink. A tool like Screen Charm makes it simple by exporting directly to an optimized MP4, taking all the guesswork out of codecs and containers.
My 4K Recording Is Huge! How Do I Shrink It?
You’ve captured your screen in beautiful 4K, but now you’re staring at a file that's too big to upload. What do you do? The key isn't to lower the resolution, but to get smart about the video bitrate.
Think of bitrate as the data budget for each second of your video. You can't make the file smaller without some compression, but you can be strategic about it.
- Constant Bitrate (CBR): This is the blunt-force approach, using the same amount of data for every single second. It’s predictable but inefficient.
- Variable Bitrate (VBR): This is the intelligent option. VBR is smart enough to throw more data at complex, action-packed scenes while dialing it back for simple, static moments (like a slide with just text).
For a typical 4K video at 30fps meant for the web, I find that a bitrate between 15-20 Mbps is the sweet spot. You get a sharp, professional-looking video in a file that’s much easier to manage.
Is It Possible to Record My Mac's System Audio?
Yes, but macOS doesn't make it obvious. Out of the box, your Mac actually blocks apps from recording the audio coming from other applications. It's a security feature, but it’s a real headache when you need to capture the sound from a game, a software demo, or a video call.
The only way around this is to use a screen recorder that comes with its own audio driver.
Apps designed for this, like Screen Charm, solve the problem elegantly. During setup, they install a small, safe audio driver. This gives you the option to select your Mac's own sound output as an audio source, letting you seamlessly mix your microphone narration with the application's audio in the same recording.
Why Does My Cursor Look So Jerky in the Final Video?
That choppy, stuttering cursor movement is a dead giveaway that your recording setup is struggling. From my experience, it almost always comes down to one of two things: a low frame rate or an overworked computer.
First, dive into your recording settings. You need to be recording at a bare minimum of 30fps. If you're demonstrating anything with smooth animations or quick scrolling, I'd strongly recommend bumping that up to 60fps to capture that fluid, natural motion.
Second, your Mac might be spread too thin. Before you hit that record button, close every single application you don't need for the recording itself. This frees up precious processing power and memory, allowing your Mac to focus on one thing: capturing a smooth video. Some tools, including Screen Charm, even have a cursor smoothing feature that can clean up minor jitters and make your on-screen guidance look much more polished.
Ready to create stunning, high-quality screen recordings on your Mac without all the technical headaches? Screen Charm gives you all the tools you need—from intelligent auto-zoom to seamless audio capture—in one simple, powerful package.
Start creating professional demos and tutorials today at screencharm.com