Create a Polished Recording Video Overlay on macOS
Recording a video overlay is simply layering one video on top of another—think of putting your webcam feed in the corner of your screen recording. It's a fundamental technique for creating engaging and professional-looking product demos, tutorials, and presentations right on your macOS.
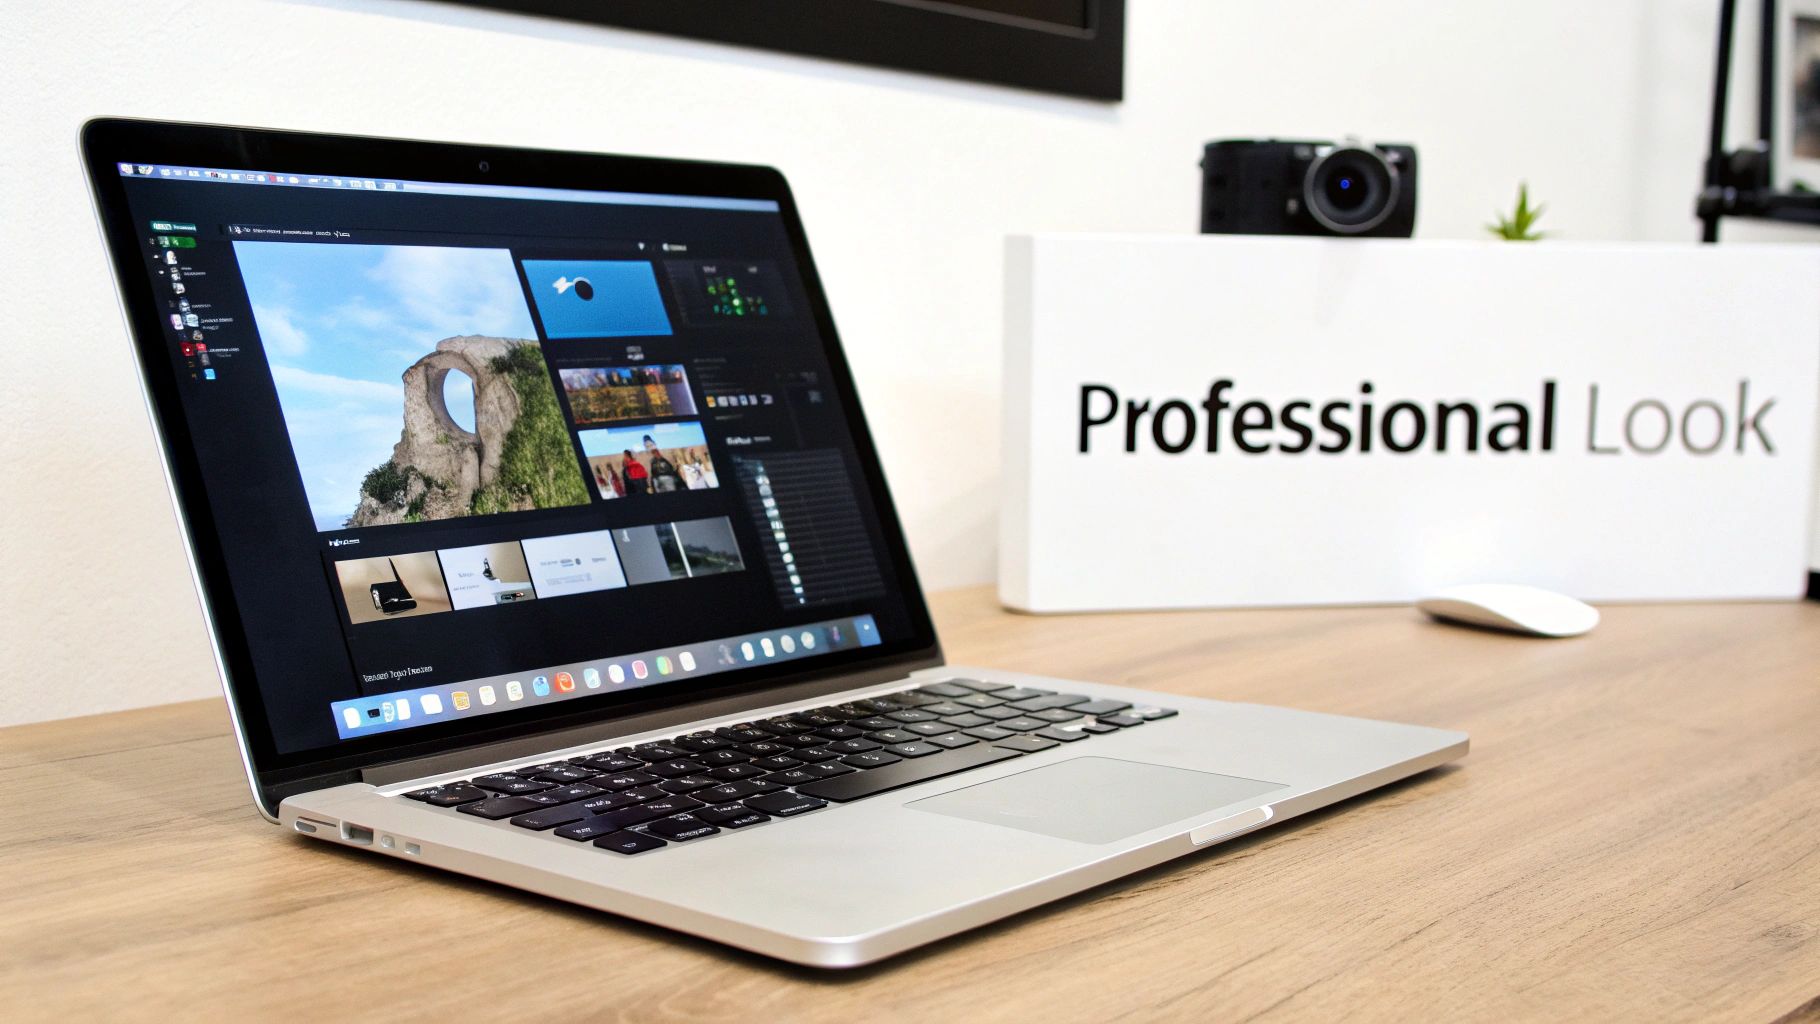
Why a Professional Video Overlay Matters
In a world overflowing with video, a plain screen recording just doesn't cut it anymore. A polished video overlay is what turns your standard macOS screen capture into a compelling presentation that builds trust and keeps your audience focused.
This isn't about adding fancy, unnecessary effects. It's about forging a human connection. When viewers can actually see your face, they're far more likely to trust what you're saying and connect with your content on a personal level.
Build Credibility and Brand Identity
A custom video overlay immediately makes your content look more professional. Small touches, like a branded background behind you or a custom cursor, create a cohesive look that strengthens your brand identity. That kind of consistency signals to your audience that you're serious and you care about the details.
Here’s what that really means for your videos:
- Enhanced Viewer Engagement: Putting your face on screen makes your presentation more personal and a lot less sterile.
- Improved Clarity: Using custom cursors or highlights guides the viewer’s eye exactly where you want it to go, cutting down on confusion.
- Stronger Brand Recognition: Consistent backgrounds and branded elements make your content instantly recognizable every time.
Transform Demos into Compelling Stories
Let's say you're demoing a new software feature on your Mac. Without an overlay, it’s just a mouse moving around a screen. But add a well-placed webcam feed, and suddenly you can show your excitement and react in real-time. You turn a dry tutorial into an engaging story. This is often the difference between someone clicking away and a new customer signing up.
A professional overlay doesn't just show what you're doing; it helps explain why it matters. It adds a layer of narrative and personality that a simple screen capture can never achieve.
The good news is that tools like Screen Charm for macOS put this power in everyone's hands. You don't need to tackle a steep learning curve or buy expensive software to get a high-quality result.
And if you want to take it to the next level, see how expert Service Video Production can elevate your brand's storytelling. By focusing on these details, you create videos that not only inform but also truly captivate your audience.
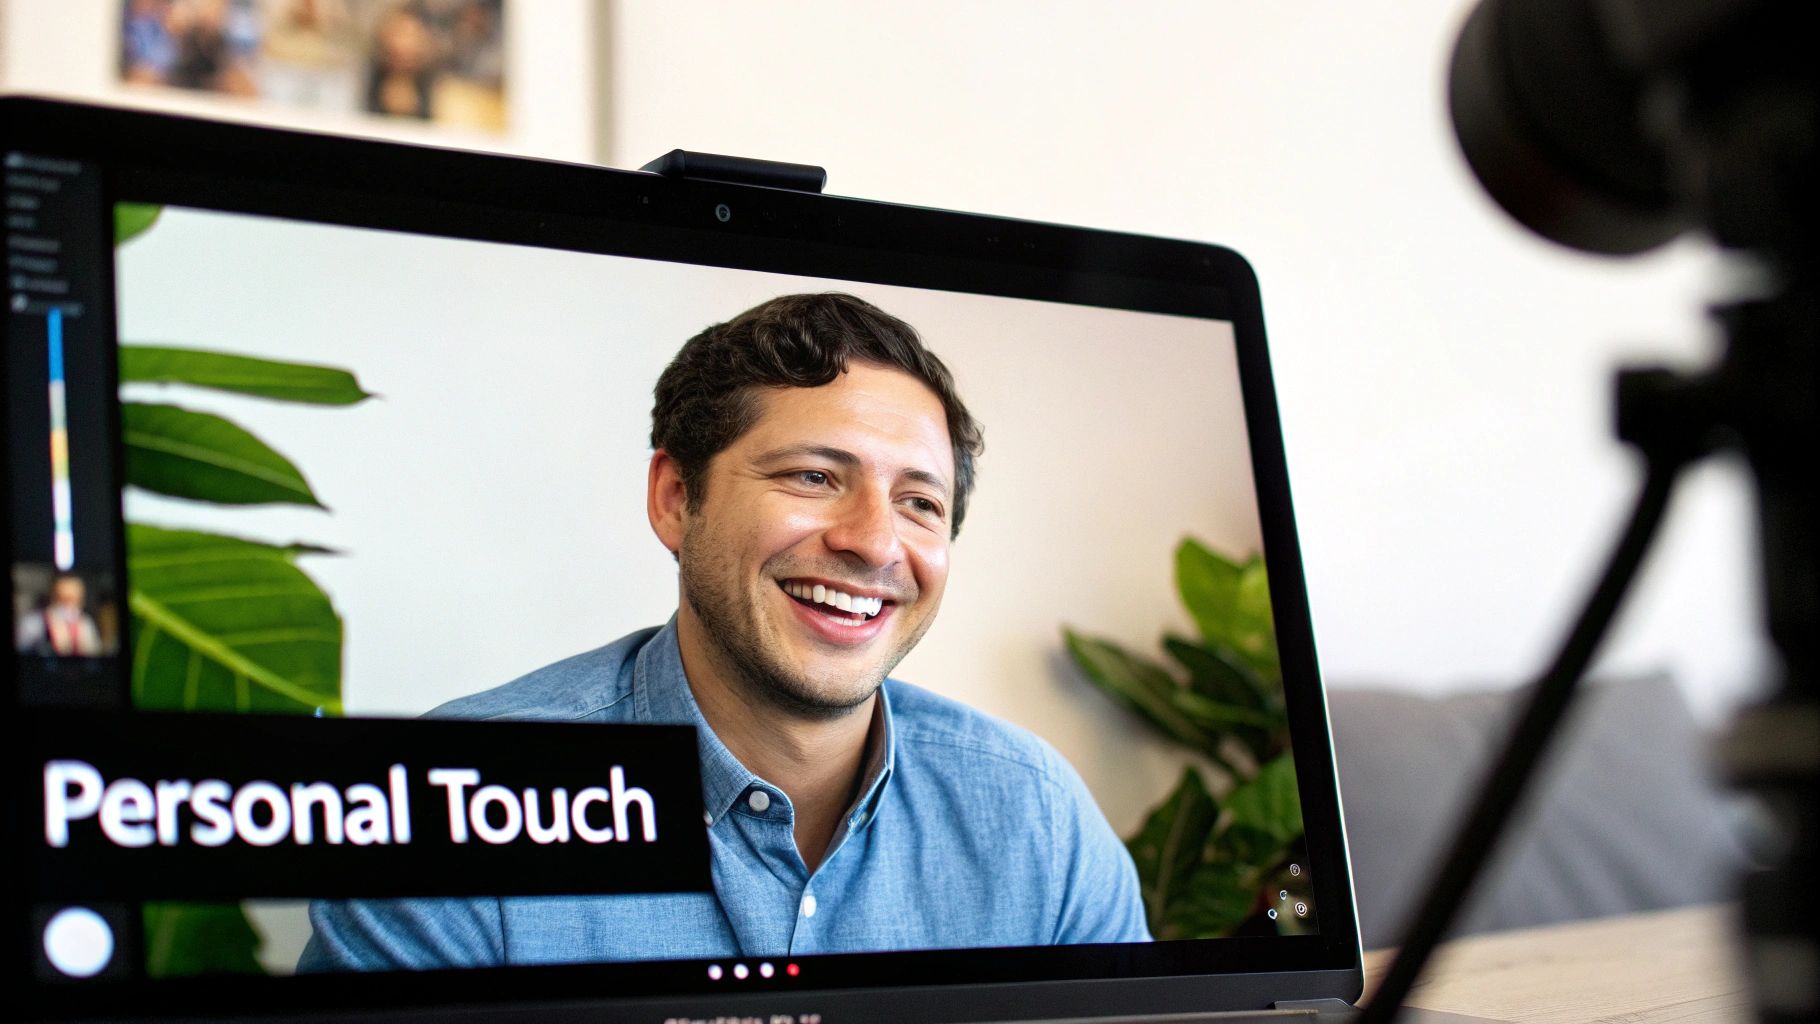
Adding a Personal Touch with Your Webcam Overlay
Putting a face to your content is one of the fastest ways to build a real connection with your audience. A webcam overlay can take a sterile screen recording and turn it into something that feels more like a personal conversation. This is especially true for tutorials or demos on macOS, where a friendly face makes everything more engaging and trustworthy. The goal is to look intentional and professional, not like your webcam feed was just an afterthought.
It all starts with your setup. You don't need a professional studio, but a few small adjustments can make a world of difference. While your Mac's built-in FaceTime camera gets the job done, an external webcam will almost always give you a sharper, clearer picture. Even more important is your lighting. Just sitting in front of a window to catch some natural light can drastically improve your video quality.
Finding the Perfect On-Screen Position
Where you place your webcam feed is just as important as how good it looks. You want it to complement your content, not cover up crucial information. Most people stick to one of the corners, and for a good reason—it keeps the main screen area wide open.
Here are a few common spots to consider:
- Bottom-Right Corner: This is my go-to. It feels natural because it follows the way we read (left-to-right, top-to-bottom) and usually stays out of the way of primary software navigation menus.
- Bottom-Left Corner: A great alternative, particularly if the app you’re showing has important buttons or information on the right side.
- Top Corners: These can work, but they sometimes feel a bit disconnected or "floaty." They're a good option if the bottom of your screen is packed with toolbars or status bars.
Before you even think about hitting record, do a quick dry run. Open the application you’ll be recording and take a look at the layout. Figure out which corner is going to be the least intrusive. This simple prep step can save you the headache of realizing you've hidden the exact button you're trying to demonstrate.
Choosing Your Frame Shape
The shape of your webcam overlay also says something about the video's overall vibe. Modern tools like Screen Charm make it easy to play around with this, typically giving you a choice between a classic circle or a sharp square.
A circular frame tends to feel softer and more modern, and it really puts the focus squarely on your face. I find it’s perfect for friendly, conversational tutorials. A square or rectangular frame, on the other hand, comes across as more structured and formal. This might be a better fit for corporate presentations or official product demos.
There’s no "right" choice here. Just pick the one that feels most aligned with your personal or brand style. If you want to dive deeper, you can learn more about how to use a screen recorder with a facecam to nail down the perfect look.
The best webcam overlay feels like it belongs in the video, not like it was just dropped on top. Its position, shape, and quality should all work together to make your content clearer and more personal.
With an app like Screen Charm, adding your webcam is a breeze. You just select your camera, pick a frame shape, and drag it exactly where you want it. This helps you come across as a credible, approachable guide, allowing your viewers to connect not just with your content, but with you.
Using Custom Cursors and Backgrounds to Build Your Brand
Once you’ve nailed your webcam setup, it's time to think about the rest of your on-screen environment. This is where you can really start to transform a standard screen capture into something that feels polished and distinctly yours. Swapping out the default macOS elements for custom ones is a simple move that instantly signals a higher level of care and professionalism.
Take the standard macOS cursor. It gets the job done, but it’s completely generic. When you replace it with a custom pointer—maybe one that uses your brand colors or a unique shape—it becomes a powerful tool for guiding your viewer's attention. Every mouse movement suddenly reinforces your visual identity, making your tutorials and product demos that much more engaging.
Elevate Your Visual Identity
Another quick win is replacing a cluttered or distracting desktop background. A clean, branded image or even a simple solid color makes your video feel more intentional and focused. This isn’t just about making things look pretty; it's about eliminating visual noise so your audience can concentrate on what you’re actually trying to show them.
Think about making these small but impactful changes:
- Custom Cursor: Ditch the default pointer for a branded graphic that naturally guides the viewer's eye.
- Click Highlights: Add a subtle animation or a burst of color on each click to draw attention to important actions.
- Branded Background: Use a custom image featuring your logo or just a solid color from your brand palette.
Features like these are built right into tools like Screen Charm for macOS, making it easy to create a consistent, professional look without needing to be a video editor. This is a huge advantage for solo creators and marketers who want to produce content that looks like it came from a much larger team. For a deeper dive, we have a whole guide on how to create a custom cursor for your recordings.
The Growing Demand for Polished Video Content
This push for better-looking video isn't just a fleeting trend; it’s a massive shift in what audiences expect. In fact, the global video editing market—which covers the tools used to create these overlays—is expected to hit USD 4.99 billion by 2031. A huge chunk of that growth is coming from the demand for slick product demos and tutorials, especially from small and medium-sized businesses. You can find more details on the video editing market on Mordor Intelligence.
What this really means is that investing in your video’s production quality matters more than ever. Using custom cursors and backgrounds is a straightforward way to meet—and exceed—viewer expectations for professional, high-quality content.
A custom cursor and a clean background are subtle but powerful branding tools. They work together to create a cohesive visual language that builds brand recognition and keeps your audience focused on your message.
The table below breaks down the options available in Screen Charm to help you decide which customizations best fit your content goals. By thoughtfully choosing these elements, you ensure every recording video overlay you produce is a powerful extension of your brand.
Overlay Customization Options in Screen Charm
| Feature | Customization Options | Best For |
|---|---|---|
| Custom Cursor | Upload any image (PNG, JPG), adjust size, choose from presets. | Branding tutorials, guiding user attention, creating a unique visual style. |
| Click Highlights | Choose from various animations (e.g., ripple, pulse), customize color and size. | Emphasizing key actions in software demos, making how-to videos easier to follow. |
| Branded Backgrounds | Upload a custom image, select a solid color, use pre-made professional presets. | Product demos, webinars, and any recording where a clean, branded look is important. |
By mixing and matching these features, you can quickly build a professional-looking recording environment that strengthens your brand with every video you create.
Mastering Composition with Dynamic Overlays
Once you have your webcam and custom graphics ready to go, the real work begins. This is where you master the art of composition—the secret sauce that transforms a decent recording into a truly great one. It’s about more than just slapping overlays on the screen; it's about strategically guiding your viewer's attention and creating a professional, dynamic experience.
Even simple composition techniques can make a world of difference. Ever heard of the rule of thirds? Instead of just shoving your webcam into a corner, try placing it along the intersecting lines of a 3x3 grid. You'd be surprised how much more balanced and visually appealing your layout becomes. These little tweaks add up to a seriously polished final product.
But if you really want to level up, dynamic overlays are where it's at. They are the key to telling a clearer story.
Guiding Viewer Focus with Intelligent Zoom
The single most effective way to direct your audience’s focus is with intelligent zoom. Let's be honest, nobody wants to squint at tiny interface elements or rewind because they missed a click. A dynamic zoom automatically magnifies the important parts of your screen as you navigate, ensuring every detail is crystal clear. This is where a tool like Screen Charm for macOS really stands out with its signature auto-zoom.
This feature is a lifesaver. It intelligently tracks your cursor and zooms in on key elements, so your audience never misses a beat. It’s like having a dedicated camera operator who instinctively knows where to focus, but without all the painstaking manual editing in post-production.
This diagram breaks down how a recording is transformed from a generic screen capture into a polished, branded asset that feels uniquely yours.
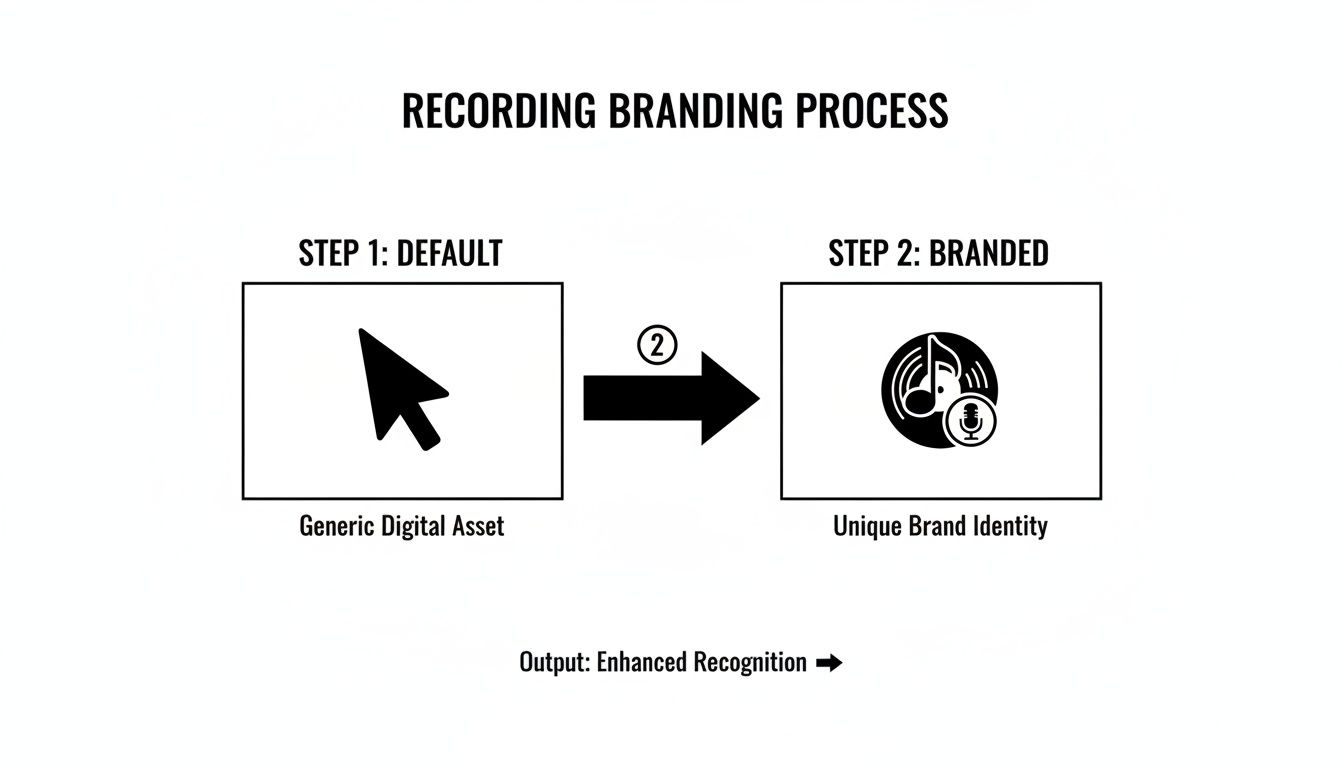
As you can see, even small additions like a custom cursor and a branded background immediately boost the recording's professional quality and help build a recognizable brand identity.
Fine-Tuning Your Dynamic Effects
Of course, automation is just the starting point. The magic happens when you fine-tune these dynamic effects to feel smooth, natural, and intentional. Inside Screen Charm's built-in editor, you have full control over the timing and intensity of every zoom and pan.
This hands-on control lets you:
- Smooth out transitions to avoid any jarring or sudden movements.
- Adjust zoom levels to perfectly frame an important button, menu, or piece of text.
- Set the pan speed to sync with your speaking pace for a seamless, natural flow.
Getting this right is crucial for keeping your viewers engaged. In fact, videos that use precise overlays like auto-zoom can see 20-30% more viewer retention. In a world flooded with content, that's a massive advantage. The demand for high-quality, engaging video isn't slowing down, as you can see in market data covering the growth of video streaming software on 360iResearch.
A great recording isn't just about what you show, but how you show it. Dynamic zoom and thoughtful composition work together to create a clear, compelling narrative that keeps your audience hooked from start to finish.
By mastering these techniques, you ensure every movement on your screen has a purpose, helping you tell a more powerful and effective story. If you want to dive deeper into arranging on-screen elements, check out our guide on the principles of visual hierarchy in design. Ultimately, dynamic overlays are about making your content clearer, more professional, and far more engaging.
Finalizing and Exporting Your Video Like a Pro
Alright, you’ve put in the work and created a great recording with a professional-looking video overlay. Now for the final step: getting it ready for your audience. Exporting is where everything comes together, and choosing the right settings is what makes the difference between a video that looks sharp and one that falls flat.
Whether you're uploading to YouTube, adding it to a company knowledge base, or sharing it across social media, this last stage is crucial. It’s about more than just hitting "export."
This is where an integrated tool like Screen Charm for macOS really shines. It lets you move directly from recording to a polished, shareable video without getting bogged down in a maze of confusing settings.
Choosing the Right Export Settings
Your export settings should be dictated by where the video is going to live. A high-stakes product launch video has different requirements than a quick internal tutorial for your team.
Here's a breakdown of what really matters:
- Resolution: For a sharp, clear picture on almost any modern screen, 1080p (1920x1080) is your go-to. It’s the industry standard for a reason. If you’ve recorded a lot of fine detail, like intricate UI elements, exporting in 4K UHD will give viewers with 4K screens an incredibly crisp experience.
- Frame Rate: A smooth 30 frames per second (fps) is perfect for most screen recordings. It looks fluid without creating a massive file. However, if your video includes fast-paced animation or gameplay, bumping it up to 60 fps will make a noticeable difference in smoothness.
- File Format: Stick with MP4. It's the universal format that gives you the best balance of quality and file size, and you won’t have to worry about compatibility issues.
Your export settings are the final polish on your video. Choosing the right resolution and frame rate ensures that the professional quality you worked so hard to create during recording is perfectly preserved for your audience.
Troubleshooting Common Overlay Issues on macOS
Even with a solid plan, you can hit a snag. On macOS, the way hardware and software interact can sometimes cause issues like webcam lag or a glitchy background—two of the most common headaches when using a recording video overlay.
If your webcam feed looks choppy or falls out of sync, your Mac is likely dedicating its resources elsewhere. The fix is simple: close any apps you don't need before you hit record. That especially includes browsers with a ton of open tabs. If the problem persists, try lowering your recording resolution from 4K to 1080p to free up some processing power.
Seeing your custom background flicker? This is often a minor graphics driver conflict. The easiest and most effective solution is to just restart your Mac before a major recording session. This clears out temporary files and gives your graphics a fresh start. Also, make sure your macOS and your recording software are both up to date, as updates often include bug fixes for these exact problems.
As a final touch, you might want to add some background music. Just be careful about licensing. To make sure you’re in the clear, check out this Ultimate Guide To Licensing Music For YouTube. A little preparation here saves a lot of headaches later and reinforces why a streamlined tool like Screen Charm makes the whole process so much easier.
Got Questions About Video Overlays on macOS?
Once you've got the hang of creating video overlays, you'll inevitably run into a few specific quirks and questions. I've heard these come up time and time again from other macOS creators, so let's walk through the common ones to get you recording with confidence.
Can I Move My Overlay After I've Recorded?
This is probably the number one question I get. The answer really boils down to the tool you're using. If your macOS recording software just flattens the webcam feed onto the screen capture as it records, you're out of luck. That overlay is baked in for good.
But this is where more advanced tools like Screen Charm really shine. It records your screen, webcam, and audio as separate, independent tracks. This means you can go into the editor later and do whatever you want—resize the overlay, move it to a different corner, or even delete it entirely. It’s a non-destructive workflow that has saved me more than once when I realized my face was blocking a critical button.
What’s the Best Shape for a Webcam Overlay?
Choosing between a circle or a rectangle for your webcam frame is more than just a style choice; it sets a tone for your entire video. There isn't a single "best" shape, but each one sends a different message.
-
The Circle: A circular overlay feels modern, approachable, and personal. It naturally draws the viewer's eye to your face and works perfectly for friendly tutorials or any content where you want to build a direct connection with your audience.
-
The Rectangle: The classic square or rectangle gives off a more traditional and professional vibe. This is a solid choice for corporate training videos, formal software demonstrations, or any situation where you want to project authority and structure.
Think about your brand and the feeling you want to convey. The shape is a small detail that makes a big impact.
Your webcam overlay's shape is a subtle but important branding decision. A circle feels conversational, while a rectangle conveys a more formal, authoritative tone.
How Can I Keep My Overlay from Blocking Important Stuff?
We've all been there. You finish a great take, only to discover your face is perfectly covering the one menu option everyone needs to see. The fix for this is all in the prep work.
Before you hit record, take a moment to look at the app you’ll be demonstrating on your Mac. Where are the key buttons? Do toolbars pop up at the top or bottom? Where do notifications appear?
Once you've mapped out the UI, intentionally drag your webcam overlay to a "safe zone"—a corner that stays clear of the action. Doing a quick, 30-second dry run before you start for real can save you from having to re-record an entire segment. It’s a simple step that ensures your overlay is a helpful guide, not a frustrating roadblock.
Ready to create stunning product demos with professional overlays and zero hassle? Screen Charm for macOS gives you all the tools you need, from custom cursors to intelligent auto-zoom, all in one intuitive package. Get started today at https://screencharm.com.