A Creator's Guide to How to Crop Video on macOS
If you're creating content on a Mac, knowing how to crop your videos is a fundamental skill. It’s not just about resizing; it’s about controlling the story you’re telling. By removing distracting on-screen clutter, you can create focused, professional-looking product demos, tutorials, and marketing videos.
Fortunately, macOS comes with built-in tools like Photos and iMovie that make quick reframing simple for just about anyone.
Why Cropping Video on macOS Is a Creator's Secret Weapon
Think of cropping as your way of telling the viewer, "Look here." A simple crop can transform a busy, cluttered screen recording into a clear, compelling presentation. For anyone making videos on a Mac, this is a must-have skill for keeping your audience engaged.
The need for high-quality video content is only growing. The video editing software market hit $3.09 billion in 2023 and is expected to climb to $5.13 billion by 2030. This boom is fueled by creators who need to produce polished content, making skills like cropping more important than ever. You can dig deeper into the rising demand for video editing tools if you're interested in market trends.
Directing the Viewer's Focus
Let's say you just finished recording a software demo on your Mac. The raw footage captures everything—your menu bar, a dozen open browser tabs, maybe even a desktop notification that popped up. Cropping lets you zoom in on the specific part of the user interface you're explaining, cutting out all that visual noise so your instructions are crystal clear.
This is incredibly useful in a few common situations:
- Software Tutorials: Isolate the application window and hide your messy desktop.
- Product Demos: Focus tightly on a new feature to show exactly how it works.
- Social Media Clips: Reframe a horizontal 16:9 video into a vertical 9:16 format for Instagram Reels or TikTok.
By cropping your video strategically, you guide your audience's attention right where it needs to be. It’s a foundational step in turning raw footage into a professional-grade asset that communicates effectively.
This guide will cover the best ways to crop video on macOS, starting with the easy-to-use apps already on your machine before moving to more powerful options. I'll also share a smarter recording workflow that can help you avoid the need to crop altogether.
Simple Video Cropping with Built-In macOS Apps
Sometimes, all you need is a quick fix. You don't always need to fire up a professional-grade video editor just to reframe a clip. Thankfully, your Mac already has a couple of solid, built-in tools that get the job done without any fuss.
The two workhorses here are the Photos app and iMovie. Both come pre-installed on every Mac and are perfect for basic reframing. If you're just looking to prep a clip for social media or clean up the edges of a screen recording, starting with these built-in options is almost always the quickest path.
Using the Photos App for Quick Crops
Think of the Photos app as your go-to for speed. If your video is already in your photo library and you just need to tighten the frame, you can be done in under a minute. It’s the digital equivalent of grabbing a pair of scissors for a quick trim.
This approach is perfect for situations like:
- Social Media: Turning a standard wide video into a square or vertical clip for an Instagram post or Story.
- Simple Fixes: Chopping out a distracting menu bar or an empty browser tab from a screen recording before you send it to a colleague.
Just open your video in Photos, hit the Edit button in the top-right, and click the Crop icon. From there, you can drag the corners of the frame to get exactly what you want. It’s super intuitive.
While you're there, you'll also see options to trim the beginning or end of your clip. Cropping and trimming are different, but often done together. If you want a deeper dive, check out our guide on how to trim a video on Mac.
The Photos app is all about speed and simplicity. It won't handle complex edits, but for a fast, no-nonsense crop, it’s usually the best tool you have right at your fingertips on macOS.
Gaining More Control with iMovie
When your cropping is part of a bigger editing project, iMovie is your next best bet. It gives you more creative control than Photos, though it handles cropping a bit differently. Instead of a freeform crop tool, iMovie features a "Crop to Fill" function, which is designed to zoom in on your footage while maintaining a specific aspect ratio.
Here’s a look at the iMovie workspace where you'll find the cropping tools.
This method is great when you want to punch in on a specific subject and make sure your video fills the entire screen without leaving any of those dreaded black bars on the sides. Just be careful—this technique can easily cut off important visual information if you’re not paying close attention to your framing.
Built-in macOS Cropping Tools Compared
So, which one should you choose? It really boils down to what you're trying to accomplish. This table breaks down the key differences to help you decide.
| Feature | Photos App | iMovie |
|---|---|---|
| Best For | Quick, simple reframing of individual clips | Cropping clips within a larger video project |
| Cropping Style | Freeform drag-and-drop handles | "Crop to Fill" to a specific aspect ratio (e.g., 16:9) |
| Workflow | Extremely fast; edit and save in seconds | Slower; requires creating a project and exporting |
| Ease of Use | Very beginner-friendly and intuitive | Easy, but with more project-related steps |
| End Result | A single, cropped video file | A fully edited video that can include multiple clips |
In short, if you just need to crop one video and be done with it, stick with Photos. If that video is one of many clips you're stitching together into a larger sequence, iMovie is the way to go.
Getting Serious with FFmpeg and HandBrake for Cropping
Sometimes, the built-in macOS apps just don’t cut it. When you need pixel-perfect control over your video crop, it's time to bring in the heavy hitters. For anyone who lives and breathes video on macOS—developers, technical creators, or just serious power users—precision is non-negotiable.
This is exactly where tools like FFmpeg and HandBrake shine. They offer a level of exactness that standard apps can't touch, which is crucial for tasks like fitting a video to a specific display or automating edits across a whole batch of files. With just a few commands or settings, you get your video looking exactly the way you intended.
The Command-Line Approach: FFmpeg for Ultimate Control
If you're comfortable in the Terminal on your Mac, FFmpeg is an absolute powerhouse. It's a free, open-source tool that lets you manipulate video with surgical precision. This makes it a go-to for automating repetitive work, like cropping a dozen demo clips to the same dimensions for a website.
The magic happens with FFmpeg's video filter, which uses a simple, logical syntax:
crop=w:h:x:y
Here’s what that means:
w(width): The final width of your cropped video.h(height): The final height.x(x-coordinate): How far from the left edge to start the crop.y(y-coordinate): How far from the top edge to start the crop.
Let’s put it into practice. Say you have a 1920x1080 screen recording called input.mp4. You need to crop it down to a 1280x720 section, starting 100 pixels in from the left and 50 pixels down from the top. The command would look like this:
ffmpeg -i input.mp4 -vf "crop=1280:720:100:50" output.mp4
This one line tells FFmpeg to take your input file, apply that exact crop, and save it as a new file called output.mp4. It's incredibly fast and efficient, especially for batch jobs.
The Best of Both Worlds: A GUI Workflow with HandBrake
What if you want that advanced control but prefer a visual interface? Look no further than HandBrake. It's famous for being a top-notch video converter, but its 'Dimensions' tab hides some fantastic cropping tools for macOS.
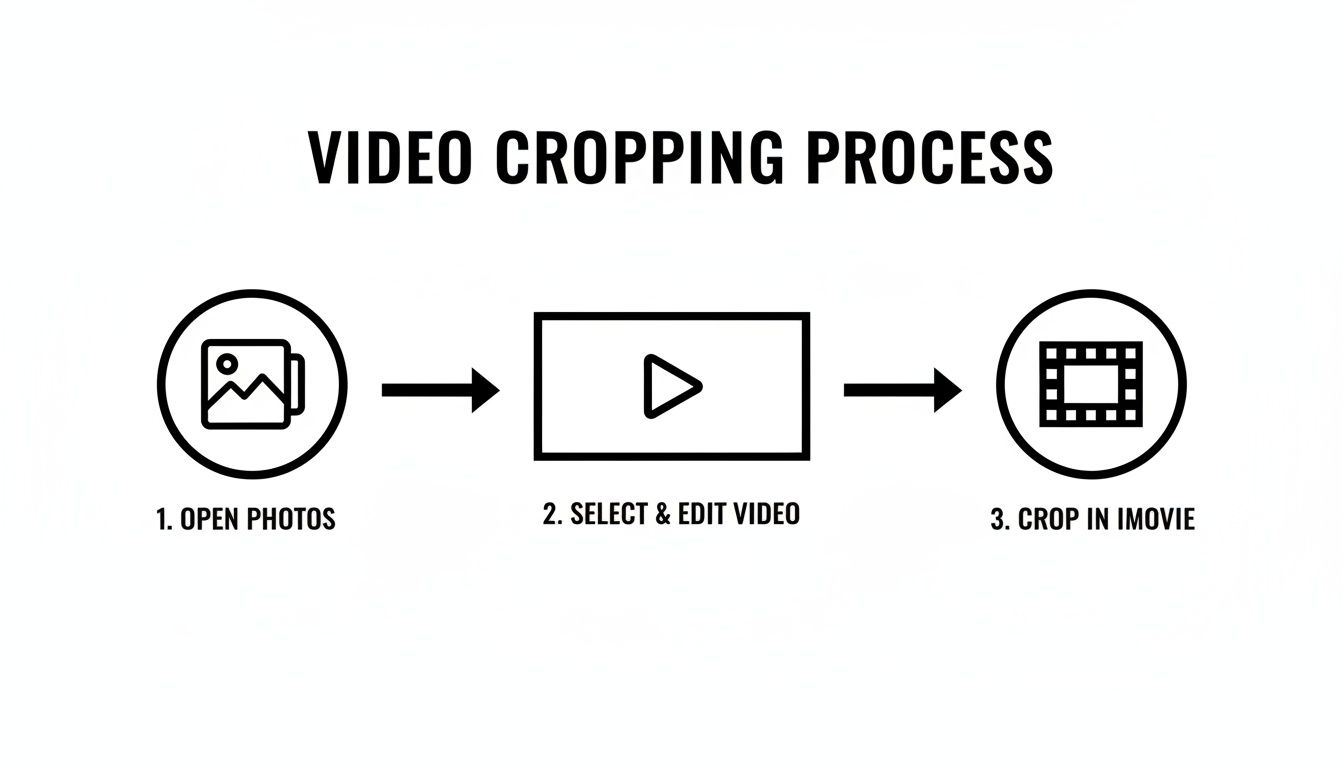
This workflow shows how you naturally progress from the basics in Photos or iMovie to more powerful tools like HandBrake when you need more control.
Inside HandBrake, you can punch in the exact pixel values for your crop and see a live preview of the result. This is a game-changer for getting the framing just right without having to guess. You can visually confirm everything looks perfect before starting the re-encode. Of course, beyond these tools, many dedicated platforms offer even more, as you can see in this guide on Video Editing With Medial.
The bottom line: Both FFmpeg and HandBrake give you professional-grade results. Go with FFmpeg if you love the command line and need to automate tasks. Choose HandBrake when you want a visual workflow with deep, customizable controls.
If you're still weighing your options, our video editing software comparison breaks down the best tools out there to help you find the perfect fit for your projects.
Common Cropping Mistakes to Avoid on macOS
Cropping a video on your Mac seems straightforward, but it's surprisingly easy to end up with a final cut that looks worse, not better. A few common missteps can quickly ruin your hard work, so let's walk through what to watch out for.
One of the biggest mix-ups I see is people confusing cropping with changing the aspect ratio. They aren't the same thing. Cropping is like using scissors to cut away the edges of a photo—you're removing parts of the frame. Changing the aspect ratio squishes or stretches the entire image to fit a new shape, which almost always leads to distorted, unnatural-looking video.
Mind Your Aspect Ratios and Quality
Before you even start, think about where this video will end up. The best video formats and aspect ratios are completely different for YouTube versus an Instagram Story.
Trying to force a 16:9 widescreen video into a vertical 9:16 frame is a classic recipe for disaster. You'll either get those ugly black bars on the top and bottom or, worse, you'll accidentally chop off the most important part of the shot.
Then there's the quality issue. Every time you crop, you're essentially zooming in on the remaining pixels. If you get too aggressive with a 1080p video, you’re stretching a small piece of the original image to fill the whole screen. This can turn a sharp recording into a blurry, pixelated mess. The more you crop, the more the quality suffers.
The best way to avoid a bad crop is to plan ahead. If you can, frame your shot perfectly during the recording itself. Getting it right from the start means you won't have to cut much out later, preserving every bit of detail and resolution.
Common Pitfalls and How to Fix Them
When you're working in a tool like iMovie or HandBrake, keep an eye out for these specific traps:
- Over-cropping: It’s easy to get carried away. The goal is to improve focus, not just make the subject bigger. Always preview your cropped video in full-screen to make sure the quality holds up.
- Ignoring the Safe Area: Be careful not to chop off crucial information. I've seen people crop out important on-screen text or user interface elements, which completely confuses the viewer.
- Choosing the Wrong Export Settings: After you’ve done all that work, don't ruin it at the final step. Exporting with low-quality settings will just magnify any resolution loss from the crop. Always export using the highest bitrate your target platform can handle.
Keeping these simple tips in mind will help you make sure your crops genuinely improve your videos instead of accidentally making them worse.
Record Smarter, Not Harder, to Avoid Cropping Altogether
While knowing how to crop a video on macOS is a handy skill, the best workflow is one where you don't even need it. Think about it: cropping is usually a fix for a recording that captured way too much of your screen. It's a reactive step that costs you time and can even hurt your video's final quality.
What if you could create a perfectly framed video right from the start? The key is to use a tool that focuses on the action as it happens, making post-production cropping completely unnecessary.
A Proactive Recording Workflow
Instead of recording your entire sprawling desktop only to painstakingly cut it down later, imagine a tool that handles the framing for you in real-time. This is exactly where an app like Screen Charm comes in, and it really changes the game for creating tutorials and demos on a Mac.
Its standout feature is an auto-zoom function that intelligently follows your cursor. As you move around the screen, it automatically zooms in on buttons, menus, and other UI elements, smoothly panning to keep the important stuff in focus. The result is a dynamic, professional-looking video that guides the viewer's attention from the get-go—no editing required.
Here’s a look at what a smarter recording setup can look like.
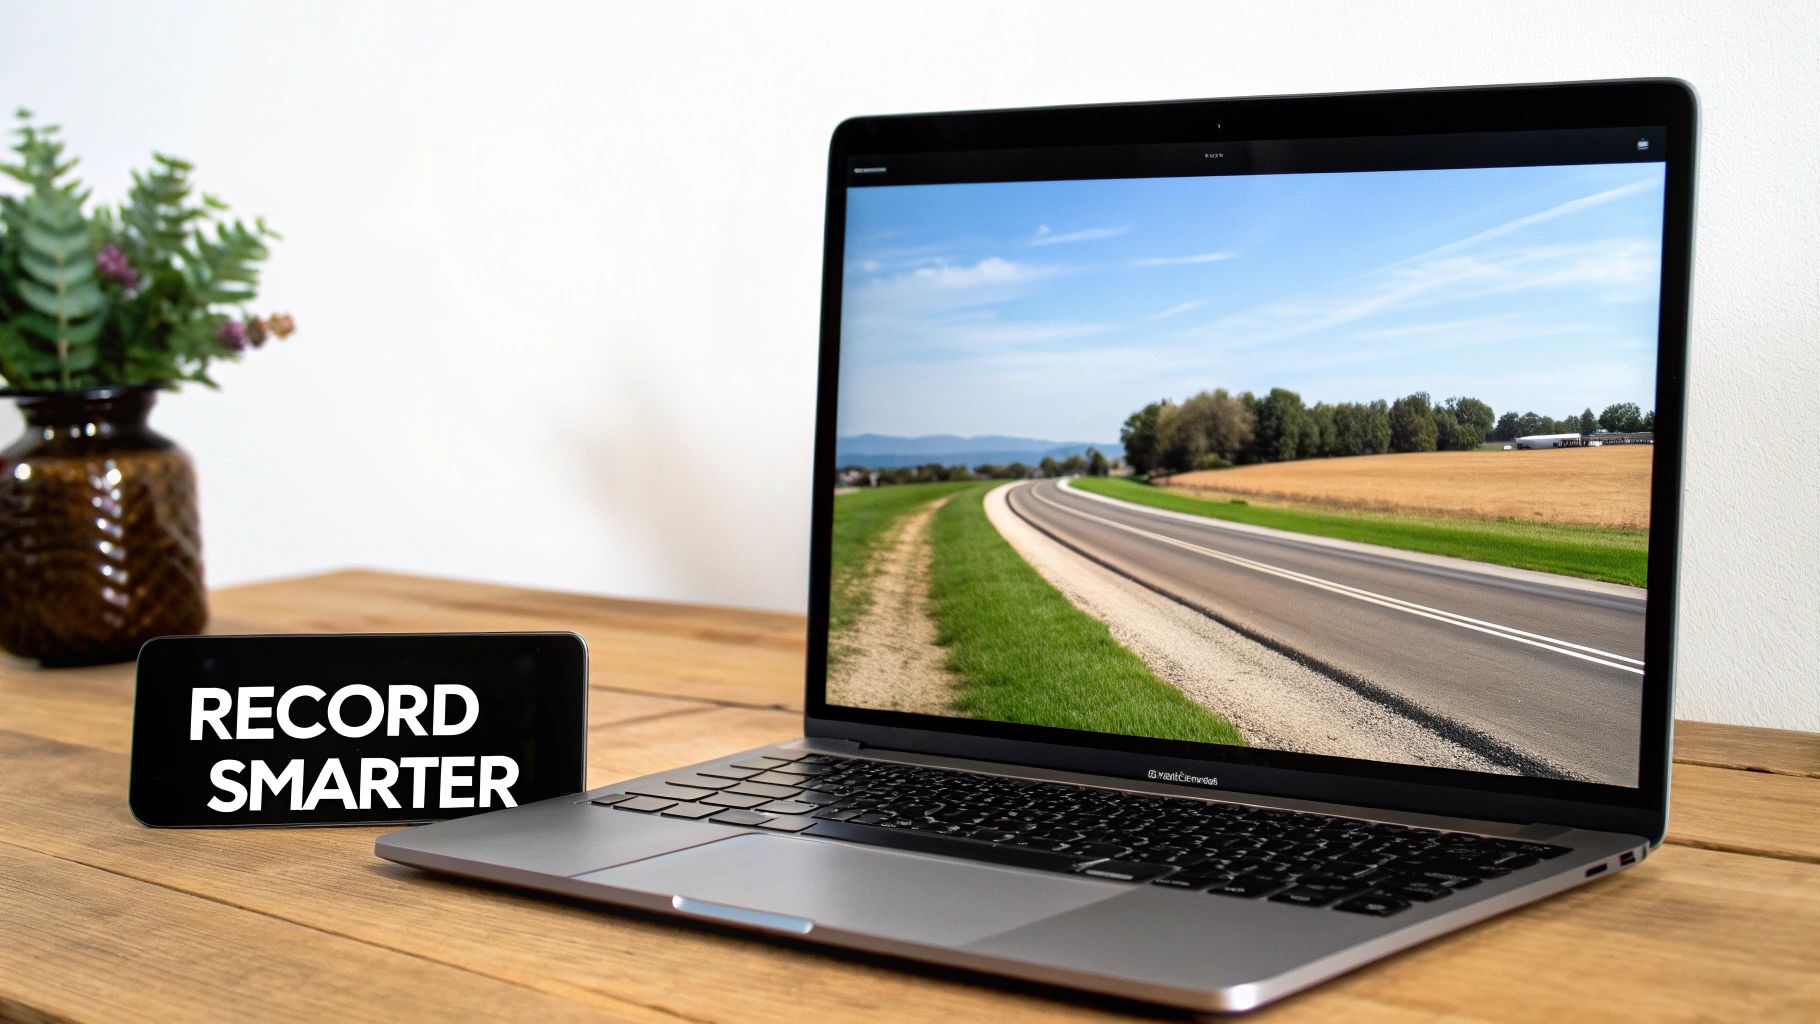
This isn’t just about saving a few minutes. It's about producing a far more engaging and polished video right out of the box.
The core idea is simple but powerful: create a video that directs focus automatically, so you don't have to force it later with a crop. It’s a shift from fixing a video to creating a perfect one from the outset.
This approach is a lifesaver for anyone making software tutorials or product demos, where clarity and focus are everything. If you want to dive deeper into this workflow, check out our guide on the best way to record video on Mac. By recording smarter, you can make cropping a thing of the past.
Common Questions About Cropping Videos on a Mac
When it comes to cropping videos on a Mac, a few questions pop up time and time again. You might be worried about losing video quality or just trying to find the quickest way to get the job done. Let's clear up some of the most common uncertainties.
Getting these answers straight will definitely help you refine your workflow and end up with a much better final cut.
Can I Crop a Video on My Mac Without Losing Quality?
Yes, but it depends heavily on your starting point. Any time you re-encode a video, you're technically altering the file, but you can definitely minimize any noticeable quality loss.
The trick is to start with a high-resolution source file. For example, if you crop a 4K recording down to a 1080p frame, the final video will still look incredibly sharp. You have so much pixel data to work with that the cropped section still looks fantastic. On the other hand, if you try to crop a 1080p video significantly, you'll almost certainly see a drop in clarity.
For those situations where you need to preserve every last bit of detail, I'd recommend using a more powerful tool like FFmpeg or HandBrake. They give you granular control over export settings like the video codec and bitrate, which can make a huge difference.
What Is the Fastest Way to Crop a Video on macOS?
If you just need a quick, no-fuss crop, nothing beats the built-in Photos app on macOS. Seriously. You can open a video, click "Edit," grab the crop tool, drag the frame to where you want it, and save the new version in under a minute. It's my go-to for simple reframing before I shoot a clip over to a colleague or post it on social media.
Now, if the video is already sitting in a larger project timeline, iMovie's "Crop to Fill" feature is your best bet for speed. Since it's baked right into macOS, you can reframe your footage directly without having to jump into another app.
The best method really just depends on your goal. For a single, standalone clip, use Photos. For a clip that's part of a bigger edit, stick with iMovie.
How Is Auto-Zoom Different from Cropping?
This is a really important distinction. Cropping is a static, manual edit you do after you've already recorded everything. You're permanently cutting away parts of the video frame to focus on a specific area.
Auto-zoom, like the feature in Screen Charm, is completely different. It's a dynamic, intelligent effect that happens during the recording itself. The software smoothly follows your cursor, automatically panning and zooming to keep the important action front and center. It creates a polished, guided experience for the viewer right from the start, which means you don't even need to think about cropping later.
Instead of fixing videos after the fact, why not create perfectly framed demos from the start? Screen Charm uses intelligent auto-zoom to keep the focus right where it needs to be, saving you from all that tedious post-production work. You can learn more at https://screencharm.com.