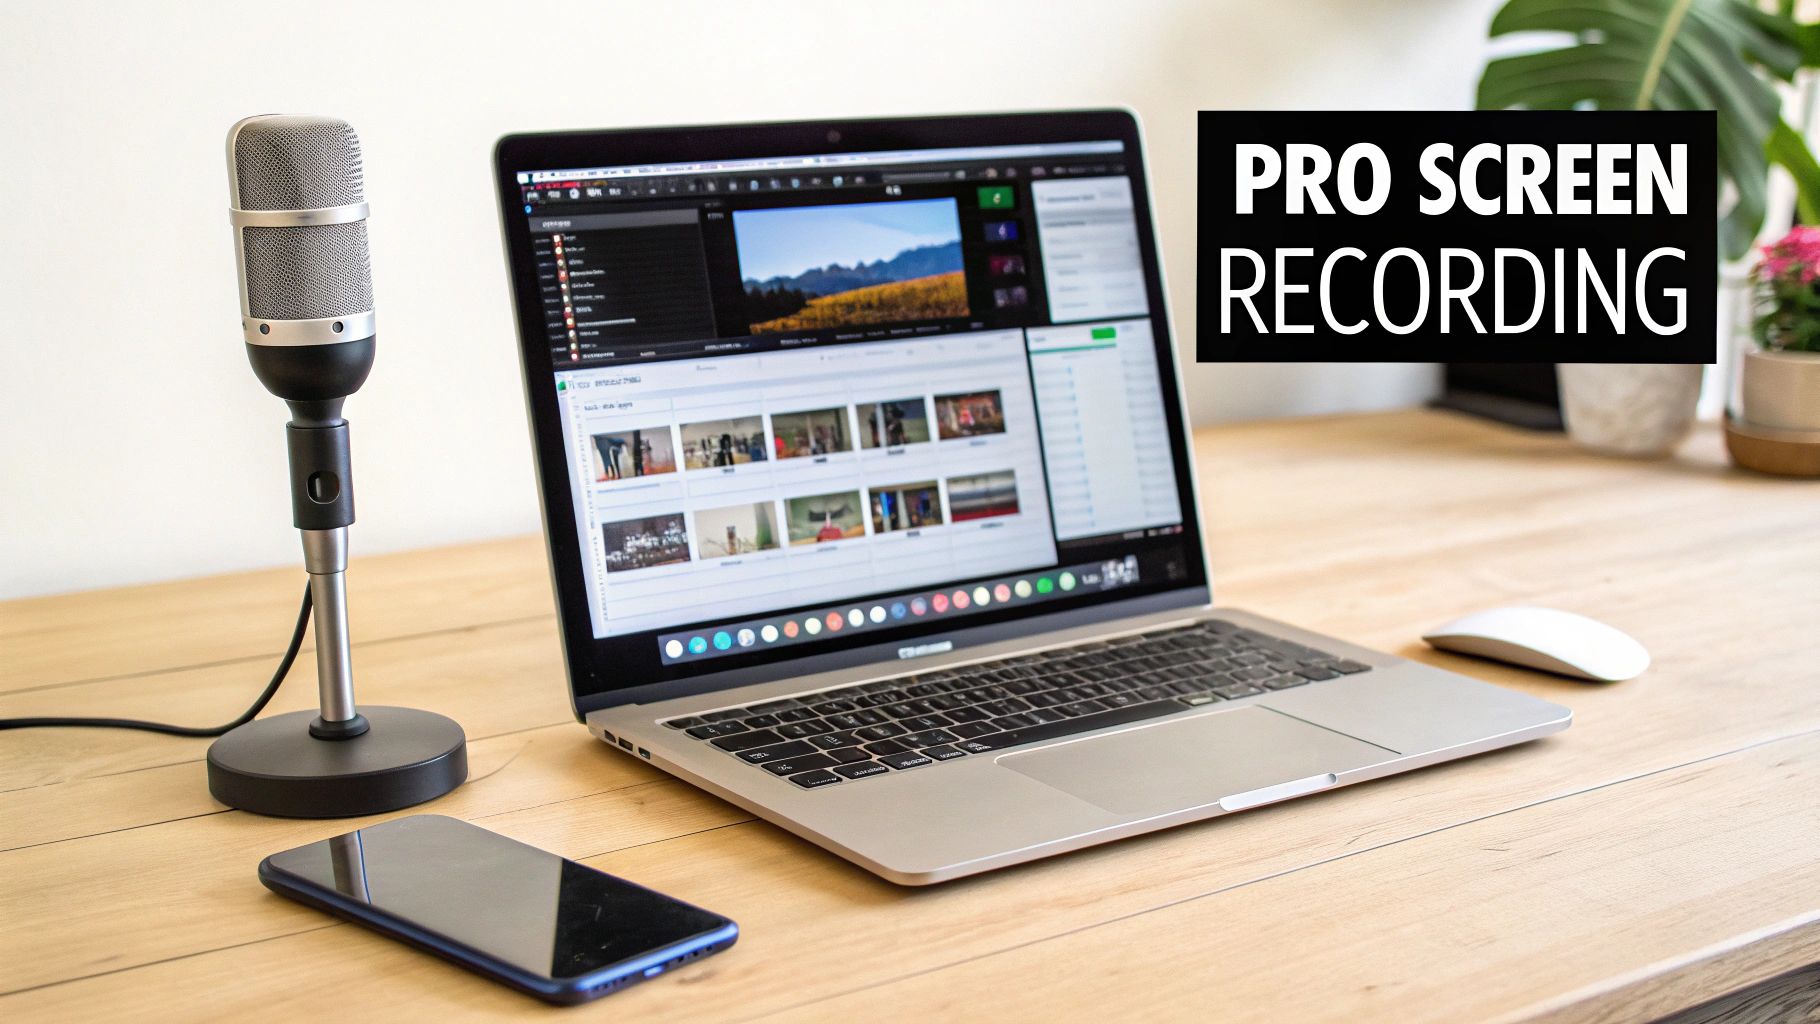
Record Screen for YouTube A Pro Guide for macOS Creators
If you want to record your screen for YouTube on a Mac, just hitting the record button isn't going to cut it. You need a solid plan that puts quality and viewer engagement first. A professional-looking screen recording is the first step to building authority and keeping people watching—especially for tutorials, demos, and educational videos where clarity is king.
Why Pro Screen Recordings Matter on YouTube
Let's be real: YouTube is a battleground for attention. With a mind-boggling amount of content uploaded every day, it’s tough for new creators to get noticed. A fuzzy, confusing, or low-quality screen recording is a guaranteed way to make viewers click away almost immediately. For those of us creating on macOS, this is both a challenge and a massive opportunity.
A polished, high-definition recording shows you're a pro and that you respect your viewer's time. It's the bedrock of your channel's credibility. When your audience can clearly see every click, menu, and line of code, they're far more likely to trust what you're saying and subscribe for more.
The Impact of Quality on Viewer Perception
First impressions on YouTube are made in seconds. The moment someone presses play, they're making a snap judgment about your video's quality. A clean, crisp screen capture instantly signals that your content is well-thought-out and worth their time. This perception has a direct impact on the metrics that YouTube cares about most:
- Watch Time: High-quality visuals keep people glued to the screen, which is a huge ranking factor for the YouTube algorithm.
- Audience Retention: When your instructions and visuals are crystal clear, viewers don't get frustrated and leave. They stick around.
- Subscriber Conversion: Professional videos build trust. That trust is what turns a casual viewer into a loyal subscriber.
This isn't just about making things look pretty; it's about communicating effectively. A shaky cursor or a desktop full of random files can completely derail your message. On the flip side, a smooth, focused recording makes even complex topics easy to follow, cementing your status as an expert.
For macOS users, the goal is to create content that feels as clean and intuitive as the operating system itself. Your recordings should mirror the slick, user-friendly experience people expect from a Mac, turning a simple tutorial into something that feels premium.
Standing Out in a Saturated Market
The competition on YouTube is no joke. To put it in perspective, by 2025, it's estimated that over 500 hours of video will be uploaded every single minute. That’s a flood of content, and only the best-produced videos have a real shot at capturing an audience. You can dig into more of these numbers in the latest YouTube statistics from Teleprompter.com.
This is exactly where a specialized tool like Screen Charm becomes a game-changer for Mac creators. It’s built to solve the most common screen recording headaches, like having to manually zoom in on details or spend hours in the editing timeline. By automating these things, it frees you up to focus on what actually matters: delivering amazing content, not fighting with your software. Investing in your recording quality isn't just a nice-to-have—it's how you make sure your voice gets heard above all that noise.
Getting Your Mac Ready for a Flawless Recording Session

Before you even think about hitting that record button, spend a few minutes prepping your digital workspace. Trust me, this little bit of prep work can save you from a world of headaches and re-shoots later. A clean, focused environment looks far more professional and, more importantly, stops random pop-ups from ruining a perfect take.
First things first, let's create a distraction-free canvas. That means cleaning up your desktop—drag all those stray files into a temporary folder. Then, pick a simple, neutral wallpaper that won’t steal the show. A plain gray or a subtle branded background is perfect.
And this one’s critical: silence your notifications. Nothing kills a professional vibe faster than a personal message popping up mid-tutorial. On your Mac, just flip on Do Not Disturb mode from the Control Center to guarantee an uninterrupted session.
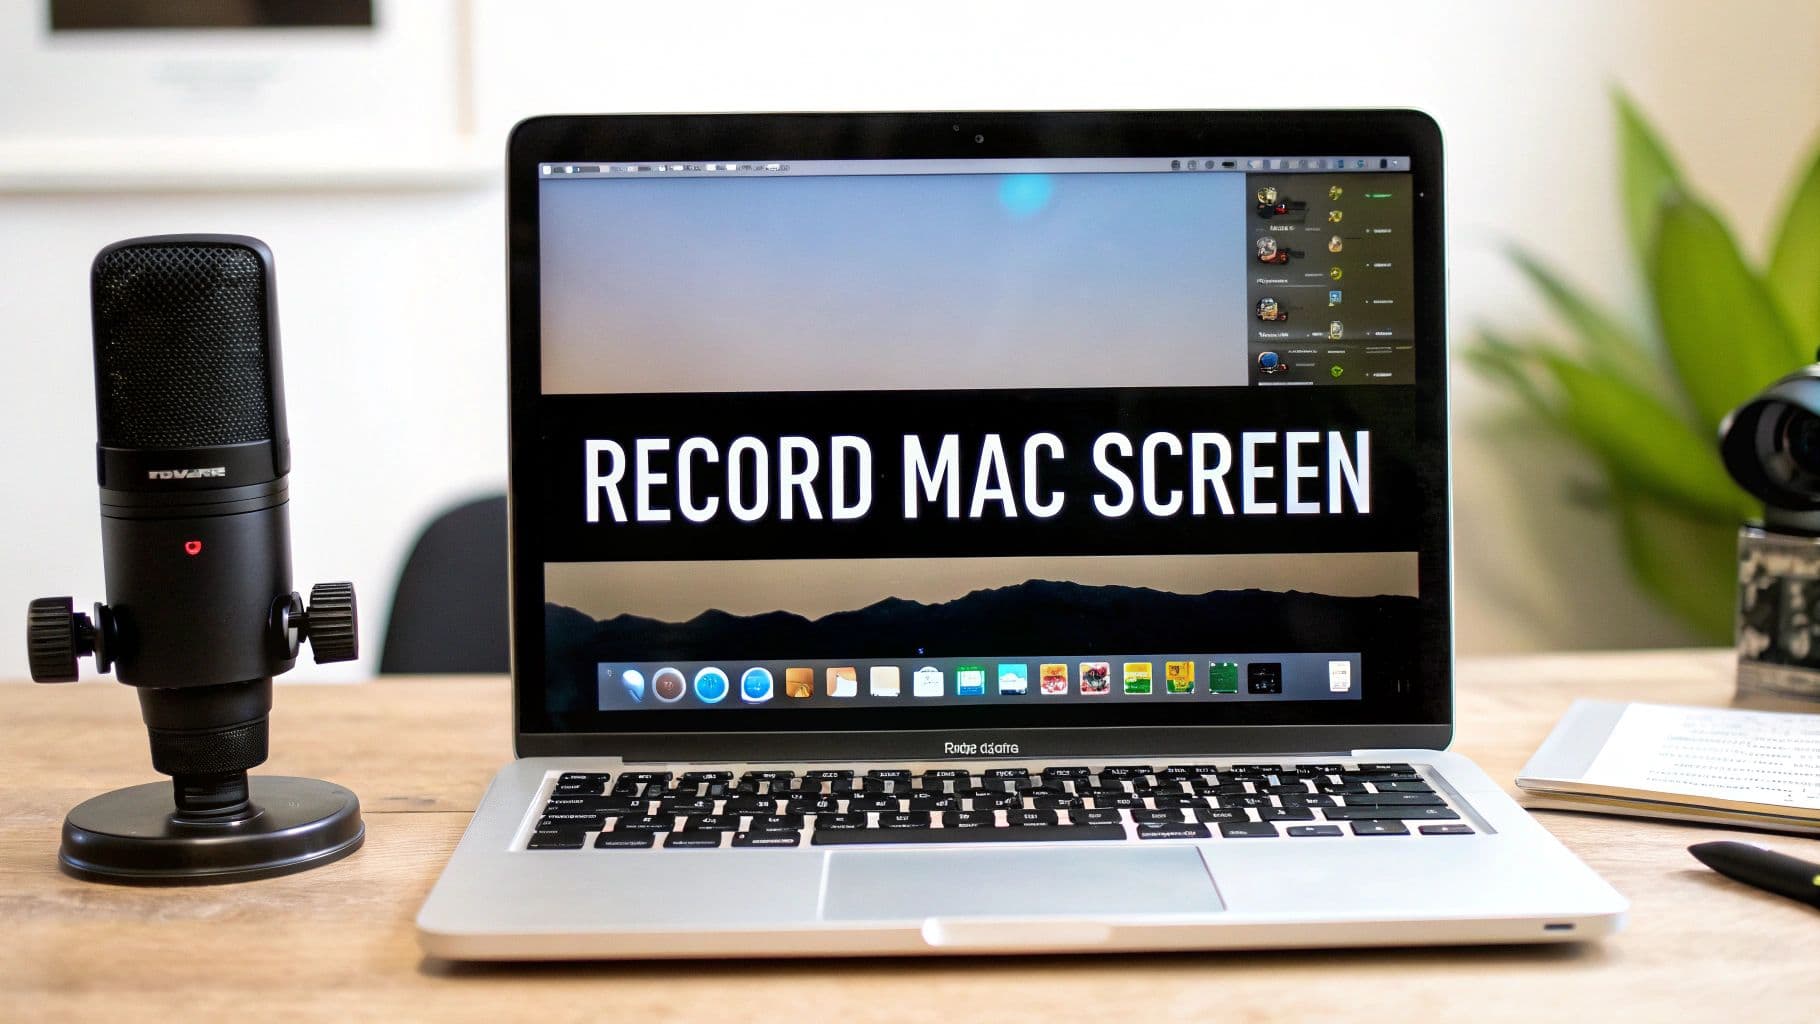
Dialing in Your Recording Area with Screen Charm
With your desktop looking sharp, it’s time to decide what your audience will actually see. Screen Charm gives you total control over the recording area, so your viewers only see what matters. Getting this right from the start is a huge part of how you record screen for YouTube, as it sets the visual foundation for your entire video.
You've got a few ways to define your space:
- Full Screen: This is your go-to when you need to show a workflow that involves multiple apps or the entire desktop.
- Specific App Window: Perfect for a focused tutorial on a single program, like Xcode or Figma. It neatly hides your menu bar and everything else.
- Custom Region: This lets you draw a specific box around a portion of your screen, which is brilliant for zooming in on a key feature or a tool palette.
Choosing the right option here will save you a ton of editing time later. If you're teaching something in a specific app, locking the recording to that window means no stray background elements can sneak into the shot. If you want to explore more tools for the job, check out our guide on the best Mac recording software.
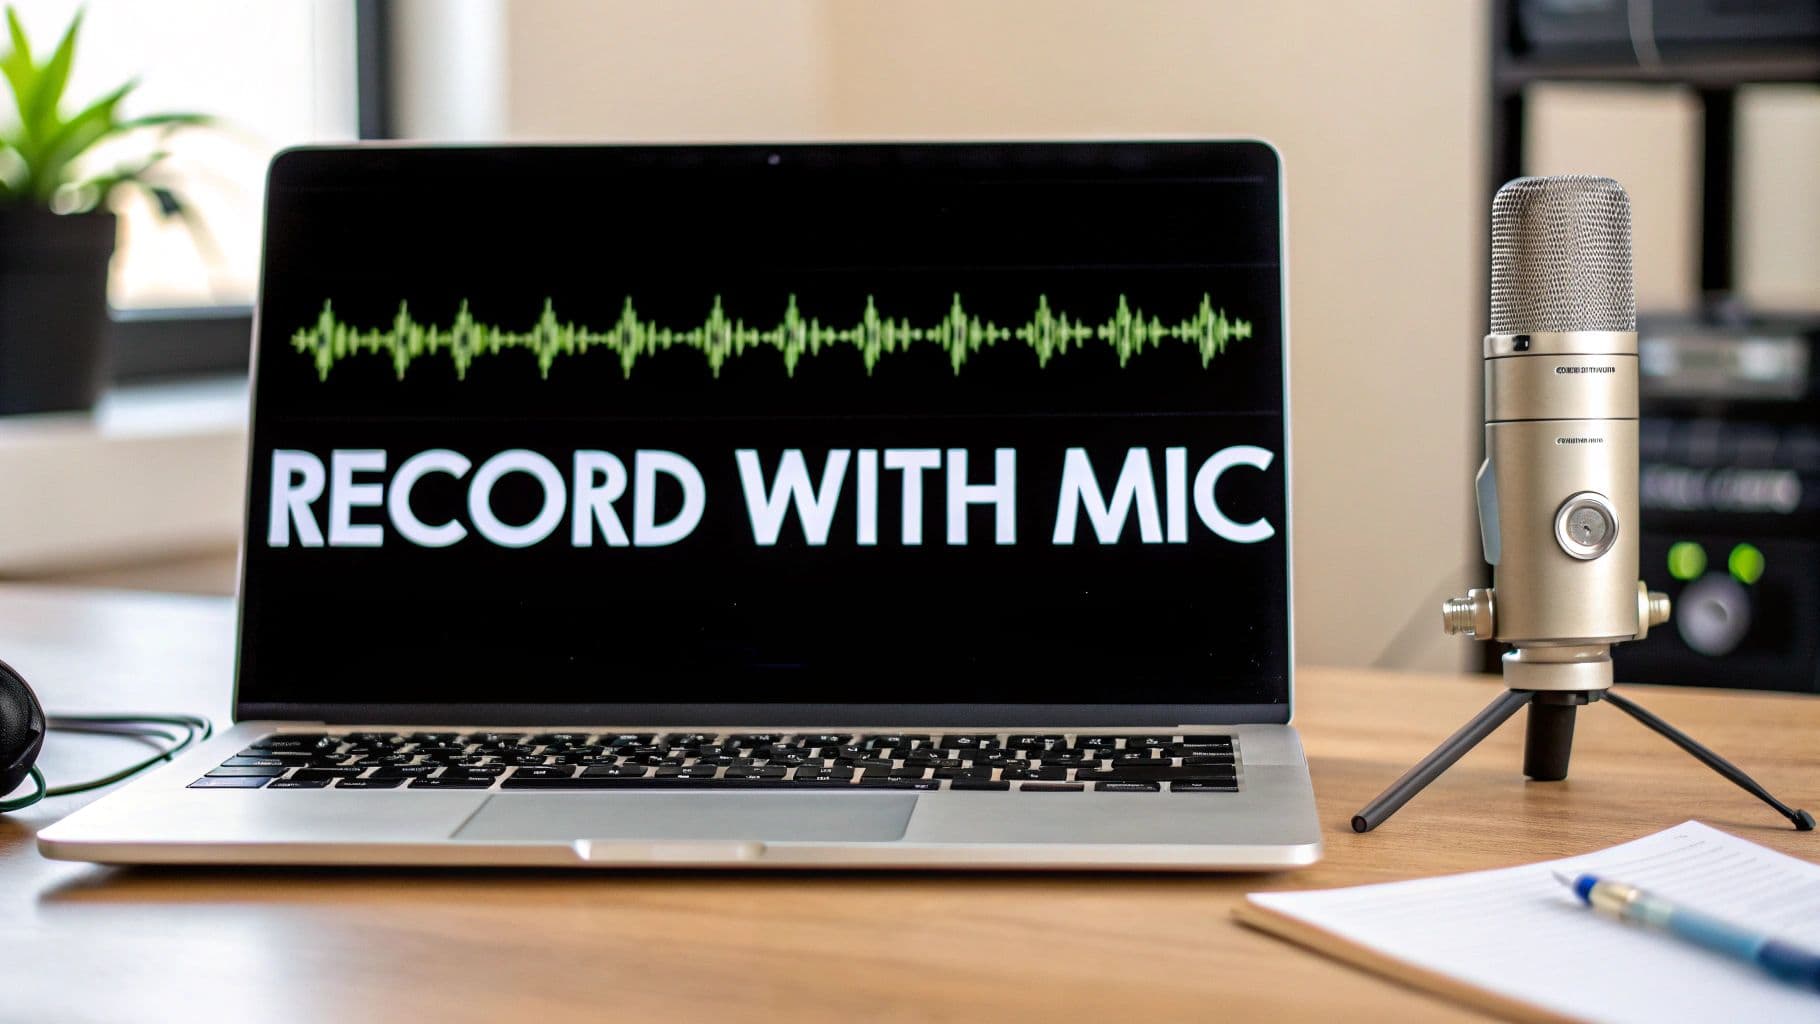
Setting Up Your Mic and Camera
Okay, visuals are set. Now for audio and video. Great audio isn't just a "nice to have" on YouTube—it's essential. Make sure your microphone is properly selected in your Mac's System Settings and in Screen Charm, whether you're using the built-in one or, ideally, a quality external USB mic.
Pro Tip: Never skip a quick audio check. Record yourself speaking for 10 seconds at your normal volume, then listen back. You're looking for clear sound with no distortion or annoying background hiss.
Tossing in a webcam feed is a great way to connect with your viewers. It puts a face to the voice, which builds trust and makes your content feel much more personal. You can easily place the webcam overlay in any corner and resize it so it complements your screen content instead of covering it up.
Here’s one last pro move: use a dedicated browser profile for your recordings. Set up a fresh, clean profile in Safari or Chrome with no personal bookmarks, extensions, or history. It’s a small step that keeps your private stuff private and keeps the focus entirely on what you're teaching.
Mastering Your Audio and Visuals
Great YouTube videos aren't just about what you show; they're about how you show it and how you sound. This is where you graduate from a basic screen capture to a polished, professional tutorial. Let's dig into how you can use Screen Charm to nail both the visuals and the audio, making your content clear, engaging, and easy to follow.
Guiding Your Viewer’s Eye
Ever watch a tutorial and lose track of the presenter's mouse? It’s frustrating. A good tutorial should feel like you're sitting right there with the expert, watching them point things out.
That's where visual cues come in. When you record screen for YouTube, you need to make every mouse movement count. Screen Charm gives you tools to make your cursor the star of the show. You can easily make it bigger and add a colorful highlight, so it’s impossible to miss. Imagine teaching a complex piece of software on your Mac—that bright yellow circle around your cursor tells your audience exactly where to look.
This one simple tweak keeps people from squinting or scrubbing back through the video, which is a huge win for viewer retention.
The Magic of Automatic Zoom
If there’s one feature that will instantly make your tutorials look more professional, it’s dynamic zooming. Trying to add zooms and pans manually in a video editor is a massive headache. Honestly, it's where most people give up and just leave their recordings static and boring.
This is exactly what Screen Charm’s auto-zoom was built to solve. It intelligently follows your cursor, automatically zooming and panning to keep the most important action front and center.
Think of it as having a personal camera operator for your screen. You click on a menu, and the frame smoothly zooms in. You move to a different part of the app, and it pans over. It creates a focused, dynamic experience for your viewer with zero extra effort from you.
For instance, if you're showing someone how to fill out a form in Safari, the view will naturally push in on each field as you click. This keeps your audience locked in on the details that matter, making your instructions so much easier to follow.
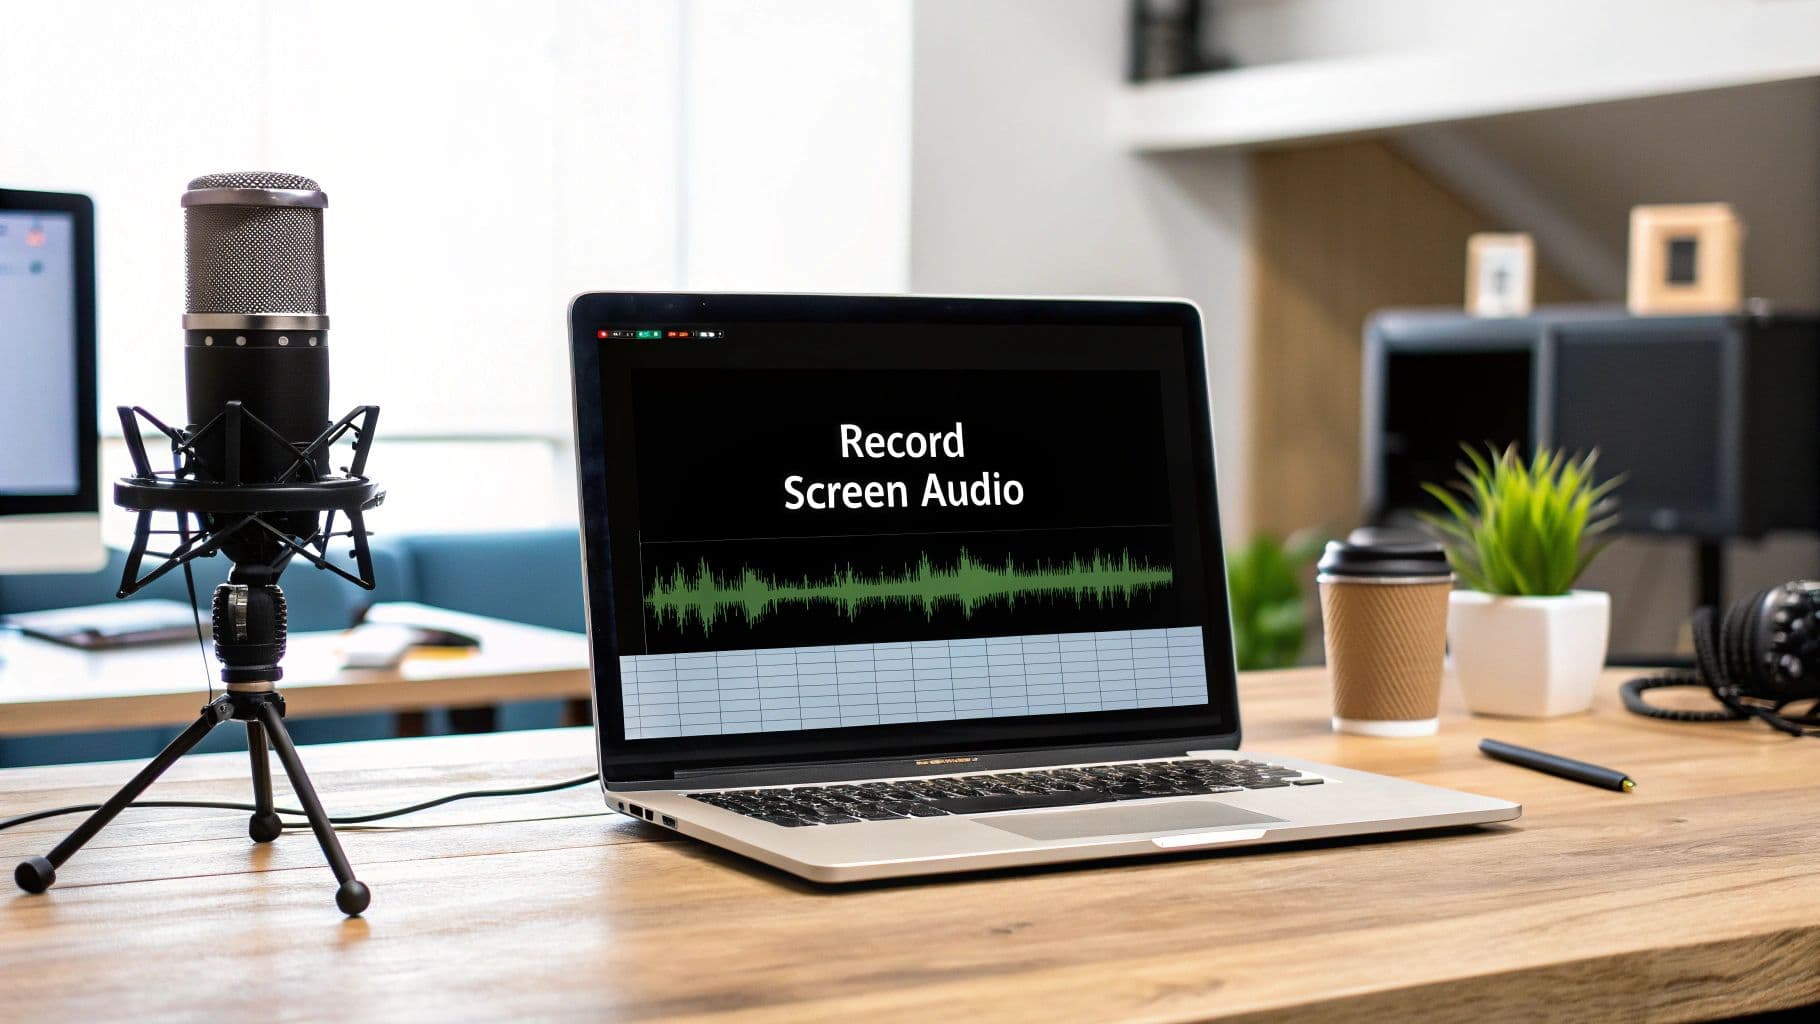
Nailing That Crystal-Clear Narration
Your visuals might pull people in, but bad audio will push them away in seconds. Clear, crisp narration isn't a "nice-to-have"—it's a must.
First things first, find a quiet space. It sounds obvious, but you’d be amazed at how much background noise a microphone can pick up. That faint hum from the air conditioner or the traffic outside can become a huge distraction. Close the door, shut the windows, and kill any noisy fans. Pro tip: soft things are your friend. A room with a rug, curtains, or even a few pillows will have less echo and sound much better.
Next up is your gear. While your Mac’s built-in mic is okay in a pinch, an external microphone is probably the single best investment you can make for your channel. It brings a richness and clarity to your voice that immediately signals "high-quality content." And don't forget about the sounds from your Mac itself. If you need to record app sounds or system audio, we've got a whole guide on that.
Choosing the Right Microphone for Your Mac
Picking a mic doesn't have to be intimidating. For most YouTubers recording at their desk, the choice boils down to two main types: USB or XLR. Each has its place, depending on your goals and budget.
To make it easier, here's a quick comparison of the most common setups for a macOS recording rig.
macOS Audio Setup Comparison for YouTube Narration
| Microphone Type | Best For | Pros | Cons |
|---|---|---|---|
| USB Microphones | Beginners and streamers looking for a simple, all-in-one solution. | Plug-and-play simplicity, no extra hardware needed, and very budget-friendly. | Less flexible, and audio quality may not match higher-end setups. |
| XLR Microphones | Creators aiming for professional, broadcast-quality audio. | Superior sound quality, interchangeable mics, and greater control over audio. | Requires an audio interface and is generally more expensive to get started. |
For most people just starting out, a solid USB mic like the Blue Yeti or Rode NT-USB+ is the perfect sweet spot. They offer a massive leap in quality over your Mac's internal mic without a complicated setup.
As your channel grows, an XLR setup might be in your future, but a good USB mic will carry you a very long way. When you pair these audio practices with Screen Charm's powerful visual tools, you're not just recording your screen—you're crafting a genuinely valuable learning experience.
Editing and Refining Your Screen Recording Like a Pro
Getting the raw footage is just the first part of the job. The real magic happens in the editing room, but let's be honest—this is where most creators get intimidated when they record screen for YouTube. It’s the stage where great ideas and good takes get bogged down by overly complex software.
But editing doesn't have to be a multi-day slog through expensive tools like Final Cut Pro or Adobe Premiere. We built Screen Charm around an all-in-one workflow, which means a powerful, intuitive editor is waiting for you right inside the app. This saves hours of exporting and importing, getting you from raw recording to a polished, YouTube-ready video faster than you’d expect.
Your Post-Production Workflow in Screen Charm
Let's imagine you just wrapped up a 10-minute software tutorial. You’ve got a bit of dead air at the beginning, a mistake you flubbed around the three-minute mark, and a few places where the automatic zoom could use a little fine-tuning.
In a traditional setup, you'd now be exporting that massive raw file and pulling it into a completely separate video editor. With Screen Charm, you just... keep going. You move seamlessly from recording right into the editor.
This flow is all about guiding your audience's attention using the key elements you've already captured.
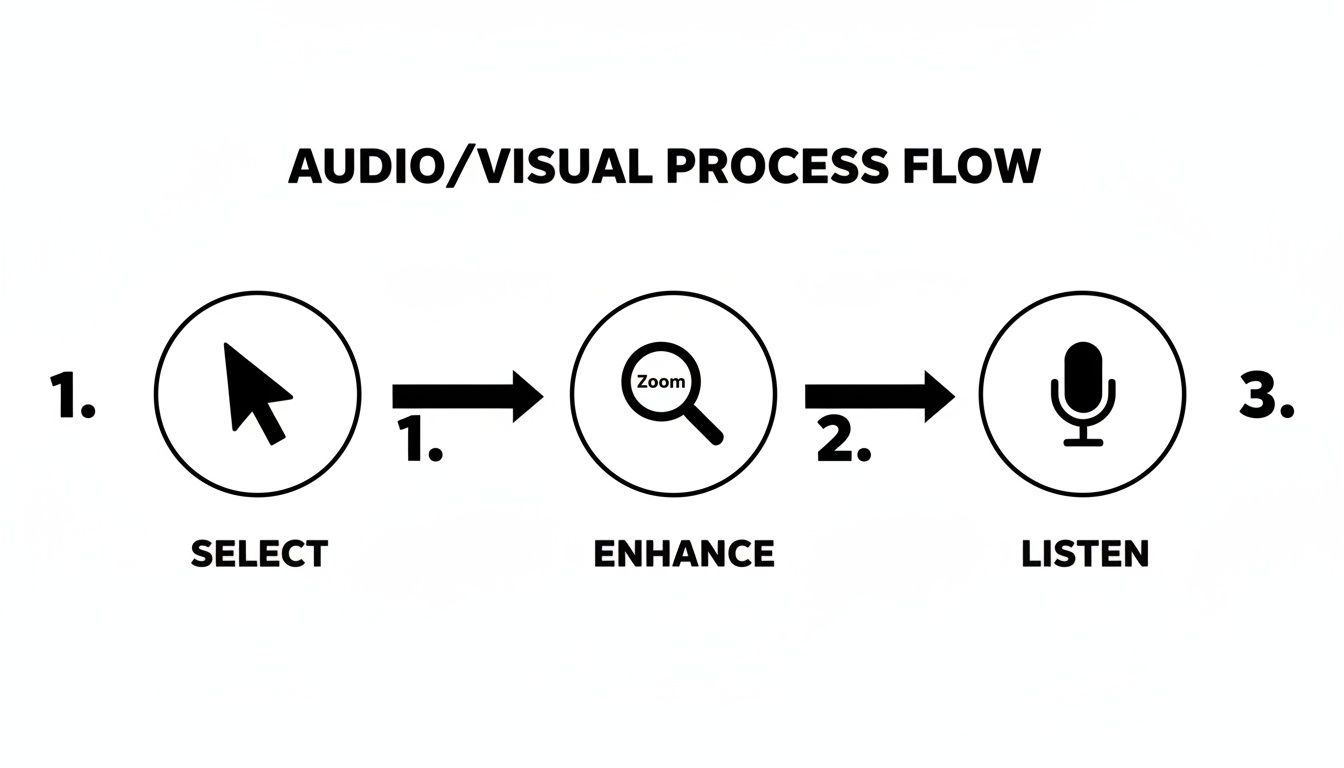
The visualization here shows how emphasizing the cursor, zooming in intelligently, and capturing clean audio all work together to create a professional final product.
The need for this kind of streamlined workflow is exactly why the screen recording software market is booming. This market was valued at $9.58 billion in 2024 and is projected to hit $10.92 billion by the end of 2025. That growth reflects the real needs of creators who depend on screen captures to explain complex ideas and interfaces. For a closer look at these trends, you can read the full report on the future of screen recording from Superagi.com.
Trimming and Cutting with Precision
The first edits are usually the easiest wins: cleaning up the start and end and snipping out any mistakes in the middle.
- Trimming the Ends: Just grab the handles at the beginning and end of your video timeline and drag them in. This instantly removes any awkward pauses or fumbling as you get set up, giving your video a clean, confident start.
- Cutting Out Mistakes: To get rid of a section in the middle, move the playhead to where the mistake begins and make a split. Do the same thing at the end of the mistake, then just select and delete that unwanted clip. The timeline automatically ripples to close the gap, seamlessly joining the good takes.
A quick note on this: The process is non-destructive. Your original recording is always safe. You can undo any change or re-extend a clip at any time without losing a single frame of your raw footage.
Once you have your footage, choosing the right tools to polish it is key. To get truly professional results, you should explore the best video editing software for YouTube creators and see how they can transform your screen recordings.
Fine-Tuning Auto-Zoom and Webcam Placement
Screen Charm's auto-zoom feature does a fantastic job during the recording, but the editor is where you get the final say. You can go through each automated zoom and manually adjust its timing, make it more or less intense, or even remove it completely. This level of control is what helps you perfect the video's pacing and ensure your viewer's focus is always exactly where you want it.
Your webcam placement can be tweaked after the fact, too. Did your picture-in-picture overlay cover up an important menu in one segment? No problem. You can easily resize or move the webcam for just that specific clip without messing up the rest of the video. This flexibility ensures your face enhances the tutorial instead of getting in the way.
If you want to see how different editors stack up, we put together a detailed video editing software comparison specifically for macOS users.
Exporting and Uploading for Maximum YouTube Impact
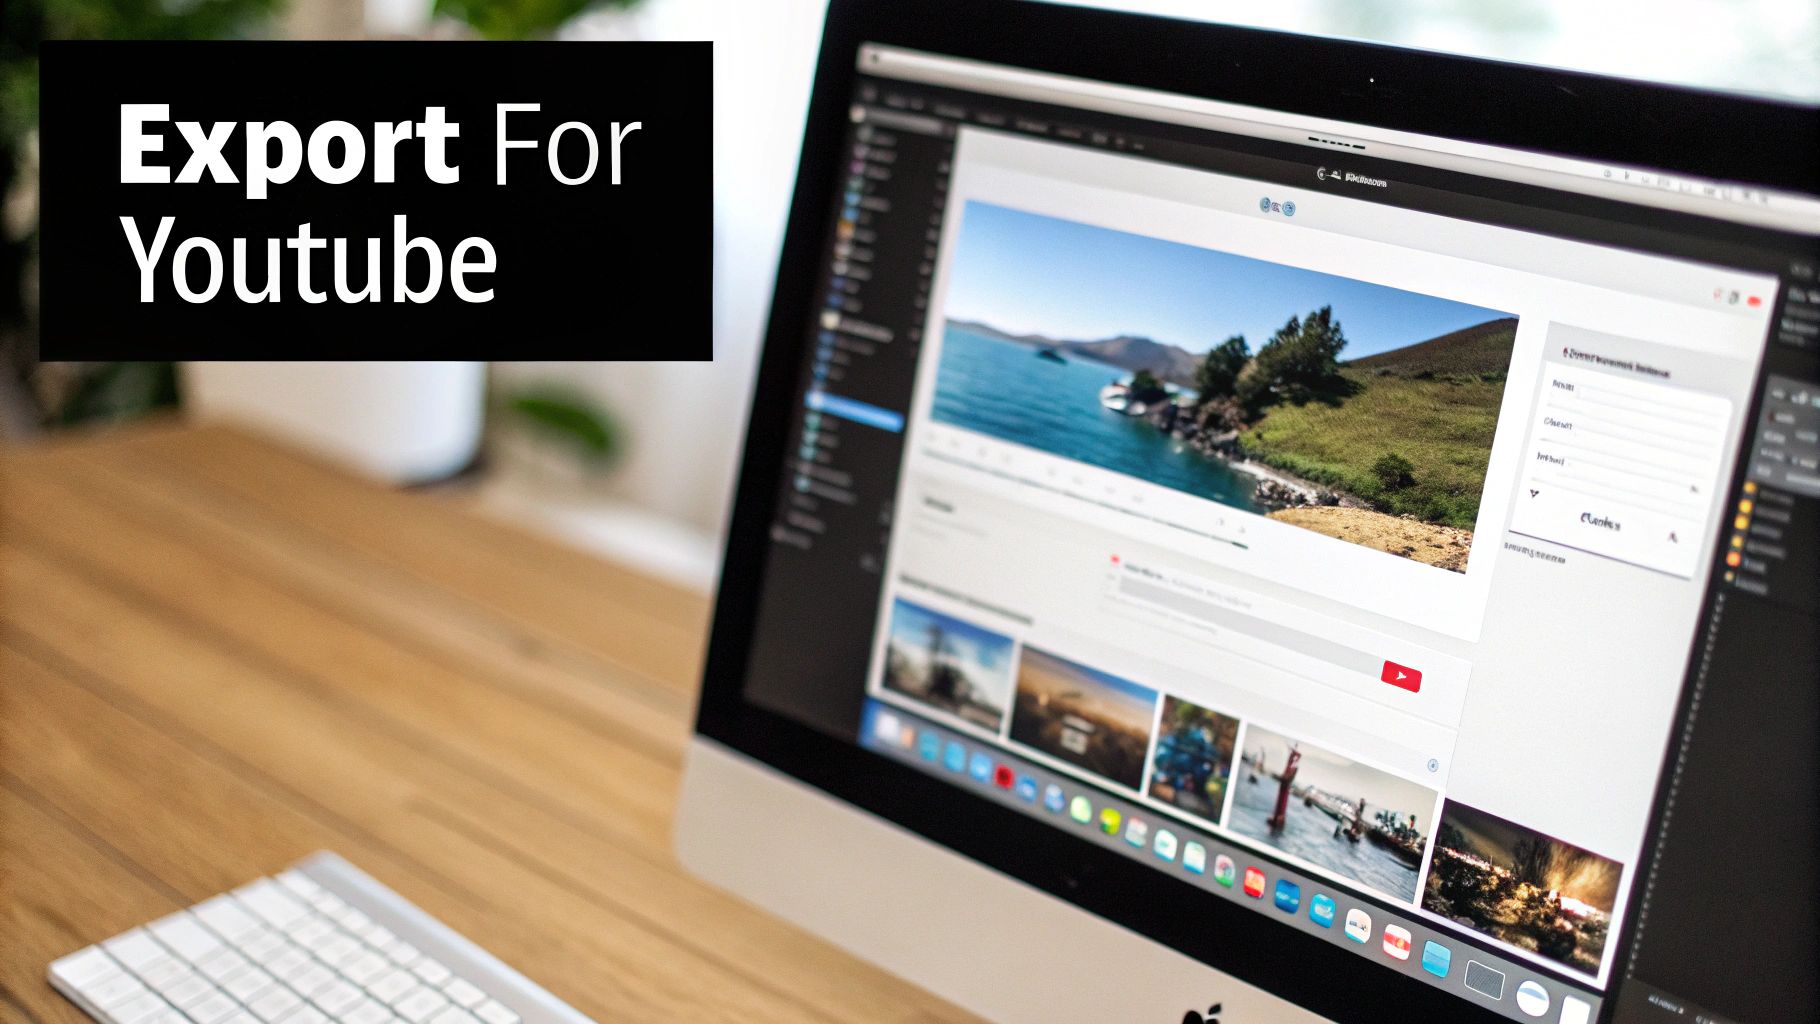
You’ve done the hard work—recording, trimming, and polishing your video. Now comes the final, crucial handoff: getting it out of Screen Charm and onto YouTube in the best possible shape. This isn't just about clicking "upload"; it's about giving your video the technical and strategic advantages it needs to find its audience.
Think of it this way: YouTube re-compresses every single video uploaded to its platform. If you give it a low-quality file to start with, that compression will only make things worse. Starting with a high-quality export is non-negotiable if you want a professional-looking result.
Nailing Your Export Settings in Screen Charm
To make sure your macOS screen recording looks crisp on YouTube, a few key settings matter a lot. Screen Charm keeps things straightforward, but knowing why you're picking these options is what separates the pros from the amateurs.
-
Resolution - Go for 4K: Here's a pro-level trick: always export your video in 4K UHD (3840 x 2160). Yes, even if your original recording was in 1080p. When YouTube sees a 4K file, it processes it with the superior VP9 codec, which delivers noticeably better visual quality with fewer ugly compression artifacts. This single change makes a massive difference compared to the standard AVC1 codec used for 1080p videos.
-
Codec - H.264 vs. HEVC (H.265): A codec is just the technology that compresses your video. Your two main choices are H.264 (AVC) and HEVC (H.265). H.264 is the old reliable—it works everywhere, no questions asked. HEVC is newer and more efficient, giving you the same quality in a smaller file size (meaning faster uploads). For YouTube, my advice is to stick with H.264. It's the safest, most compatible bet.
-
Bitrate - The Quality-to-Size Ratio: Bitrate dictates how much data your video uses per second. For a 4K video running at 30 frames per second (fps), aim for a bitrate between 35-45 Mbps. This hits the sweet spot, giving you fantastic quality without creating a gigantic file that takes forever to upload.
Optimizing Your Upload for the YouTube Algorithm
With your pristine video file exported, the next job is to tell YouTube what it's all about. This metadata—your title, description, and thumbnail—is how you communicate with the algorithm and help it connect your content with the right viewers.
Globally, people watch over 1 billion hours of YouTube daily, and a staggering 70% of that watch time is driven by algorithmic recommendations. Your metadata is your direct line to that recommendation engine.
Your title, description, and thumbnail aren't just window dressing. They are powerful SEO tools that send the primary signals to both viewers and the YouTube algorithm, directly impacting who sees your video and whether they decide to click.
Here’s a quick checklist for an upload that gets noticed:
-
Craft an SEO-Friendly Title: A good title needs to include your main keywords ("record screen for youtube on mac") while also being compelling. I like using a simple formula:
Result + Keyword + Context. Something like, "Flawless 4K Tutorial | How to Record Your Screen for YouTube on macOS" works perfectly. -
Write a Compelling Description: The first couple of lines are gold because they appear in search results. Use them to hook the viewer and repeat your main keyword. Further down, write a detailed summary of the video and add timestamps so people can jump to the parts they care about most.
-
Choose Relevant Tags: Tags aren't as powerful as they used to be, but they still help YouTube understand the context of your video. Use a mix of broad terms ("macOS tutorial") and more specific ones ("Screen Charm auto-zoom," "4K screen recording").
-
Design a Clickable Thumbnail: Your thumbnail is your video's billboard on a very crowded street. It has to grab attention instantly. Use bright, contrasting colors, bold and easy-to-read text, and a clear image that communicates what the video is about.
To make sure you're always hitting the mark, it's a good idea to stay current on the optimal YouTube video sizes and specs. By mastering both the technical export and the strategic upload, you’re giving your content the absolute best chance to succeed.
Got Questions About Recording Your Mac Screen?
Even with the best plan, you're bound to run into a few snags when you start to record your screen for YouTube. It happens to everyone. Let's walk through some of the most common issues Mac users face and get you some practical answers so you can get back to creating.
A big one I hear all the time is about file size, especially with 4K recordings. It's a real concern—you don't want a single video to clog up your hard drive or take all day to upload. The trick is to find that sweet spot between quality and size, which is all in your export settings. A solid benchmark? A 10-minute 4K video using the H.264 codec at around 40 Mbps will typically land in the 2-3 GB range.
That's a healthy size that gives YouTube a high-quality file to work with, minimizing the ugly compression artifacts you sometimes see. If you want to shrink that down, the HEVC (H.265) codec can cut file sizes by 25-40%. Just be aware that H.264 is still the king of compatibility, so it's often the safer bet.
How Do I Stop My Recording from Stuttering?
Nothing tanks a video faster than choppy, dropped frames. Your cursor starts to lag, animations stutter, and the whole thing just looks unprofessional. This almost always means your Mac is struggling to keep up, especially if you're recording demanding apps like Final Cut Pro, a game, or a complex design tool.
Before you even think about hitting that record button, do a little prep work:
- Quit Everything Else: Seriously. Close every single app that isn't absolutely essential for your video. That means browsers with a million tabs, Slack, Spotify, Dropbox—anything running in the background.
- Check Your Vitals: Pop open the Activity Monitor on your Mac and peek at the CPU tab. If you see a process eating up a huge chunk of your processing power, it's a potential troublemaker.
- Ease Off the Frame Rate: While 60 fps is silky smooth, it's also a resource hog. For most tutorials, 30 fps looks perfectly professional and drastically lightens the load on your system.
Think of it as clearing the runway before takeoff. Giving your Mac that extra breathing room is the key to a perfectly smooth capture.
What if My Audio and Video Don't Sync Up?
Audio drift is the absolute worst. You nail the perfect take, but in the final video, your voice is a half-second off from the action on screen. This gremlin usually appears when your audio and video are being recorded from different sources, like an external USB mic and your screen capture software.
The best way to sidestep sync problems entirely is to use an app that records your screen, webcam, and microphone all at once. When a single piece of software is managing all the inputs, it keeps everything locked together, pretty much eliminating the chance for drift.
If you’re still running into trouble, long, unbroken recording sessions can sometimes be the culprit. Instead of recording for an hour straight, try breaking it up into 15-20 minute segments. It not only reduces the risk of sync issues but also makes editing feel way more manageable. And here's an old-school editor's trick: do a sharp clap on camera before you start talking. That creates a clear spike in both the video and audio tracks, giving you a perfect point to manually line things up if you need to.
Ready to create stunning, professional-looking tutorials and demos without the hassle? Screen Charm gives you all the tools you need—from automatic zoom to a built-in editor—in one simple package for macOS. Start making videos that captivate your audience today by visiting https://screencharm.com.