How to Record Computer Sounds on a Mac: The Ultimate Guide
Trying to record the audio coming directly from your Mac can feel like hitting a wall. You're not alone. By design, macOS intentionally restricts direct access to its own system audio. This is a deliberate choice for privacy and security, but it's a major headache for anyone trying to create content.
This guide will walk you through the best and most common ways to get around this macOS limitation and capture your Mac's internal sounds perfectly.
Why Is Recording Mac System Audio So Complicated?
If you've ever tried to record a software tutorial, a gameplay session, or even just a clip from a webinar on your Mac, you've probably felt the frustration. You can record your screen with a keystroke, and capturing your microphone is simple, but getting the sound from your applications? It seems impossible with Apple's built-in tools.
This isn't a bug—it’s a feature. Apple built macOS to keep audio from different apps completely separate. This is excellent for security, as it stops rogue software from snooping on sensitive audio, like a password reset notification or a private video call. For content creators, though, it's a huge hurdle.
The Virtual Audio Driver Fix
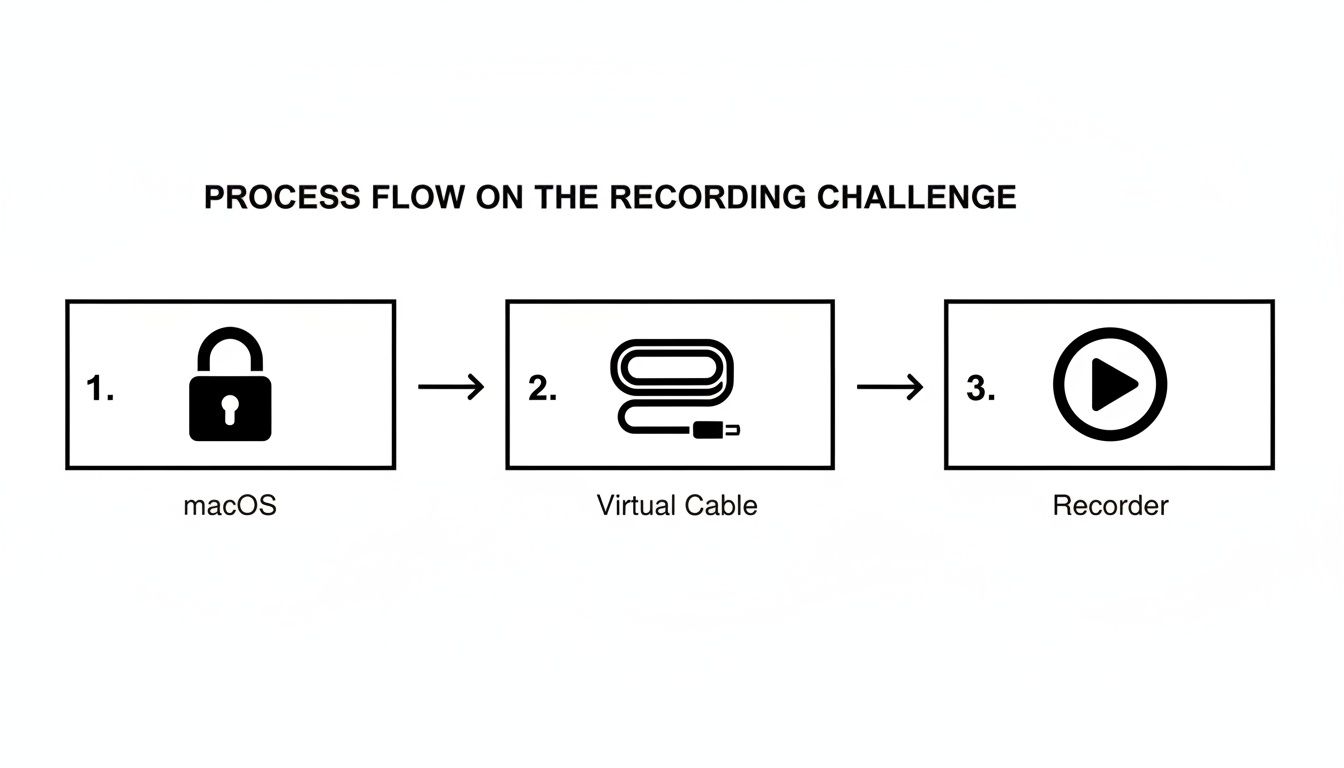
To get around this, you need what's essentially a "virtual audio cable." This is a piece of software that tricks your Mac into routing its system output into a new, virtual input that your recording software can actually listen to.
It might sound technical, but free tools like BlackHole make it surprisingly easy. By setting up this virtual pipeline, you can finally capture that crisp, clean audio directly from any application for any project you're working on.
Getting this right is a game-changer for producing high-quality content on your Mac. Your software demos will suddenly feel more dynamic, your gameplay videos will have the impact they deserve, and your tutorials won't be missing those crucial sound cues.
The need to record computer sounds on a Mac absolutely exploded after 2020. Searches for this exact topic spiked by 320%, with demand for tutorial videos driving peaks well into 2025.
This surge in interest really shines a light on a common problem. While native macOS tools like the Screenshot Toolbar are great for grabbing microphone audio, they leave a massive gap when it comes to system sound.
In fact, internal polls from OBS Studio forums in 2026 suggested that a staggering 68% of advanced users rely on virtual drivers like BlackHole to get the job done right on their Macs. If you're interested, you can explore more insights about screen recording trends on macOS to see just how much this space has evolved.
The Free Method: Using BlackHole and QuickTime Player
If you need to record your Mac's internal audio without spending a dime, this is the classic, go-to solution. By combining a free virtual audio driver called BlackHole with the QuickTime Player app that's already on your Mac, you can create a clever workaround to capture system sounds directly.
It might sound a bit technical, but the concept is simple. BlackHole creates a virtual "cable" that intercepts the sound from your Mac before it goes to your speakers. It then makes that audio available as a new microphone source that an app like QuickTime can listen to and record.
Getting BlackHole Installed and Configured
First things first, you'll need to head over to the Existential Audio website and download the BlackHole driver. The installation is just like any other Mac app—nice and simple.
Once it's installed, you won't see a BlackHole icon in your Dock. That’s normal. It works behind the scenes as a new audio device, which is exactly what we need.
This diagram breaks down how it all works. The virtual driver essentially acts as a bridge, letting you route your Mac's audio into your recording software.
The real magic happens in the setup.
Creating a Multi-Output Device
Here's the key step: you need to be able to hear the audio while you’re recording it. To do that, we’ll use a built-in Mac utility called Audio MIDI Setup (you can find it in your Applications > Utilities folder).
Inside this app, we’re going to create a Multi-Output Device. This special device lets us send your Mac’s audio to two places at the same time:
- Your speakers or headphones: So you can monitor what’s happening in real-time.
- BlackHole 16ch: This is the virtual "cable" that will feed the audio into QuickTime.
When setting this up, make sure your primary output (like "MacBook Pro Speakers" or your headphones) is the Master Device. You'll also want to check the Drift Correction box for BlackHole. This is a crucial little step that keeps both audio streams perfectly synced up, so you don't get any weird echoes or delays.
My Pro Tip: Once you've created your Multi-Output Device, you absolutely have to select it as your Mac's main sound output. Go to System Settings > Sound and choose it from the list. If you forget this, your Mac will just keep sending audio to your speakers, and BlackHole won't capture a thing.
Firing Up QuickTime to Record
With your audio rerouted, you’re ready to start recording. QuickTime Player is the old reliable here. It's been on every Mac for ages and its screen recording tool is surprisingly capable.
Just open QuickTime and go to File > New Screen Recording. You can also just hit Cmd + Shift + 5 to pull up the Screenshot and recording toolbar. Before you hit record, click the "Options" menu. Under the Microphone section, you should now see BlackHole 16ch. Select it.
Now, any sound your Mac makes—a YouTube video, a game, an alert notification—will be captured along with your screen.
BlackHole Setup Checklist
To make sure you've got all the steps right, here's a quick checklist for getting BlackHole and QuickTime working together on your Mac.
| Step | Action | Key Tip |
|---|---|---|
| Download & Install | Get the BlackHole driver from the official website and run the installer. | Restart your Mac after installation if you don't see the new audio devices appear. |
| Create Multi-Output | Open Audio MIDI Setup and create a new Multi-Output Device. | Check your main output (speakers/headphones) AND BlackHole. |
| Assign Master & Drift | Set your speakers/headphones as the Master Device and enable Drift Correction for BlackHole. | This prevents audio sync issues in your final recording. |
| Set System Output | In System Settings > Sound, select your newly created Multi-Output Device. | This is the most commonly missed step! Your Mac won't record audio otherwise. |
| Configure QuickTime | In a New Screen Recording, click "Options" and select BlackHole 16ch as the microphone. | Do a quick 10-second test recording to confirm it's working before your main take. |
Following these steps in order will save you a lot of troubleshooting headaches down the line.
A Quick Word on QuickTime's Reliability
QuickTime screen recording has been a workhorse since it became truly useful around 2010, and by 2026, it's estimated to have been used for over 1.2 billion recordings.
However, it's not always perfect. I've seen plenty of forum posts from Mac creators who run into trouble. Some user reports suggest a 45% unreliability rate after certain macOS updates, citing everything from random crashes to audio losing sync on longer recordings. You can see what people are saying over on Apple Discussions.
Because of this, I always, always recommend doing a short test recording before you dive into the real thing. Just record 30 seconds of screen activity with audio, play it back, and make sure everything sounds clean and clear. It’s a simple check that can save you a world of frustration.
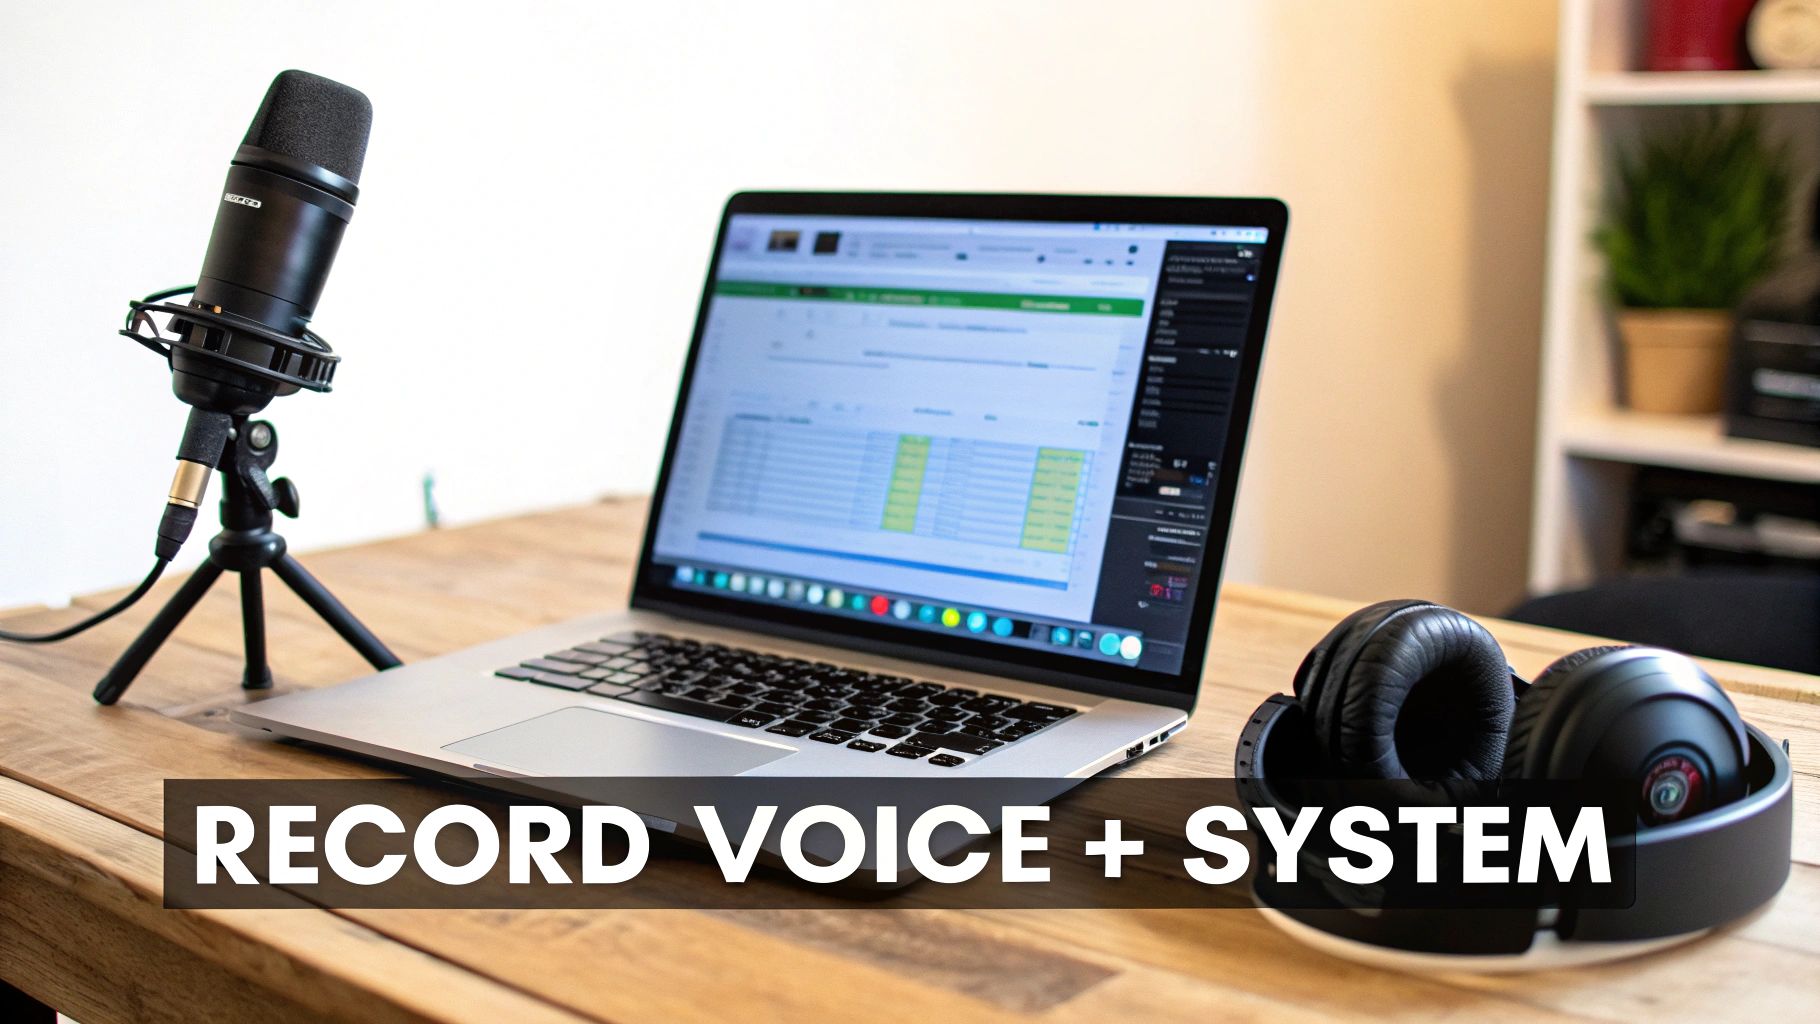
Recording Your Voice And System Audio Together on a Mac
Getting clean system audio is one thing, but what about when you need to narrate what’s happening? Think software demos, detailed tutorials, or even narrating gameplay. For projects like these, you need to capture both your voice and your computer's audio at the same time.
The good news is that the "Multi-Output Device" we already set up is perfect for this. We just need to tweak it slightly to pull your microphone into the mix. This creates a much richer, more professional final product. You can walk a colleague through a new app, and they’ll hear not just your instructions but also the app’s own sound effects and notifications, all captured cleanly.
Adding Your Microphone To The Mix
Let's head back to the Audio MIDI Setup utility on your Mac. This time, we're going to add one more device to our custom setup.
Your new Multi-Output Device configuration should look like this:
- Your primary output (like MacBook Pro Speakers or your external headphones).
- BlackHole 16ch (this is our virtual cable for recording).
- Your microphone (for example, your external USB mic).
Just check the box next to your microphone, and you're almost ready to go. Now, your recording software will see and capture all three sources. But this new setup introduces a potential problem: audio feedback. For a deep dive into best practices, check out our guide on how to record your screen with a microphone.
The Non-Negotiable Rule: Use Headphones
Here’s a lesson I learned the hard way. If you try to record your voice and system audio on your Mac without headphones, you’re basically creating an echo chamber on your desk.
The sound from your speakers will play out loud, your microphone will pick it up, and that sound gets re-recorded. This creates a horrible feedback loop or a distracting echo that can completely ruin an otherwise great take.
The fix is incredibly simple but absolutely critical: wear headphones.
By sending all system audio directly to your ears, you ensure it never reaches your microphone's input. This one little step is the single most important thing you can do to get a clean, dual-source audio recording on your Mac.
Key Takeaway: Always wear headphones when recording your microphone and system audio simultaneously. It’s the only reliable way to prevent your mic from picking up speaker output and creating a distracting feedback loop.
This isn't just a casual tip; it's a fundamental rule that even seasoned podcasters and streamers live by. It guarantees your voice stays crisp and isolated, while the system sounds provide clean, non-interfering context. Just plug in your headphones before you hit record. You'll thank yourself later.
Troubleshooting Common Mac Audio Recording Issues
Even with the perfect setup, you can still hit a snag trying to record your Mac's system audio. A silent final video or a missing audio device is a classic frustration, but don't worry—the fix is usually pretty simple. Let's walk through the most common hiccups and get you back on track.
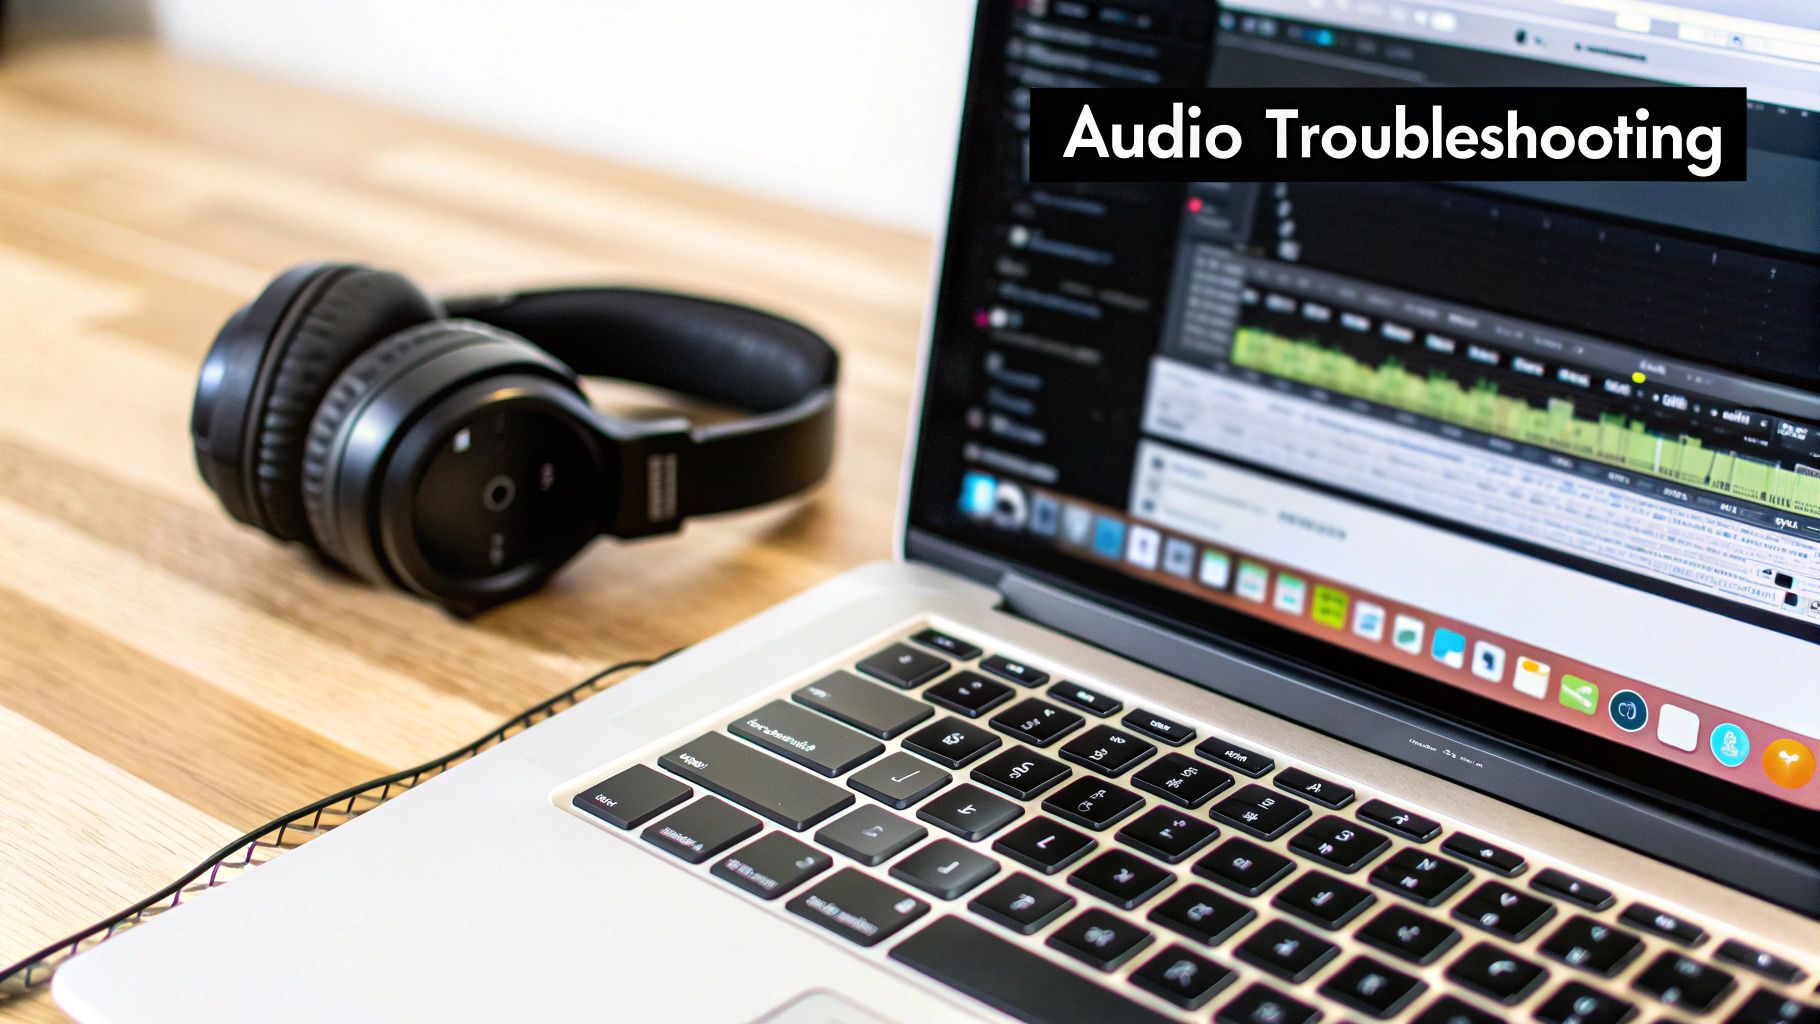
More often than not, the problem isn't your recording software but a small misconfiguration in macOS itself. Sometimes, just restarting the app or even your whole Mac can clear out weird glitches by resetting the audio services.
No Audio In Your Final Recording?
This is, by far, the most common issue. You spend time creating the perfect screen recording, export it, and… silence. It’s maddening. Before you start over, run through this quick checklist.
- Check Your System Output: Go to System Settings > Sound. Is your Multi-Output Device selected as the main output? If something else is selected, your Mac isn't sending any audio to BlackHole to be captured.
- Verify Audio MIDI Setup: Open the Audio MIDI Setup app from your Utilities folder. Is your Multi-Output Device set up correctly? Both your main output (like headphones or speakers) and BlackHole need to be checked. This is a very common point of failure.
- Restart the Core Audio Service: If your settings look right but it's still not working, the macOS audio service might just be stuck. Open Activity Monitor, search for "coreaudiod," and quit the process. It will restart itself automatically, which often kicks things back into gear.
BlackHole Isn't Showing Up As An Option?
You followed the steps, installed BlackHole, but it’s nowhere to be found in your sound settings or QuickTime’s microphone list. This almost always points to an installation or permissions problem.
First things first, try a full restart of your Mac. That often forces the system to recognize newly installed audio drivers.
If that doesn't work, head to System Settings > Privacy & Security. Scroll down and look for a message about system software from "Existential Audio Inc." being blocked. You may need to click "Allow" to grant it permission to run. If all else fails, a fresh reinstall of BlackHole can fix any corrupted files from the first go-around.
Key Insight: A simple app restart is surprisingly effective. Applications like QuickTime or Audacity sometimes fail to detect new audio devices added while they are already open. Always quit and relaunch the app after making changes in Audio MIDI Setup.
Is Your Audio Drifting Out of Sync With the Video?
Audio drift, where the sound slowly falls out of sync with the video, can completely ruin longer recordings. This usually happens because different audio devices operate on slightly different internal clocks. Luckily, the Drift Correction feature in Audio MIDI Setup was designed for exactly this.
In your Multi-Output Device configuration, make sure the "Drift Correction" box is checked for BlackHole. This tells macOS to digitally align the audio streams, preventing them from drifting apart over time.
If you're still running into problems, many issues with Mac system audio are part of a bigger picture. General tips on how to improve audio quality can provide solutions for various recording environments. For more targeted fixes, our dedicated guide on how to get sound on a screen recording can be a lifesaver.
Back in 2018, Apple introduced the Screenshot Toolbar (Command + Shift + 5), which is great for quick clips. But for serious work, it has its limits. In fact, 62% of professional creators point to issues like choppy playback or the inability to capture system audio without these kinds of complex workarounds.
The Simpler Path for Mac Users: Screen Charm
Wrestling with virtual drivers and multi-output devices certainly gets the job done, but let’s be honest—it’s not a smooth workflow. If you're creating professional demos or tutorials regularly on your Mac, juggling separate tools for screen capture, audio routing, and webcam recording is clunky and a major time-sink. This is where a dedicated, all-in-one macOS app really shines.
A purpose-built tool like Screen Charm was created to solve this exact headache. Instead of making you jump through hoops with third-party drivers like BlackHole, it handles the ability to record computer sounds on Mac natively. That means no more fiddling with the Audio MIDI Setup. You just pick your sources, hit record, and you're off.
All Your Recording Tools, Finally in One Mac App
The real game-changer is having everything you need in a single interface. When you're putting together a software demo, you almost always need more than just a screen capture. You need to seamlessly weave together your screen, system audio, and your webcam feed.
- System Audio: Effortlessly capture in-app sounds, alerts, and video playback without any extra configuration.
- Webcam and Mic: Record your voiceover and camera feed simultaneously, perfectly synchronized from the start.
- Professional Backgrounds: Swap your messy office for a clean, branded image or a simple color.
This integrated approach saves you from the post-production nightmare of syncing separate audio and video files. I've been there, and that process alone can easily tack hours onto a project.
The entire experience is designed to get you from idea to polished video without the technical friction.

It’s about having a focused workspace that brings all the essential elements for a great demo into one spot.
A Quick Comparison: Free Method vs. Screen Charm
To put it in perspective, here's a look at how the manual, free approach stacks up against a dedicated Mac tool like Screen Charm.
| Feature | Free Method (BlackHole + QuickTime) | Screen Charm |
|---|---|---|
| Setup Time | High (Requires driver install and MIDI setup) | Minimal (Install and go) |
| System Audio | Yes, via complex virtual driver routing | Yes, built-in with a simple toggle |
| Webcam + Screen | Requires separate apps and manual syncing | Yes, records all sources simultaneously |
| Ease of Use | Low (Steep learning curve for non-tech users) | High (Intuitive, user-friendly interface) |
| Advanced Features | None (Basic recording only) | Auto-zoom, custom cursors, virtual backgrounds |
| Reliability | Prone to macOS update issues; can be buggy | Professionally maintained and supported |
While the free route is definitely possible, the table makes it clear that a dedicated app offers a much more direct and feature-rich path to a professional result.
Features That Truly Elevate Your Content
Beyond just making recording easier, specialized tools pack in features you simply can't replicate with a basic QuickTime setup. For Mac creators, these are the details that turn a standard screen recording into a genuinely engaging and clear tutorial.
For instance, developers will love the auto-zoom feature that automatically follows the cursor, zeroing in on key interface elements without any manual keyframing in an editor. Educators can use a customized cursor to visually guide students through complex software. And marketers can maintain a polished, consistent look across all their videos with professional virtual backgrounds.
A dedicated tool isn’t just about convenience; it’s about producing a better final product. When you remove the technical roadblocks, you can focus 100% on delivering clear, impactful content that actually connects with your audience.
In the end, while the free methods are powerful and undeniably useful, they demand a certain level of technical comfort and patience. For anyone who creates video content regularly and values a straight line to a high-quality result, exploring a specialized Mac application is the logical next step. It’s a perfect example of how the right tool can transform a complicated task into a simple, creative one.
Common Questions About Recording Audio on a Mac
Even after you get the hang of the basics, you'll probably run into a few specific quirks when recording your Mac's audio. Let's tackle some of the most common questions that pop up.
Can I Record Audio From Just One App on my Mac?
Yes, you can, but it’s a bit more involved than the standard BlackHole and QuickTime setup. That basic combination is an all-or-nothing deal—it grabs every single sound your Mac makes, from your video playback to your email dings.
To zero in on just one application (like grabbing the audio from Spotify without capturing your system alerts), you’ll need a more powerful macOS tool. An app like Loopback from Rogue Amoeba is built for this. It lets you create sophisticated virtual audio devices, essentially telling your Mac to grab sound only from specific apps and funnel it into your recording software as a clean input.
What's the Best Format for My Audio Recording?
For almost everyone, AAC (Advanced Audio Coding) is the way to go. It strikes the perfect balance between high-quality sound and a manageable file size, which is why it's the default for apps like QuickTime. Your recordings will sound crisp and clear without eating up all your hard drive space.
The only real exception is if you're a professional sound engineer or podcaster who plans to do some serious, in-depth audio editing on your Mac. In that case, you might opt for an uncompressed format like WAV. But for creating tutorials, gameplay videos, or online demos, AAC is more than good enough and way more practical for uploading and sharing.
My Take: Unless you're a professional sound designer, don't get too caught up in recording uncompressed audio. For 99% of Mac creators, a well-encoded AAC file sounds identical to the source and keeps your project files lean.
Why Does My Recording Sound So Quiet?
This is a classic problem, and the culprit is almost always hiding in the Audio MIDI Setup utility on your Mac. When you create that Multi-Output Device, you’re juggling multiple volume levels.
Each piece of the puzzle—your headphones, BlackHole, and your mic—has its own volume slider in that configuration window. Check to make sure the sliders for both BlackHole and your main output are pushed up to a healthy level, somewhere around 75-80% is a good starting point. This ensures you're sending a strong signal to your recording app without causing it to clip or distort.
And don't forget the obvious: check the volume in the app you're actually recording from! If the YouTube video or game is turned down low, that's exactly how it will sound in your final recording. For a different perspective and more tips, you can also check out this guide on how to record internal audio mac. Sometimes seeing a different walkthrough can help it all click into place.
Tired of juggling virtual devices and complicated settings? Screen Charm bakes system audio, screen, and webcam recording right into one slick macOS app. You can create professional-looking demos and tutorials in a fraction of the time. Start creating with Screen Charm today!