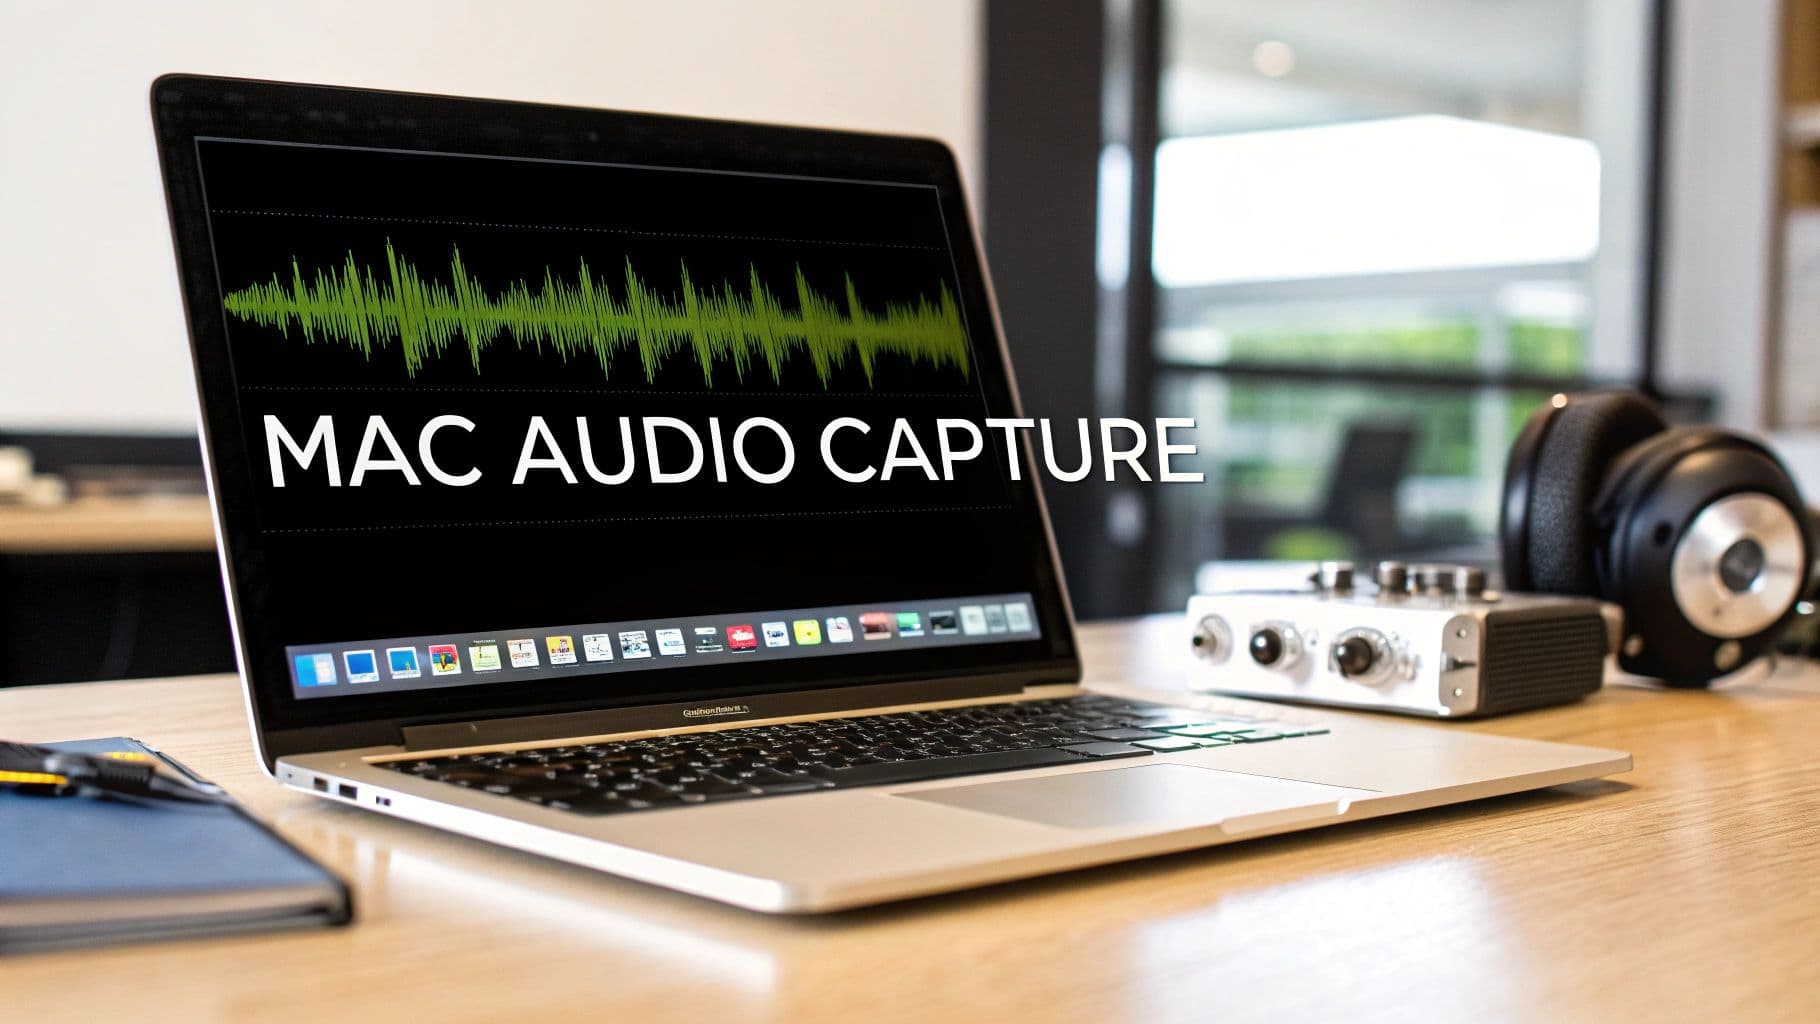
A Guide to the Best Internal Audio Recorder Mac Tools
If you’ve ever tried to record a webinar, a gameplay session, or a quick sound clip from your browser on a Mac, you’ve probably hit the same frustrating wall. You fire up QuickTime, hit "New Screen Recording," and later find out your masterpiece is completely silent.
This isn't a bug. It’s a deliberate security feature baked right into macOS.
Why Is Capturing Internal Audio on a Mac So Hard?
For years, Apple has built macOS with a heavy focus on user privacy. A core part of this is "sandboxing" applications, which basically keeps them in their own little digital playpens, preventing them from snooping on other apps or your system.
This security measure extends to the audio your Mac produces. By default, there’s no built-in "channel" that lets one application listen in on the sound coming from another. This is great for stopping malicious software from secretly recording your video calls, but it's a major headache for legitimate recording needs.
The Problem with Built-In Tools
Apple's own apps, like QuickTime Player and Voice Memos, are only designed to record external audio—that is, sound coming through a microphone. You'll never find a "System Audio" option in their input settings.
This limitation has been a thorn in the side of Mac creators for ages. Ever since QuickTime Player landed with macOS, users have had to MacGyver solutions together. The old way involved installing free, open-source virtual audio drivers like Soundflower (and its modern successor, BlackHole) just to trick the system into routing its own sound back into QuickTime as an input. It worked, but it was often a clunky, unstable process.
The core issue is simple: macOS treats your speaker output as a final destination, not as a source that can be easily looped back into a recording input. To capture it, you have to create a virtual "detour" for the audio signal.
This is exactly why dedicated internal audio recorders for Mac aren't just a luxury; for many of us, they're essential. These tools are built specifically to solve this one, persistent problem.
The Three Main Workarounds
To get around this OS-level roadblock, you have a few paths you can take, each with its own pros and cons. They all essentially fool your Mac into thinking its own audio output is just another microphone.
Here are the main approaches:
- Virtual Audio Drivers: Free, open-source tools like BlackHole create a virtual audio "cable." You set your Mac's sound output to BlackHole, and then set your recording app's input to BlackHole. It’s effective but can feel a bit technical.
- Professional Routing Software: Paid apps like Loopback from Rogue Amoeba offer a powerful, visual way to manage complex audio routing. It's fantastic for podcasters or musicians who need to mix multiple sources, but it might be overkill for simple screen recordings.
- All-in-One Recording Apps: Some screen recorders, like Screen Charm, are built from the ground up to handle this. They come with their own pre-configured audio driver, so you just have to check a box that says "Record System Audio." No fuss, no extra setup.
Understanding this fundamental macOS challenge is the first step. It explains why a seemingly simple task requires a special tool and helps you decide which solution is right for your project.
Built-In macOS Recorders vs Dedicated Tools
So, why not just stick with QuickTime and a virtual driver? For simple tasks, it can work. But if you value your time and need reliability, a dedicated tool is almost always the better choice. Here's a quick breakdown of why.
| Feature | QuickTime / Voice Memos | Dedicated Apps (like Screen Charm) |
|---|---|---|
| Internal Audio | Not supported natively; requires a third-party virtual driver. | Built-in, often with a simple toggle switch. No extra setup needed. |
| Setup Complexity | High. Involves installing and configuring a separate driver. | Low. Everything is integrated into one application. |
| Reliability | Can be buggy; OS updates can break the virtual driver. | High. The app and its audio driver are designed to work together. |
| Recording Flexibility | Basic. Records the entire screen or a selection. | Advanced. Options for app-specific recording, cursors, and resolutions. |
| Export Options | Limited. Exports primarily to .mov files. | Versatile. Often supports MP4, GIF, and other modern formats. |
While Apple’s tools are fine for basic microphone recordings, they just weren't designed for the more complex needs of creators today. Investing in a tool that was purpose-built for the job saves a ton of headaches in the long run.
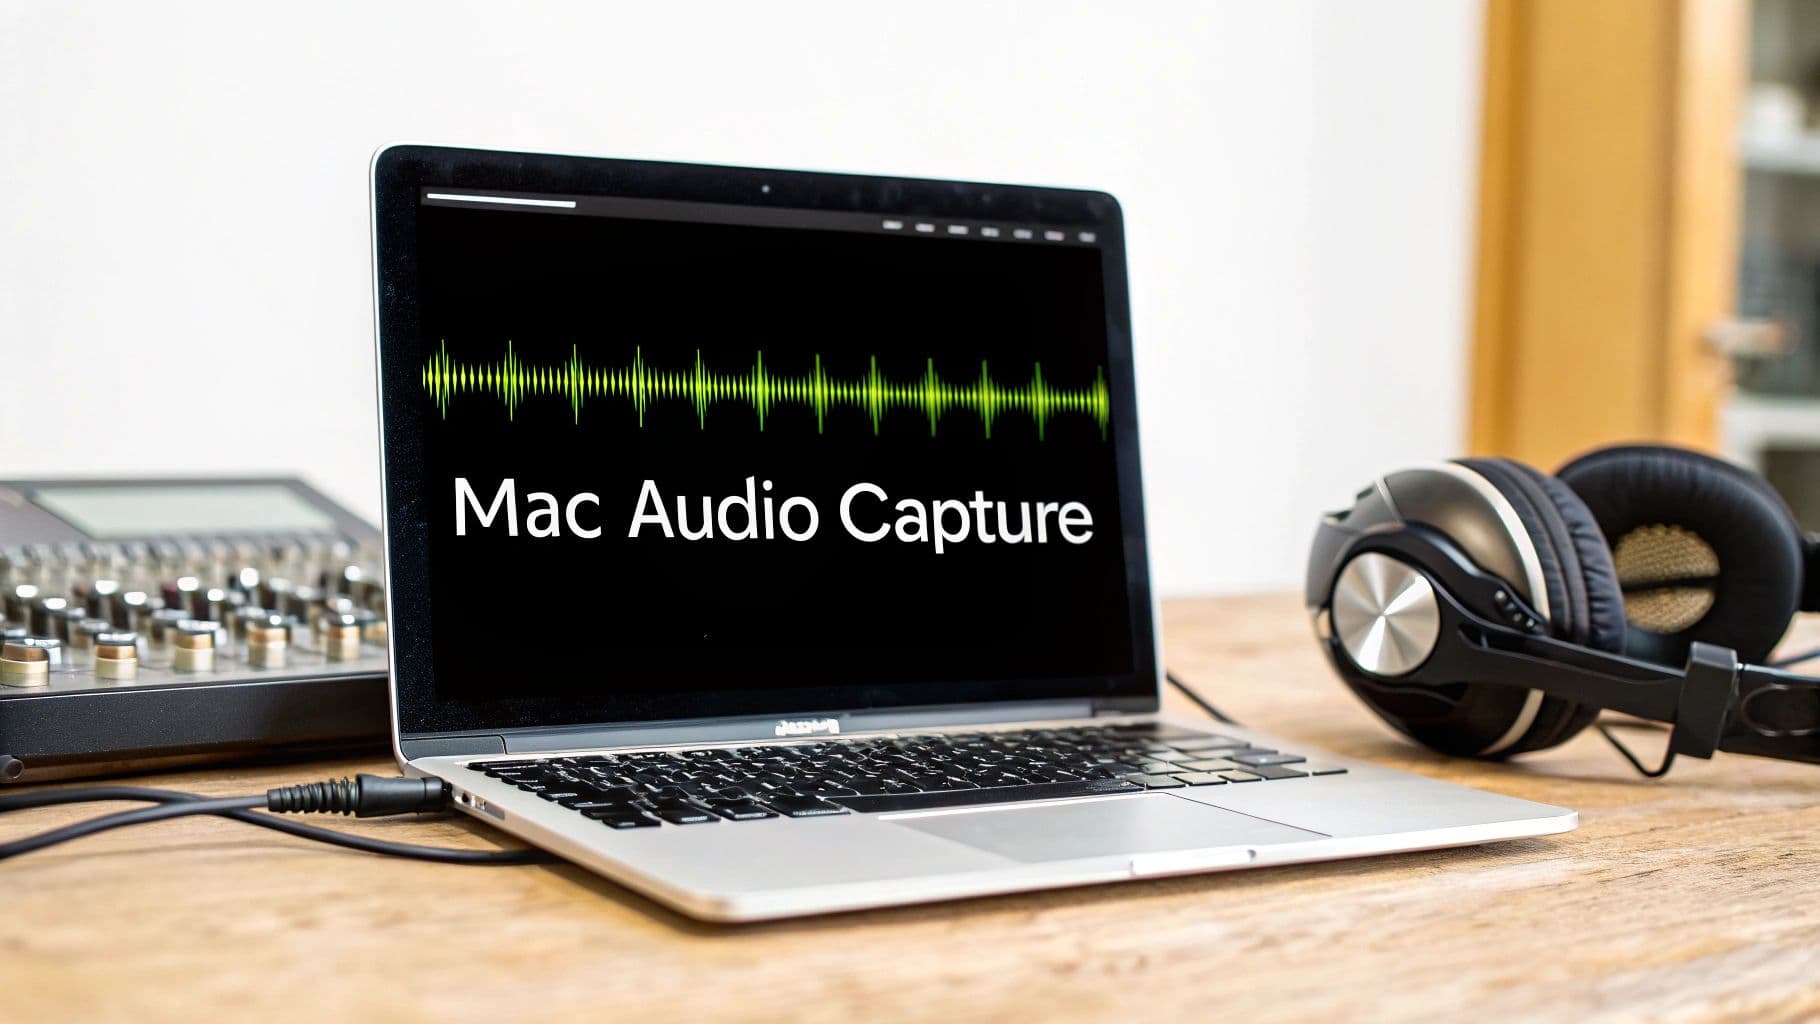
Using Free Virtual Audio Drivers on Your Mac
If you don't mind a little bit of a hands-on setup, free virtual audio drivers are a fantastic way to capture your Mac's internal audio without spending a dime. Think of them as a digital patch cable, letting you route sound from one app's output directly into another's input. The go-to choice for this used to be Soundflower, but its modern, open-source successor, BlackHole, is now the gold standard.
This whole approach is a clever workaround for a long-standing macOS limitation. Apps you already use, like QuickTime Player or Audacity, can't just "listen" to your system's sound. By installing a virtual driver like BlackHole, you essentially create a new "microphone" that your Mac can select—one that pipes in your computer's audio instead of your voice.
So why is this even necessary? Apple, for security and privacy reasons, intentionally separates your Mac's audio output from its microphone inputs. The diagram below shows this roadblock in action.
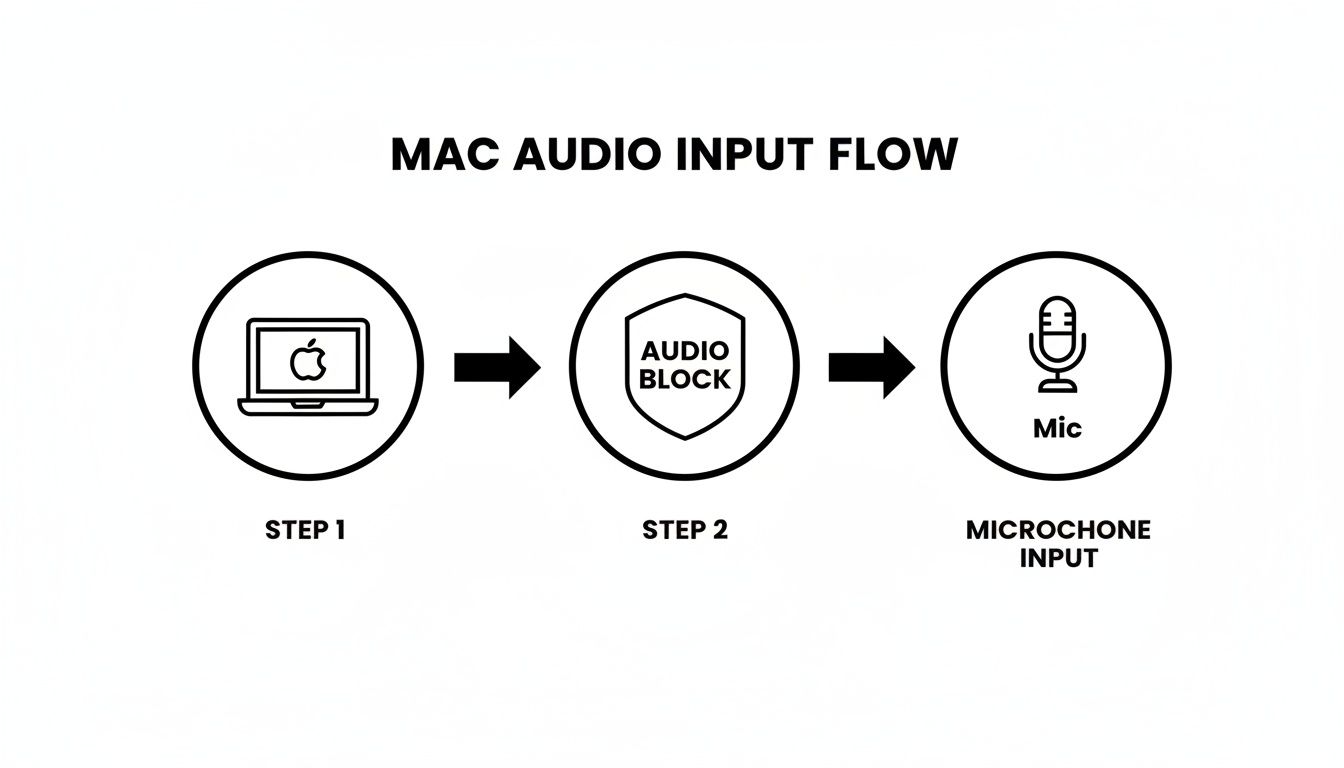
This firewall is precisely what tools like BlackHole are designed to get around.
Getting BlackHole Installed and Configured
Setting up BlackHole is pretty straightforward, but you need to pay attention to the details. First, head over to the official developer, Existential Audio, to download the installer. It’s really important to get it from the source to avoid any sketchy, malware-ridden copies floating around.
Run the installer package once it's downloaded. You’ll probably be asked for your administrator password and need to grant some security permissions in your System Settings. Don't worry, this is standard procedure for any software that needs to hook into your Mac's core audio functions.
After the installation finishes, you won't see a new icon in your Dock. That's because BlackHole isn't a typical app; it's a background driver. You’ll do all the configuration in a native macOS tool called Audio MIDI Setup, which is tucked away in your Applications > Utilities folder.
The Key Step: Creating a Multi-Output Device
This is where the magic happens. If you just set your Mac's sound output directly to BlackHole, your recording software will capture the audio perfectly, but you won't hear a thing. Silent recording isn't very practical.
The fix is to create a Multi-Output Device inside Audio MIDI Setup. This clever trick tells your Mac to send its audio to two places at the same time:
- Your speakers or headphones, so you can hear what's happening.
- BlackHole, so your software can record it.
Open Audio MIDI Setup, click the small "+" icon in the bottom-left corner, and choose "Create Multi-Output Device." A new window will appear. Here, you need to check the boxes for both your primary audio output (like "MacBook Pro Speakers" or your headphones) and "BlackHole." This is the secret to a functional internal audio recorder mac setup.
Pro Tip: A common pitfall is forgetting to actually use this new device. After creating it, you must go to System Settings > Sound and, under the "Output" tab, select your new Multi-Output Device. Now, all system audio will be sent to both your speakers and BlackHole simultaneously.
Real-World Example: Grabbing a Sound Bite
Let's say you're a musician and you find an amazing, unique sound effect in a YouTube video that you want to sample. You've already installed BlackHole and set up your Multi-Output Device.
Now, just open your favorite recording app—we'll use QuickTime Player for this example.
- Start a new "Audio Recording" (File > New Audio Recording).
- Next to the red record button, click the small dropdown arrow.
- Instead of your "Built-in Microphone," you'll now see BlackHole in the list. Select it.
Hit record in QuickTime, then switch over and play the YouTube video. You'll hear the sound effect through your speakers just like normal, but in the background, QuickTime is capturing a perfect digital copy. When you're done, stop the recording, and you have a high-quality audio file ready for your music project.
Troubleshooting Common Hiccups
While this method is powerful, it can have a few quirks. A frequent problem is a sample rate mismatch. If your recordings sound distorted, sped up, or slowed down, it's time to check your settings in Audio MIDI Setup.
Make sure your primary output device, BlackHole, and your recording application are all set to the same sample rate (e.g., 48.0 kHz). Consistency across the board is crucial for clean audio. And while you're optimizing your setup, you can use our free screen resolution calculator to ensure your video quality is just as sharp.
It's strange to think that this internal recording gap has existed since the earliest days of macOS. Even as the Digital Audio Workstation (DAW) market explodes on macOS—projected to grow from USD 4.01 billion in 2026 to USD 6.19 billion by 2031—this basic functionality is still missing. Apple’s own native tools, like GarageBand, can't do it without these workarounds. Paid solutions can cost $99+ a year, which is a big ask when 84.40% of creators rely on software for their work.
Professional Tools for Seamless Audio Routing
While free virtual drivers like BlackHole are fantastic, the manual setup can feel a bit like tinkering under the hood. For projects that demand absolute stability and a user-friendly experience, sometimes it makes sense to invest in a professional tool. These premium apps are built from the ground up to solve macOS's audio routing problem elegantly and reliably, making them a worthwhile investment for serious creators.
For anyone who relies on audio—podcasters, streamers, video editors—a glitch isn't just a minor hiccup; it can derail a whole recording session. This is exactly where a dedicated internal audio recorder for Mac, like Loopback by Rogue Amoeba, really proves its worth. It completely replaces the complex, text-based menus of Audio MIDI Setup with a simple, visual, drag-and-drop interface.

The Power of Visual Audio Routing
Think of your Mac's audio sources—your mic, Safari, Spotify—as individual building blocks. Loopback lets you visually wire them together. You can grab the sound from a YouTube video in Safari, mix it with your microphone's input, and send the combined signal straight into a recording app like Logic Pro or Audacity. It’s all done right there in one window.
This visual approach brings some major advantages over the free options:
- App-Specific Capture: Instead of grabbing all system audio, you can pinpoint specific applications. This means you can record a Zoom call without capturing all your Slack notification dings in the background.
- Intuitive Mixing: Combining sources is incredibly easy. Just drag in your mic, a music app, and a browser window to create a single, unified virtual input device that your streaming software can use.
- Rock-Solid Stability: Paid tools have dedicated teams behind them. This means they're constantly updated for the latest macOS versions, so you won't have to cross your fingers and hope a system update doesn't break your entire recording workflow.
When Does a Paid Tool Make Sense?
Let's be clear: not everyone needs to spend money on an app like Loopback or Audio Hijack. But in high-stakes situations where your time is valuable and quality is everything, the benefits quickly become obvious.
Think about these real-world scenarios on your Mac:
- Podcasting: You need to record your voice, your co-host on Skype, and your theme music from Apple Music. With Loopback, you create a virtual device called "Podcast Mix" that combines all three, giving you a perfectly blended track right from the start.
- Live Streaming: You're a gamer using OBS Studio and want to broadcast your game audio, background music from Spotify, and sound alerts from your browser. A professional tool lets you mix and manage the volume of each source before it even gets to OBS.
- Music Production: You've found a cool web-based synthesizer and want to sample its sounds. You can route that browser's audio directly into your Digital Audio Workstation (DAW) as if it were a hardware synth plugged into your interface.
The key takeaway here is control. Free drivers get the basic job done, but professional tools give you fine-grained control over what audio gets captured and where it goes, all through an interface that makes it feel effortless. This level of precision is often what separates an amateur recording from a professional production.
The Hidden Costs of "Free"
While the allure of "free" is strong, it's worth considering the hidden costs. The hours you spend troubleshooting why BlackHole suddenly stopped working after a macOS update are hours you could have spent creating. A $50-$100 investment in a solid, supported tool can genuinely save you from a world of frustration.
It's also worth noting a small technical point. The underlying macOS audio API that these tools use might not be perfectly lossless. For 99.9% of us, the audio quality is pristine and indistinguishable from the original. However, audio purists might argue that rerouting audio multiple times can introduce tiny artifacts. Paid tools often provide more direct, stable pathways, which helps minimize any potential for quality loss.
Ultimately, the choice is yours. If you just need to capture a quick clip every now and then, a free driver is more than enough. But if clean, reliable audio is essential for your work or passion projects, a professional-grade internal audio recorder for Mac is one of the smartest investments you can add to your toolkit.
The All-In-One Approach with Screen Charm
The methods we've covered—from free virtual drivers to pro-level routing software—are all clever workarounds for a frustrating macOS limitation. Let's be honest, though: they all force you to become a temporary audio engineer. You're suddenly managing drivers, creating aggregate devices, and hoping nothing breaks.
But what if you could just skip all that? This is where a truly integrated internal audio recorder for Mac completely changes the game.
For most people, the goal isn't to master the arcane arts of audio routing; it's to create a great tutorial or product demo as quickly and painlessly as possible. This is the whole idea behind tools like Screen Charm. They're built from the ground up to solve the internal audio problem natively, without you ever having to think about it.
Bypassing the Technical Hurdles
Instead of sending you off to download a separate audio driver or wade into the complex Audio MIDI Setup utility, an all-in-one recorder bundles its own pre-configured driver right inside the app. The result is a workflow that’s refreshingly simple. You no longer have to build a "Multi-Output Device" or cross your fingers that your sample rates are matched.
The experience is exactly what you'd expect from a great Mac app: it just works. You open the recorder, get your content ready, and look for a single checkbox—usually labeled 'Record System Audio'. Ticking that box is literally the only setup you need to do.
This one-click approach is a lifesaver for busy professionals who don't have time for technical troubleshooting.
- Educators creating tutorials can finally focus on their lesson, not on whether their audio is correctly piped through BlackHole.
- Marketers producing product demos are on tight deadlines and can’t afford to spend an hour figuring out why a driver broke after the latest macOS update.
- Software developers showcasing a new feature need a rock-solid way to capture both on-screen action and in-app sounds without a complicated pre-flight checklist.
By handling all the technical complexity in the background, these applications let you concentrate on what actually matters: your content.
The real value of an all-in-one recorder isn't just that it captures system audio; it's that it makes the process invisible. It removes a major point of friction, saving you time and mental energy on every single recording.
More Than Just an Audio Solution
A truly integrated tool gets that recording is just one step in a much bigger process. Nailing the audio is critical, but you still have to produce a polished video. That's why solutions like Screen Charm are built as a complete content creation toolkit.
Beyond just capturing your screen and sound, these apps often pack in features designed to help you create engaging, professional-looking videos right out of the box.
- Cursor Highlighting and Effects: Automatically draws the viewer's eye to what you're doing, making tutorials and demos much easier to follow.
- Dynamic Zoom: Intelligently zooms in on your cursor or active window, adding a polished, professional touch that would otherwise take hours to create in a video editor.
- Integrated Video Editor: Lets you quickly trim mistakes, fine-tune the zoom effects, and export your final video without ever having to switch apps.
When these features are combined with a dead-simple internal audio recorder, your entire workflow becomes dramatically more efficient. You can go from an idea to a finished, high-quality video using just one piece of software.
This integrated approach is more important than ever. The explosion of home studios has put a spotlight on the shortcomings of Apple's native tools. The global Digital Audio Workstation (DAW) market hit USD 3.46 billion in 2024 and is projected to reach USD 7 billion by 2033. While macOS is a favorite for audio stability, built-in apps like Voice Memos still only capture your external mic. This forces creators into clunky workarounds that 59.10% of music producers avoid due to latency issues.
For software developers and educators, Screen Charm’s one-click internal audio recording, paired with cursor tracking, can slash demo creation time from days to just hours.
Comparing Mac Internal Audio Recording Methods
So, which method is right for you? It really depends on your needs, budget, and how much you enjoy tinkering with settings. This head-to-head comparison should help you choose the best tool for the job.
| Method | Ease of Use | Cost | Reliability | Best For |
|---|---|---|---|---|
| QuickTime + BlackHole | Technical | Free | Moderate | Occasional, simple recordings on a tight budget. |
| Loopback | Intuitive | Paid | High | Podcasters & audio pros needing complex routing. |
| Screen Charm | Effortless | Paid | High | Creators needing a fast, integrated video workflow. |
While free drivers are great for a one-off task and professional routing tools offer unparalleled audio control, an all-in-one recorder hits the sweet spot for most video creators. It gives you the rock-solid audio capture of a premium tool with a workflow that’s even simpler than the free options. If you're looking for an integrated solution that ties screen and audio capture together, exploring tools like Screensnap Pro could provide the comprehensive functionality you need.
Ultimately, this all-in-one approach is about pure efficiency. By bundling a screen recorder, a reliable internal audio recorder for Mac, and an editor into a single package, you stop juggling multiple apps and complex setups. This frees you up to spend less time fighting with technology and more time creating great content.
To see how this streamlined process works in action, check out Screen Charm: https://screencharm.com/
Troubleshooting Common macOS Audio Recording Issues
Trying to get your Mac to record its own internal audio can sometimes feel like solving a riddle. You follow all the steps, hit record, and then... silence. Or worse, a horrible screeching echo. It's frustrating, but the good news is that most of these problems have straightforward fixes once you know what to look for.
Let's walk through some of the most common snags you might hit and how to get past them.
Diagnosing the "No Sound" Problem
This is the big one. You've just recorded a brilliant tutorial or captured a key moment in a video call, but the playback is completely silent. Nine times out of ten, this comes down to a simple mix-up in your audio routing.
The first place to check is your recording software. Did you actually select your virtual audio driver—like BlackHole or Loopback—as the microphone or input source? It’s a super common oversight, especially when you're rushing to get started.
Another likely culprit is your Mac’s main sound output. For a tool like BlackHole to work, you have to tell macOS to send all system sounds to the "Multi-Output Device" you built in the Audio MIDI Setup utility. If it's still set to your internal speakers or AirPods, the audio never makes it to the virtual driver to be recorded.
If you're still stuck, our dedicated guide on what to do when there is no sound on screen recording dives even deeper.
Think of a virtual driver as a bridge. For audio to cross it, you need an "on-ramp" (your system output) and an "off-ramp" (your recording app's input). If either one isn't connected to the bridge in your settings, the audio has nowhere to go.
Dealing with Echoes and Feedback Loops
That jarring echo or high-pitched squeal is a classic feedback loop. This almost always happens when you’re recording system audio while your microphone is also listening to the sound coming out of your Mac's speakers.
Your mic picks up the speaker audio, feeds it back into the system, which then plays it out of the speakers again, and the loop just gets louder and louder. It's a simple physics problem with a few simple solutions.
- Use Headphones: This is the easiest fix by a mile. It completely isolates the speaker output from your microphone's input. Problem solved.
- Mute Your Mic: If you don't need to add your own commentary, just disable the microphone input in your screen recorder or system settings.
- Lower Speaker Volume: If you're in a bind without headphones, sometimes just turning the speaker volume way down can be enough to break the feedback cycle. It's not the most reliable method, though.
Solving Audio and Video Sync Drift
Ever recorded a long session only to find the audio slowly drifts out of sync with the video? It's maddening. This issue, called "sync drift," is usually caused by a sample rate mismatch between your audio devices.
For instance, your virtual driver might be operating at 44.1 kHz, but your recording app is expecting 48 kHz. Over the course of a long recording, that tiny difference adds up, causing the audio to lag or lead the video.
The fix is to dive back into the Audio MIDI Setup app. You need to make sure every single device in your recording chain—the virtual driver, your microphone, and the output device—is set to the exact same sample rate. Consistency is key.
Even with perfect sync, background hiss or room noise can sneak into your recordings. Learning techniques for removing background noise from audio can really elevate the final quality.
These troubleshooting hurdles are a big reason why manual setups can be so tricky. There are just a lot of moving parts to keep track of. More integrated tools often handle all this routing and configuration for you, which lets you spend more time creating and less time debugging.
Got Questions About Mac Audio Recording? We’ve Got Answers
Even with the best tools, you might run into a few tricky questions when you start recording your Mac's internal audio. Let's tackle some of the most common ones that pop up.
How Can I Record My Mac’s Audio and My Microphone at the Same Time?
Absolutely. This is probably the most frequent request for anyone making tutorials, narrating a presentation, or recording gameplay. How you pull it off just depends on the tool you're using.
-
Using a free driver like BlackHole? You'll need to get your hands a little dirty in the Audio MIDI Setup utility. The trick is to create a special "Aggregate Device" that bundles your microphone and BlackHole into one virtual input. Then, you just select that new device in your screen recorder.
-
Using a pro tool like Loopback? This is where paid software really shines. Loopback gives you a visual drag-and-drop interface. You literally just drag your mic and the system audio source onto a canvas to combine them—no complex setup needed.
-
Using an all-in-one app? A recorder like Screen Charm makes this a piece of cake. Before you hit record, you’ll see separate checkboxes for 'System Audio' and your microphone. Just tick both, and you’re good to go.
Is It Actually Legal to Record Audio from Any App on My Mac?
This is a big one, and the answer is: it depends. The technology lets you record almost anything, but the legality comes down to copyright and how you plan to use the recording.
There’s a world of difference between personal use and redistribution.
For instance, recording a team meeting or a webinar so you can review your notes later is almost always fine. But capturing a song from a streaming service to use in your own video or to share with others? That's a clear violation of copyright and against the law.
Rule of Thumb: If you didn't create it, you probably don't have the right to share it. Always check the terms of service of any application and respect copyright.
Will a Virtual Audio Driver Slow Down My Mac?
For most people, the answer is a resounding no. Modern drivers like BlackHole or Soundflower are incredibly lightweight and efficient. You’d be hard-pressed to notice any performance dip during a standard screen recording session.
The only time you might see a hit is if you're building extremely complicated audio setups with dozens of channels and effects inside the Audio MIDI Setup utility. That kind of routing can start to tax your CPU.
This is another area where integrated apps have an edge. Since the audio capture is built directly into the recording software, the whole process is optimized for stability and performance, which can be a lifesaver, especially on older Macs.
Ready to skip the complex setups and start creating polished videos with perfect audio in minutes? Screen Charm offers a one-click solution for recording your Mac's screen and system sound, complete with a built-in editor and dynamic zoom features. Get your copy today at https://screencharm.com.