How to Create Viral Videos on Your Mac
It’s easy to think that viral videos are just a fluke—a random bit of content that catches lightning in a bottle. But that’s rarely the case. The truth is, most viral content is engineered. It’s a calculated mix of emotional triggers, a killer hook, and a story that people feel an immediate urge to share.
What Really Makes a Video Go Viral?
The secret sauce for viral content isn't a Hollywood-level budget or some arcane algorithm. It's all about human psychology. A video takes off when it hits a nerve and sparks an intense emotional reaction, making the viewer feel like they have to share it. So, you should worry less about perfect lighting and more about the emotional punch.
When a video racks up millions of views, it’s almost always because it managed to trigger one of a few powerful, core emotions. These are the feelings that break through the noise and make someone stop scrolling.
Tapping Into Core Emotional Triggers
The most shareable content makes people feel something. Your job is to bake one of these reactions right into your video, even if you think you're just showing off a feature in your macOS app.
- Awe and Surprise: This is the "no way!" moment. Think about a mind-blowing macOS shortcut that shaves hours off a task or a visual effect that looks like magic. It makes people feel like they’ve just stumbled upon a secret.
- Humor: Nothing connects people faster than a shared laugh. A goofy bug, a witty take on a common user frustration on a Mac, or just a clever script can make a technical demo surprisingly shareable.
- Relatability: When viewers think, "I've been there," you've created an instant connection. Showcasing a universally annoying problem that your macOS app elegantly solves is a perfect way to do this.
- Inspiration: Heartwarming or motivational videos have a knack for spreading like wildfire. A powerful success story from one of your macOS app users can easily tap into this emotion.
If you want to dig deeper into the mechanics of this, there's a fantastic proven strategy guide for creating viral videos that lays out even more expert tips for creators.
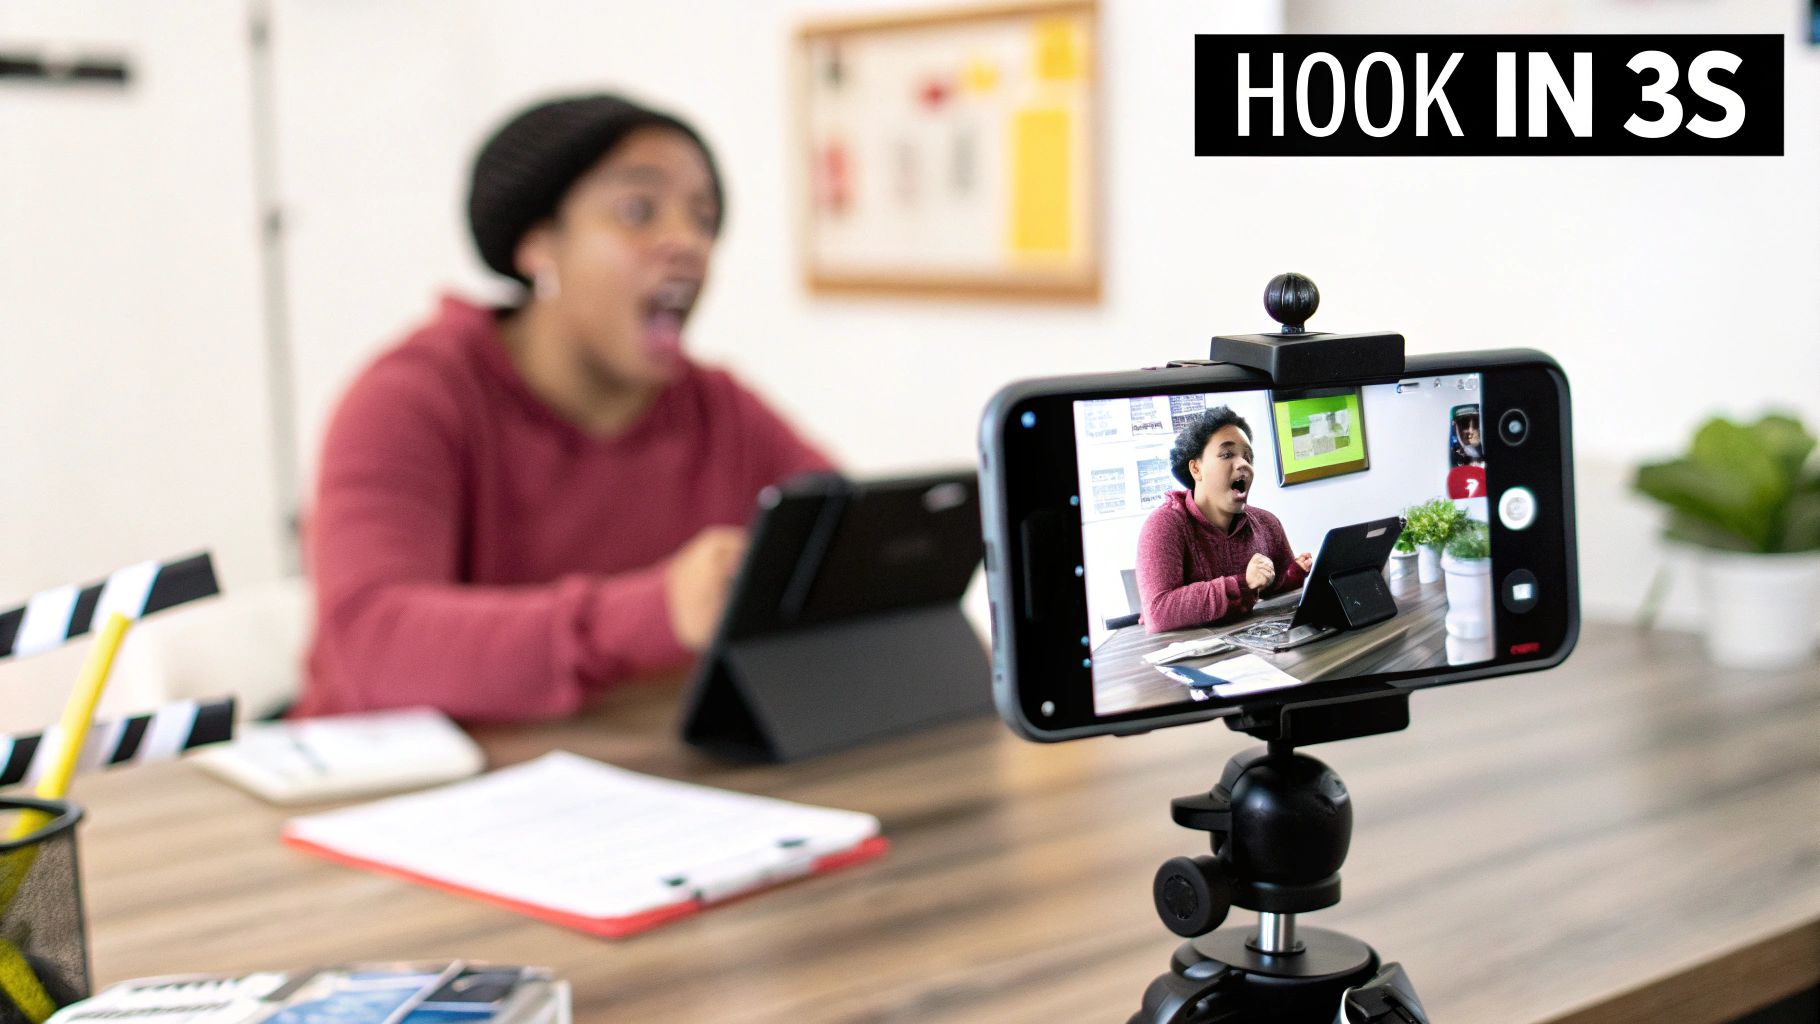
Why the First Three Seconds Are Everything
We live in an infinite-scroll world. You don’t have 30 seconds to make your case; you have about three. This is what’s known as story velocity—how fast your video gets to the good stuff. Your opening needs to be a hook that punches through the noise by immediately presenting a problem, asking a compelling question, or showing a shocking result.
So, instead of a slow intro like, "Hi everyone, today I'm going to show you how to use this feature," jump right in. Show the chaotic macOS desktop or the clunky workflow before you introduce the solution. This instantly frames your video as the answer to a pain they already feel.
The core principle is simple: Viral content doesn’t just get viewed; it gets shared. It fails when it’s not designed for sharing from the very beginning. Your job is to create an asset that people want to pass along.
This shift in thinking is game-changing. You're not just making a video; you're creating a shareable experience. Even a "boring" macOS software demo can become an unforgettable story when you wrap it in the right emotional framework. For more on keeping people glued to the screen, check out our guide on effective audience engagement strategies.
Scripting Your Video for Maximum Shareability
Every video that goes viral starts long before anyone hits "record." It begins with a killer idea and a script that’s meticulously engineered to be shared. You can forget about complicated stories or long-winded explanations. Your only job is to stop the scroll, and to do that, your script needs to be lean, purposeful, and hit the right emotional notes.
The secret to a shareable script is solving a real, nagging problem for your macOS audience. If you're a macOS developer, this means you’re not just showing off an app; you’re presenting the definitive answer to a common frustration. A well-written script can transform a simple demo into an absolute must-have solution.
Crafting an Irresistible Hook
You have just a few seconds to earn a viewer's attention. That makes your opening line—the hook—the single most important part of your script. It has to signal immediate value and spark curiosity, or your video will get swiped away into the digital ether.
A classic, battle-tested approach for this is the Problem-Agitate-Solve (PAS) framework. It's a simple but brutally effective way to frame the first few moments of your script, and it works exceptionally well for product demos on macOS.
- Problem: Kick things off by showing the pain point. Don't just tell them; show them. Maybe it's a shot of an absurdly cluttered macOS menu bar or a chaotic mess of project files scattered across a desktop.
- Agitate: Pour a little salt in the wound. Briefly touch on the wasted time, the lost focus, or the mental drag this problem creates on your Mac day in and day out.
- Solve: This is your moment. Introduce your macOS app as the clean, elegant solution they've been waiting for. Show it instantly tidying the menu bar or organizing those files with a satisfying click.
This three-act opener builds an instant connection because it validates the viewer's own frustrations. You’re not just listing features; you’re showing them a better way to live and work on their Mac.
A script isn't just about what you say; it's about what you show. The best scripts are visual blueprints that align every word with a specific on-screen action, creating a seamless and compelling story.
Mapping out these visual cues is where the magic happens. A tool like Screen Charm is perfect for this. For instance, as you describe the "Problem," you can plan a tight auto-zoom right onto the confusing UI on your Mac, making the viewer feel the clutter before you solve it.
Structuring Your Narrative for Short-Form Video
The world of viral video belongs to short, punchy content. Think about creating a product demo that could take off on YouTube Shorts, a platform racking up over 70 billion daily views. Brevity is everything. Marketers have found that 71% of videos between 30 seconds and 2 minutes perform best, while 63% of consumers prefer short-form video to get the lowdown on a product.
This isn't a suggestion; it's a mandate. You have to distill complex macOS app demos into snappy, valuable tutorials. With tutorials being one of the top video genres globally, this format is your express lane to getting noticed. You can learn more about how video marketing statistics can shape your content strategy.
To make your script work for these platforms, you need to think in "micro-moments." Every single scene, every line of dialogue, must deliver a clear, self-contained piece of value. There is zero room for fluff.
Here’s a quick template to get you on the right track:
- The Hook (1-3 Seconds): Show the problem immediately. Visually. (e.g., "Is your Mac's desktop a total disaster?")
- The Agitation (3-5 Seconds): Briefly twist the knife. (e.g., "Good luck finding that file you need.")
- The "Aha!" Moment (5-10 Seconds): Reveal your solution and its biggest benefit. (e.g., "Here’s how to organize it with one click on your Mac.")
- The Quick Demo (10-20 Seconds): Show it working—fast, clean, and satisfying. Use zooms and highlights to direct their eyes.
- The Call to Action (1-3 Seconds): Tell them exactly what to do next. (e.g., "Download it free and get your Mac organized.")
This tight structure forces every second to count, keeping the energy high and holding the viewer's attention right to the very end. The best scripts feel less like a stuffy presentation and more like a friend letting you in on a game-changing Mac secret.
Recording Professional Videos on Your Mac
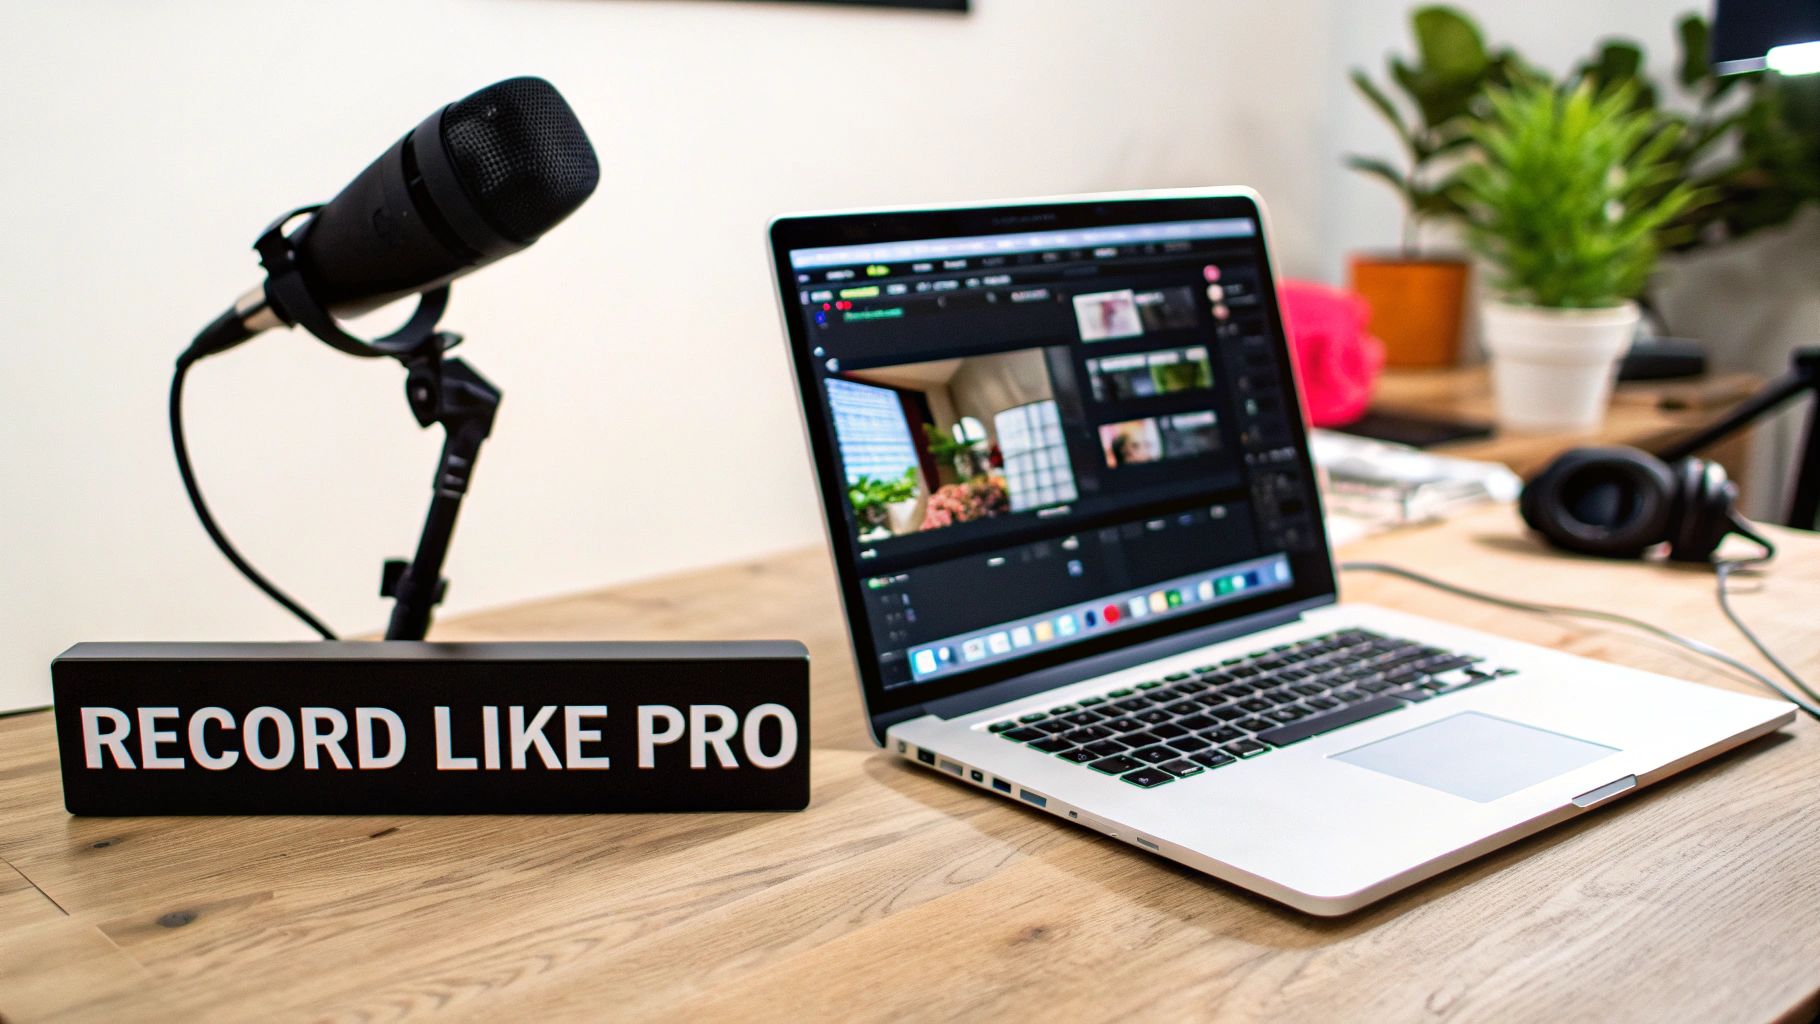
Let's get one thing straight: you don't need a Hollywood-grade studio to create a video that people can't stop watching. For those of us on macOS, our desk can become the entire production house. The secret isn't spending thousands on gear; it's mastering the fundamentals of clean visuals, crisp audio, and a dynamic presentation.
Honestly, your Mac's built-in FaceTime camera and a decent external mic are more than enough to get started. The magic isn't in the equipment, but in how you use it to create an experience that feels professional and genuinely engaging for your audience.
Mastering the Basics for a Polished Look
Before you hit that record button, take a minute to set your stage. These small, simple tweaks are what separate amateur content from videos that look credible and polished right from the start.
- Lighting is Everything: Seriously. You don’t need expensive studio lights. Just turn your desk to face a window. That soft, natural light on your face is the single biggest improvement you can make to your video quality, and it costs nothing.
- Audio Can't Be an Afterthought: People will forgive so-so video quality, but they'll click away instantly if the audio is terrible. A simple USB microphone is a small investment that pays off big time in clarity and professionalism.
- Declutter Your Space (Digital and Physical): A chaotic desktop or a messy room behind you is distracting. It pulls focus away from what you're trying to say. Use macOS's Stacks to tidy up your digital workspace and find a clean, simple background for your webcam shot.
You’re not just recording your Mac's screen; you’re guiding a viewer’s attention. Every element, from your cursor’s movement to your voiceover's energy, contributes to the story you’re telling. A clean setup ensures that story is clear and compelling.
Creating Dynamic Screen Recordings with Screen Charm
Let's be real—static, boring screen recordings are a surefire way to lose your audience. To create a video that feels alive and holds attention, you have to direct the viewer’s eye exactly where you want it to go. This is where a macOS-native tool like Screen Charm gives you an almost unfair advantage.
Its signature feature is an auto-zoom that intelligently follows your cursor, smoothly panning and zooming in on UI elements as you click around your Mac. This isn't just a gimmick; it's a powerful storytelling tool. It mimics how our eyes naturally focus, creating an incredibly intuitive and smooth viewing experience. For a macOS software tutorial, this is a total game-changer.
Instead of your viewer squinting to see a tiny button, Screen Charm makes that interaction the center of the universe for a moment, then seamlessly pulls back. This constant, subtle motion keeps the energy high and makes your key actions on macOS impossible to miss.
Screen Charm is packed with features designed not just for recording, but for creating content that’s inherently more shareable. Here’s a quick look at how some of its tools can directly boost your video's viral potential.
Key Screen Charm Features for Viral Potential
| Feature | Viral Application | Pro Tip |
|---|---|---|
| Auto Zoom & Pan | Keeps the viewer's eye focused on the action on your Mac, making complex steps easy to follow and maintaining high energy. | Don't move your cursor too erratically. Guide the zoom with smooth, deliberate movements for a more cinematic feel. |
| Circular Webcam Overlay | Adds a personal, human touch. Viewers connect with a face, making the content feel more like a personal recommendation. | Position your webcam in a corner where it won't obscure critical macOS UI elements. Use a custom background to look professional. |
| Custom Branded Backgrounds | Reinforces your brand identity consistently in every video, making your content instantly recognizable. | Create a simple background with your logo and brand colors. Keep it subtle so it doesn't distract from your face. |
| Automatic Captions | Makes your video accessible and watchable with the sound off (crucial for social media feeds). | After generating captions, do a quick proofread to catch any small errors in macOS jargon or names for a fully polished look. |
Ultimately, these features work together to create a more engaging, polished, and professional-looking final product without a steep learning curve.
Adding Your Personal and Branded Touch
A faceless screen recording can feel cold and impersonal. Putting yourself on camera, even in a small circle, builds a much stronger connection with your audience.
The picture-in-picture webcam view is one of the most effective ways to do this. It transforms a macOS tutorial into something that feels more like a one-on-one coaching session. Viewers can see your expressions and reactions, which makes the content far more engaging and trustworthy.
Pairing this with a custom branded background for your webcam takes it a step further. It eliminates any real-world clutter and reinforces your brand. With Screen Charm, you can easily upload your own background to give every video a consistent, professional look that helps you stand out. If you want a deeper dive, we have a whole guide on how to record both audio and video on a Mac.
Recording an Energetic Voiceover
Your voice is the engine that drives your video’s pace and mood. A flat, hesitant voiceover will send your audience straight to sleep, no matter how cool your on-screen Mac visuals are. Your goal is to sound clear, confident, and energetic.
Before you start, warm up your voice and read through your script a couple of times. Try standing up when you record—it opens your diaphragm and naturally injects more energy into your delivery. Speak just a little bit faster than you normally would in conversation, and don't be afraid to smile while you talk. People can actually hear it in your tone.
Remember, you aren't just reading a script; you're performing it. That energy is contagious and will keep your viewers hooked.
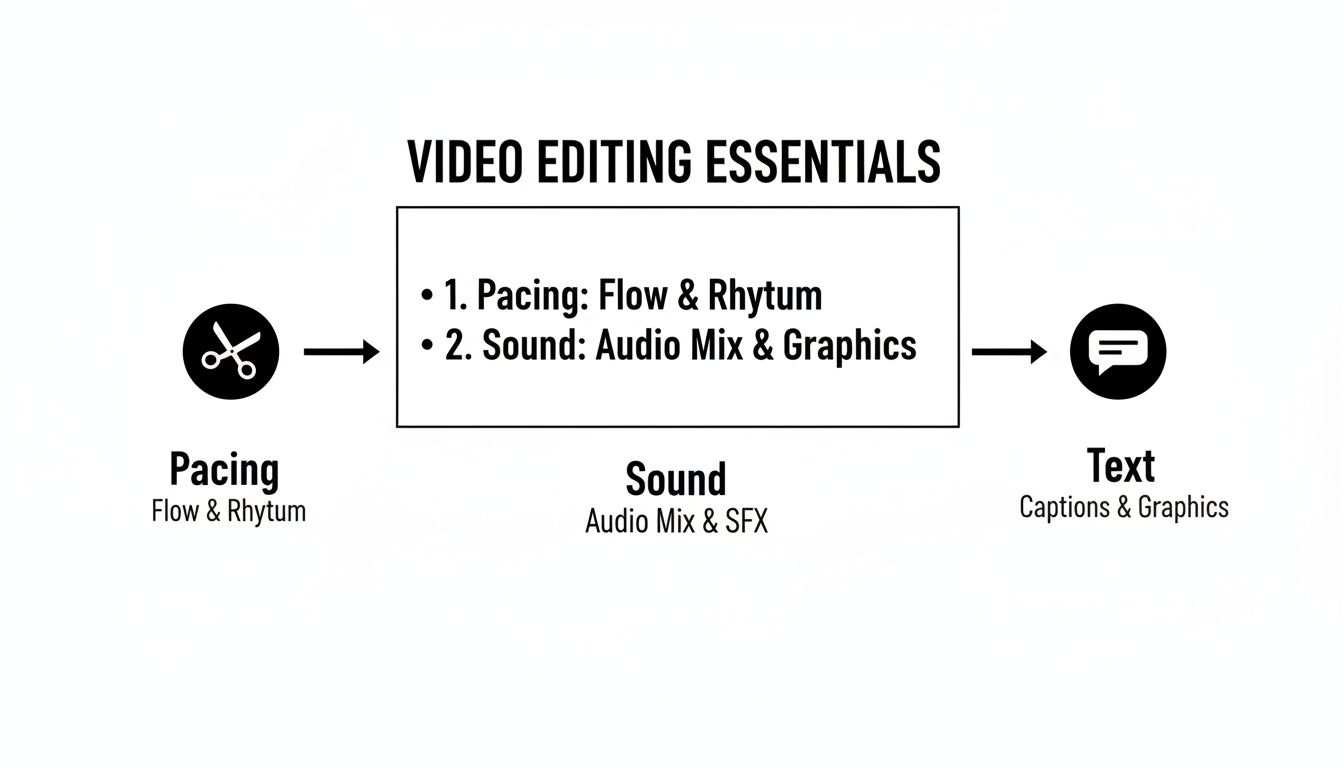
Editing Techniques That Keep Viewers Watching
You’ve captured the footage—that’s the raw clay. Now comes the real magic: the edit. This is where you shape that raw material into something people can't stop watching, injecting energy and sculpting an experience that’s genuinely addictive.
The goal isn't just to make it look pretty. A great edit is about one thing: holding attention. And a tight, dynamic edit is your single best tool for keeping people locked in until the very end.
The Art of Ruthless Pacing
Viral videos don't meander. They move. There’s absolutely no room for awkward pauses, filler "ums" and "ahs," or any moment that isn't actively pushing the story forward. Your first job as an editor is to be ruthless.
Cut everything that isn't essential.
Think of it this way: every dead second is an invitation for the viewer to scroll away. Your mission is to close that exit door. Trim the silence at the beginning and end of your clips, slice out the breaths between sentences, and chop out any part where you repeat yourself. The final video should feel energetic, confident, and jam-packed with value.
Amplifying Your Message with Sound
Sound is the secret weapon of great video. While your visuals grab the initial attention, the audio is what controls the mood and makes the whole thing feel alive. Used strategically, it can turn a basic Mac screen recording into an experience that feels almost tactile.
- Subtle Background Music: A low-volume music track can completely change the vibe. Find something with a gentle, consistent rhythm that adds energy without distracting from your voice. A simple upbeat track can make even a dry macOS tutorial feel more exciting and polished.
- Emphasizing Actions with Sound Effects: Never underestimate the power of a well-placed "swoosh" or "click." Adding small sound effects when you click a button or reveal a new element provides powerful audio feedback. It makes the on-screen actions feel more tangible and satisfying for the viewer.
Sound design isn't just an afterthought; it's a critical layer of your storytelling. It guides the viewer's emotions and makes key moments stick, turning passive viewing into an active experience.
Mastering On-Screen Text and Captions
Here’s a hard truth: a huge number of people watch videos on their feeds with the sound off. If your video is all talk, you're immediately losing a massive chunk of your audience. This makes on-screen text and captions non-negotiable.
On-screen titles and text callouts are perfect for hammering home your main points. Use them to introduce a new step, highlight a keyboard shortcut on your Mac, or spell out a key benefit. This visual reinforcement helps viewers follow along, whether their sound is on or not.
Captions, on the other hand, are your key to accessibility and silent viewing. Tools like Screen Charm can automatically generate them for you, which is a massive time-saver. All you need to do is a quick review for accuracy, and suddenly your video is ready for everyone, everywhere.
Simplifying the Edit with Screen Charm
The idea of editing can feel intimidating, especially on a Mac where apps like Final Cut Pro exist. But that level of power often comes with a steep learning curve that's total overkill for creating a sharp macOS tutorial or product demo.
This is where an all-in-one tool really shines. With Screen Charm, the entire edit happens inside the same app you used to record. You can easily trim your clips to tighten the pacing, fine-tune the automatic zoom and pan effects to highlight macOS UI elements perfectly, and adjust your webcam overlay without ever leaving the app.
Being able to perform these crucial edits in a simple, intuitive space means you can focus on what matters—the pacing and the story—instead of fighting with the software. For a closer look at a more straightforward workflow, check out our guide on simple video editing for Mac. The real goal is to get from recording to a polished, shareable video as fast as possible, and keeping everything in one place is the key to doing just that.
Getting Your Video in Front of the Right Eyeballs
You've poured your heart into creating an incredible video. Now comes the hard part: getting people to actually watch it. This is where distribution comes in. It’s not just about hitting "upload" and hoping for the best. It's about strategically feeding the platform algorithms exactly what they want to see so your video gets pushed, not just published.
Think of the first few hours after you post as the golden window. Platforms like TikTok, Instagram, and YouTube are watching your video like a hawk. They’re tracking every like, comment, share, and second of watch time to figure out if your content is a dud or a gem. Your job is to send a massive, immediate signal that tells the algorithm, "Hey, people are loving this!"
First Impressions: Winning the Click
Before anyone can appreciate your editing, they have to find your video and decide to press play. Your thumbnail, title, and description are the gatekeepers. Getting these right is absolutely non-negotiable.
Your thumbnail is basically your video's billboard on a very crowded highway. It needs to be clean, high-contrast, and make someone feel something. For a macOS app demo, you could show a dramatic before-and-after of a messy desktop becoming organized, or a crystal-clear shot of the app's coolest feature. Whatever you do, avoid clutter and tiny text. The goal is to communicate the core value in a fraction of a second.
Your title has to pull double duty: it needs to intrigue a human while also being packed with keywords for search engines. "My Mac App Demo" is a snoozefest. Something like "The macOS Trick That Finally Organized My Messy Desktop" is a world apart. It clearly states a problem and hints at a simple solution, making it irresistible.
Your description is where you add context and double down on your keywords. Write a quick summary of what the viewer will get out of the video, drop in any relevant links, and add a few key hashtags. This helps the platform properly categorize your content and show it to the right people.
A Platform-by-Platform Playbook
You can't just spray and pray. Every platform has its own algorithm, its own audience, and its own rules of engagement. What kills it on TikTok might completely flop on YouTube. You have to adapt.
No matter the platform, remember these fundamentals. A snappy pace, good sound, and clear text are the building blocks of a video people will stick with.
- TikTok & Instagram Reels: These platforms are built for speed. Your videos should be between 15-60 seconds and filmed in a 9:16 vertical format. Trending audio can give you a boost, but quick, valuable Mac tips always win. The algorithm rewards videos that are watched to the very end, so cut ruthlessly.
- YouTube Shorts: Like its rivals, Shorts loves vertical 9:16 videos under 60 seconds. The big difference? It’s connected to the massive YouTube ecosystem. A great Short can be a powerful teaser that drives viewers to your longer, more in-depth content on your main channel.
- X (Twitter): Video on X is perfect for quick hits and sparking conversation. Keep it under 2 minutes and 20 seconds. Both 16:9 horizontal and 1:1 square videos look good in the feed. The name of the game is stopping the scroll, so make your first few seconds count.
- YouTube (Long-Form): This is still the king for deep-dive content. Stick to the standard 16:9 horizontal format. While you have more time to play with, that doesn't mean you can be boring. A strong hook and a tight edit are just as crucial here for racking up that all-important watch time, especially for detailed Mac tutorials.
The real secret to winning on multiple platforms isn't just cross-posting the same file everywhere. It's about natively adapting your core video to fit the unique culture and specs of each one. That's how you give it the best possible shot at being discovered.
By mastering how you optimize and distribute your content, you stop leaving things to chance. You're no longer just hoping for a viral hit—you're actively engineering a video that algorithms are dying to promote.
Figuring Out What Worked (and What Didn't)
Going viral isn't usually a one-and-done lightning strike. It’s a process. After your video is out in the wild, the real work begins—it's time to put on your detective hat and figure out what actually resonated with people and what made them scroll away. This is how you turn any video, whether it's a smash hit or a total dud, into a valuable lesson.
The numbers tell the story. Digging into your analytics is the only way to move from guessing what people want to knowing what they want. You can literally see the exact moment you lost their attention.
The Metrics That Actually Matter
You don't need a PhD in data science to pull out the important stuff. Just focus on a few core metrics that paint a clear picture of how your video performed.
- Audience Retention: Honestly, this is the big one. It’s a graph that shows you, second by second, when people are dropping off. If you see a massive dip in the first 5 seconds, you know immediately that your hook just isn't cutting it.
- Watch Time: This is the total number of minutes people spent watching your video. Platforms like YouTube see a high watch time as a massive signal that your content is valuable, which tells their algorithm to show it to more people. Simple as that.
- Click-Through Rate (CTR): This number tells you what percentage of people who saw your thumbnail and title actually clicked to watch. A low CTR is a dead giveaway that your "packaging"—the title and thumbnail—isn't strong enough to grab someone's attention.
Think of your analytics dashboard less like a report card and more like a treasure map. Every number is a clue pointing you toward what your Mac audience really wants to see.
When you start looking at these numbers together, you can build a real strategy. If you notice a certain format always gets higher retention, double down on it. Did a specific joke or a particular macOS tip get a little bump in the retention graph? That’s gold. Every video becomes a small experiment, giving you the data you need to make the next one even better.
Common Questions Answered
Even the best-laid plans come with questions. When you're aiming for a video to take off, a few key things always come up. Here are the most common questions we get from macOS creators, along with straightforward answers to help you stay focused.
What's the Ideal Video Length to Go Viral?
There's no golden rule, but the trend is overwhelmingly short. For platforms like TikTok, Instagram Reels, and YouTube Shorts, you're looking at a sweet spot between 15 and 60 seconds.
The real secret? Be ruthless with your editing. Your video needs to be long enough to deliver its core value and not a second more. If you can explain a Mac tip in 30 seconds, don't stretch it to 45.
Do I Really Need Fancy Equipment?
Nope. In fact, sometimes slick, overproduced videos can feel less authentic. Your Mac's built-in FaceTime camera is more than enough to shoot great footage. Your best investment? A quality microphone. Muffled, unclear audio will make people scroll away faster than anything else.
For anyone creating software tutorials on a Mac, the right tool is way more important than a fancy camera setup. A purpose-built macOS app like Screen Charm gives you those professional-looking screen recordings, dynamic zooms on UI elements, and clean webcam overlays that keep viewers hooked. It’s all about a professional result without the complicated gear.
Is Virality Just a Game of Chance?
Luck can give a video a little nudge, but it’s rarely the whole story. Going viral is a skill built on a few key pillars: understanding what makes Mac users tick, consistently putting out content, and digging into your analytics after every post.
The most dependable way to strike gold is to treat every video as an experiment. Post consistently, see what works, and double down on it. Refine your hooks, topics, and editing with each attempt. Over time, you'll find that consistency is far more powerful than luck.
Ready to skip the learning curve and start making polished, engaging software demos on your Mac? Screen Charm packs all the features you need—from automatic zoom to custom branding—to create videos that actually get noticed.
Give it a try and see how easy it is to make your next video at https://screencharm.com.